
There are many reasons why somebody would want to paint a frame that’s already in their possession. Do you want to learn how to Paint a Frame? There are so many ways you can paint a frame, such as Hydro Dipping, Spray Paint, Chalk Paint, and so on!
Some people may find themselves feeling a bit stuck or even frustrated after remodeling their home. The realization of being left with a gorgeous frame that now matches absolutely nothing in their new decor theme can feel defeating to some.
Many frames are passed down through generations and hold a large amount of sentimental value. You may love the design of a frame, but not the color. Especially in instances where a person has a specific artwork that they want to display in a certain frame, but the color scheme doesn’t work.

Color Match
Another reason why someone would absolutely have to paint a frame is if they want the frame to match the color of a wall already inside their home. It is nearly impossible to color match two different brands of paint, which inevitably leaves one option to achieve this decor goal-you must paint your frame with the same brand and color paint that is on your wall.
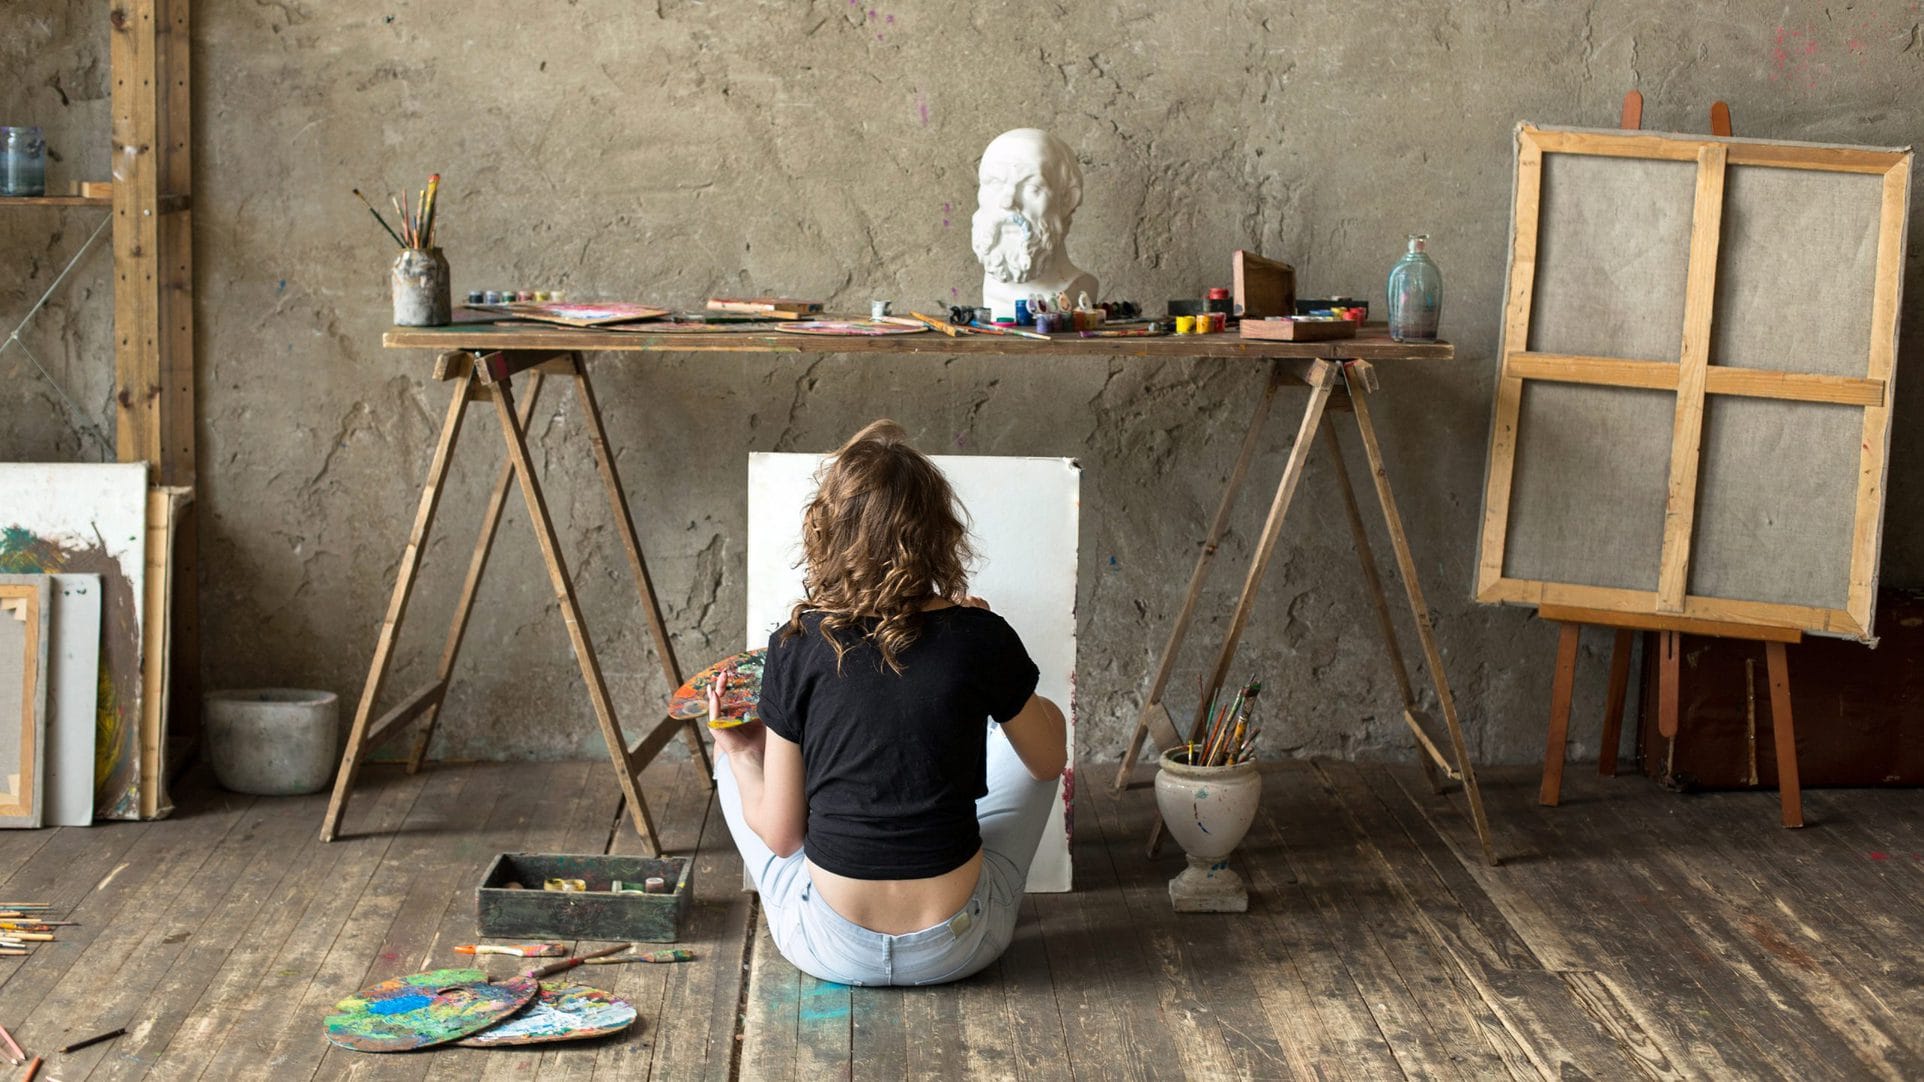
Painting frames is simple and easy, creating endless possibilities.
To begin the painting process, you must know what material your frame is made out of. Knowing the material is incredibly important since there are different rules and processes to follow for each material.
Spray Painting Wooden Frames
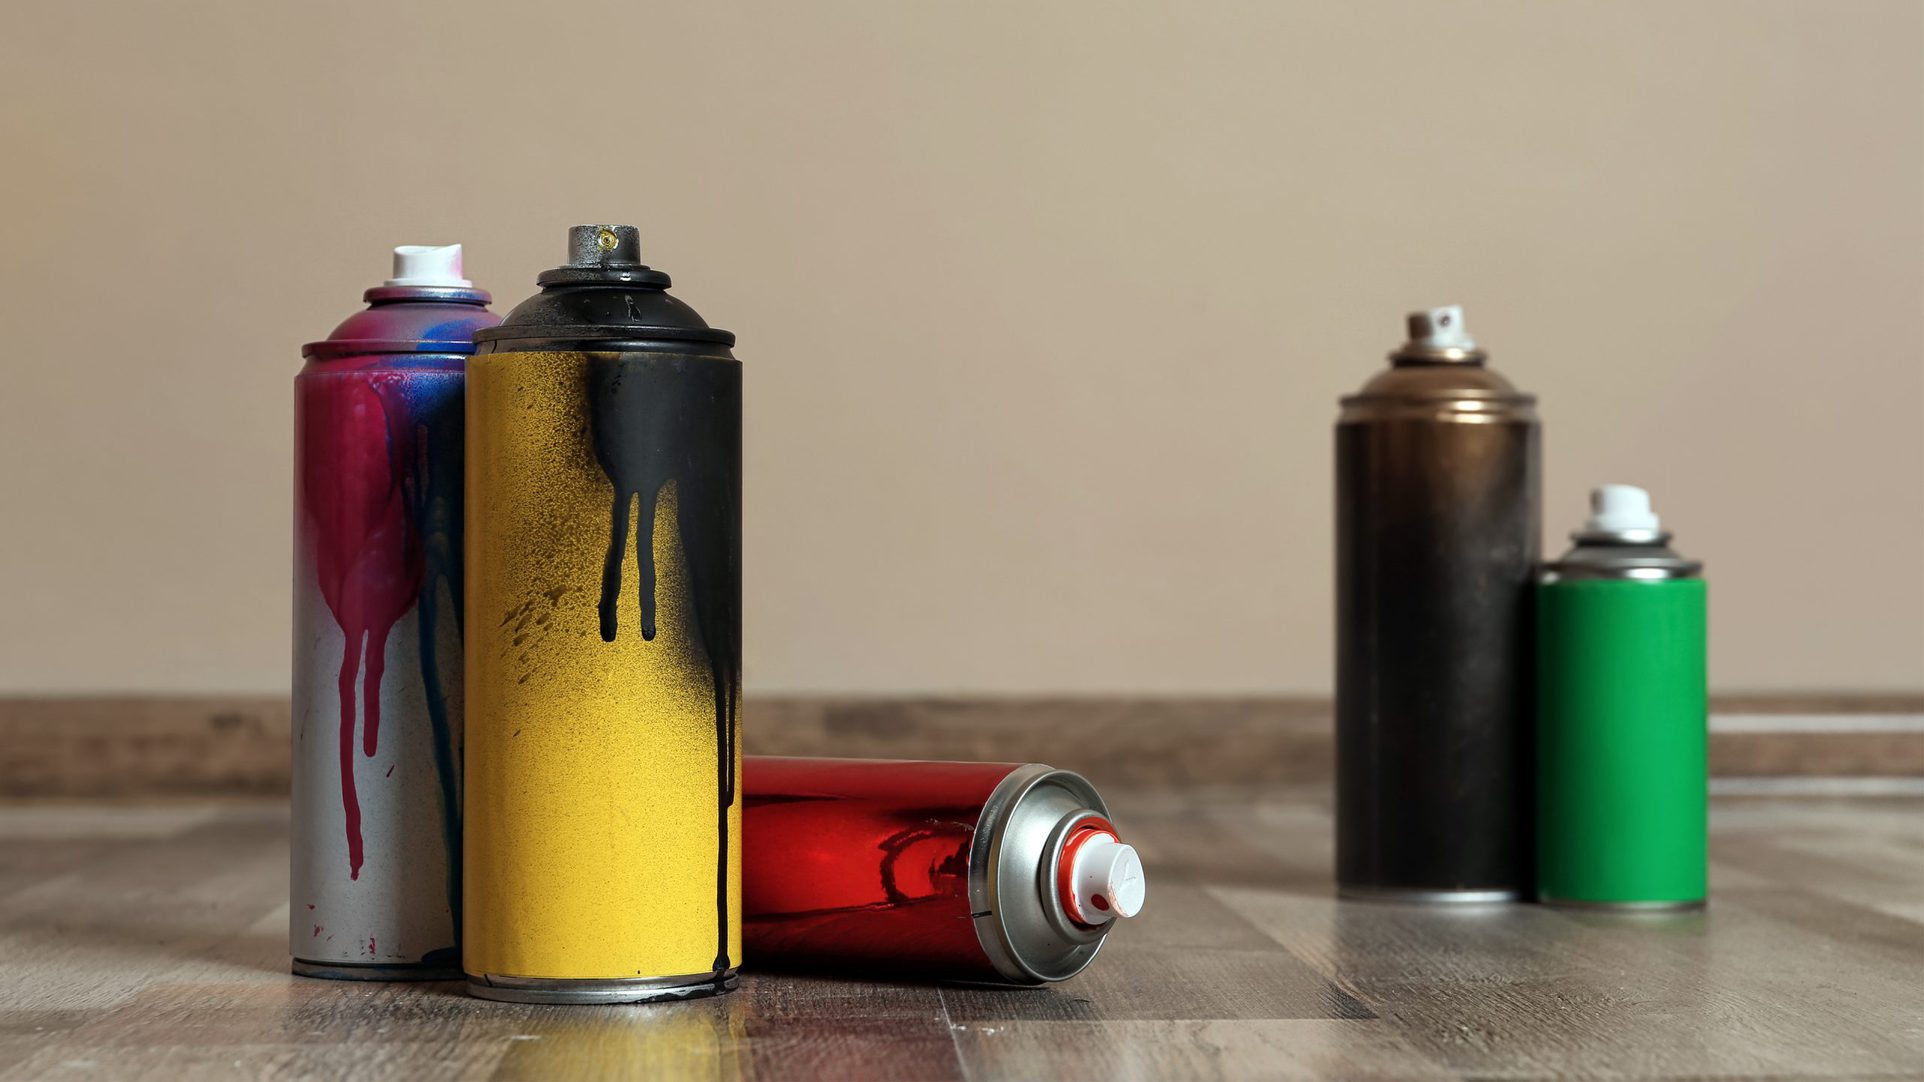
A common, easy way to achieve an updated frame is by using spray paint. Spray painting is often a favorite for achieving a fast and inexpensive paint job that still has a mesmerizing appearance.

For spray painting a frame, you will need some supplies, such as:
- Spray paint (in the color of your choice)
- Painter’s tape
- Disposable tarp
- Gloves (optional)
- Fine grit sandpaper (220)
- Towels
- Paper
- Newspaper
Remove contents from the frame
First, remove the frame’s contents and place that in a safe area, away from where the painting will take place. If you cannot remove the contents, then apply paper or newspaper over the glazing face.
Secure the paper
After the newspaper is placed, place painter’s tape to the inner edges of your frame to hold the paper in place. By taking this precautionary measure, you can be confident that the glazing will be protected.
Inspect and Sand
Next, inspect the frame to find any areas that are not completely smooth. If nonsmooth areas are found, use the fine-grit sandpaper to sand down those areas. Hard and aggressive sanding is not recommended. Instead, use minimal pressure. Once the sanding is complete, use a small towel to remove any residue that has been created from the sanding process.
Set up work area
It’s important to set up an area to perform the painting. This area should be a hard and flat surface. Outside is the best location to perform the painting, but if that is inaccessible, be sure to choose an extremely well-ventilated area.
Use a tarp
Once the surface is chosen, lay a tarp down on that surface. The tarp should exceed the amount of space that the frames will take up. Taping the tarp down is highly recommended to ensure that the tarp stays in place while you are painting.
Shake, Shake, Shake
Before you begin spray painting the frames, be sure to shake the spray paint can for a period of at least 3 minutes. After the shaking, test spray the paint before applying the paint to your frame. By doing this added step, you will be reassured that the paint in the can is both the desired color and know it will come out evenly and smoothly when applied to the frames.
Begin Painting
Now, it is time to paint! Using a sweeping motion about 6-8 inches from the frame’s surface, begin spraying the paint onto the frames. In total, 2-3 coats of paint should be applied for an even finish, as well as to provide you with that extra added assurance that the paint reached all areas.

Allow the paint to dry
For best results, we recommend allowing the frames to dry fully before applying additional coats. Oil-based spray paints dry to the touch within about 30 minutes.
Hang your frame
After the additional coats are applied, let the frame dry overnight. The next day, we recommend inspecting your frame’s crafty new appearance to be sure that no aspects were missed. If all is well, place the frame anywhere that you desire.
Spray Painting Aluminum Frames
Spray painting is ideal when painting an aluminum frame since the spray paint ensures an even finish. There are a few extra steps when painting a metal frame that must be taken to create the best result possible.
Metal is a non-porous material, which causes metal frames to be notorious for paint flaking. This is due to the non-porous aspect having difficulties adhering to paint.
Materials:
- Grease eliminating dish detergent
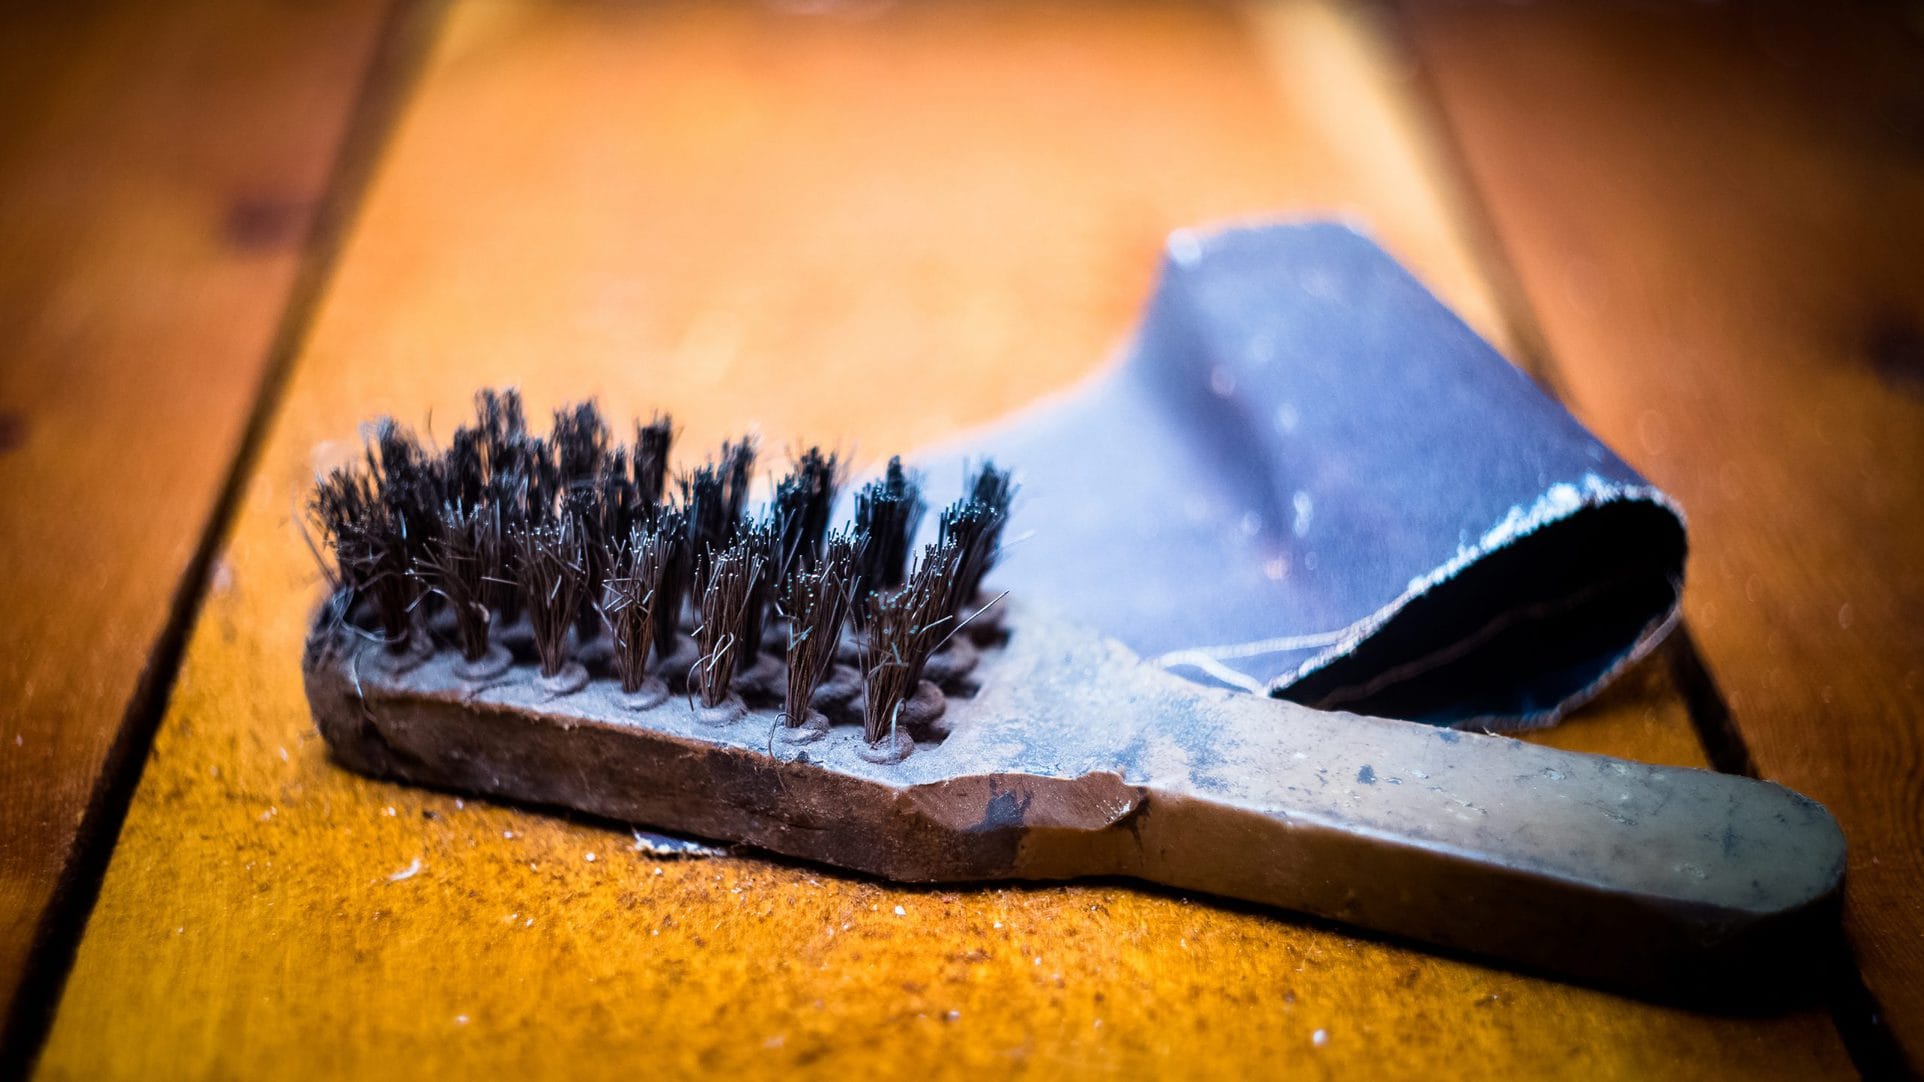
- Wire brush
- Self-etching primer
- Spray paint (of your choice)
- Sandpaper (80 and 120 grit)
- Gloves (optional)
- Disposable tarp
Clean the frame
To begin the spray painting process, start by cleaning the aluminum frame with the grease, eliminating dish detergent. This will ensure that any oils are removed from the surface of the frame. Once finished, allow the frame to dry completely.
Inspect for oxidation
After the frame is completely dry, inspect the frame to find any old paint or oxidation that may have developed on the surface. If any of either is found, use a wire brush to remove the old paint or oxidation before moving onto the next step.
Abrade the Surface
Once the possible oxidation and old paint are removed, use the 80 grit sandpaper on the frame’s surface to abrade the surface. Afterward, perform the same step using 120 grit sandpaper.
Clean the Frame Once More
Next, clean the metal frame one more time using water and the grease, eliminating detergent. Once finished with the second cleaning, allow the frame time to air dry.
Paint the Frame
As soon as the frame is dry, begin spray painting the frame just as you would the wooden frame.
For bare aluminum frames, also known as un-anodized metal frames, there is only one detail that changes compared to the anodized aluminum frames. The single different aspect is applying a self-etching primer before the paint. A self-etching primer will score the frame’s surface, allowing the paint to adhere extremely well, leaving you with a lasting paint job.
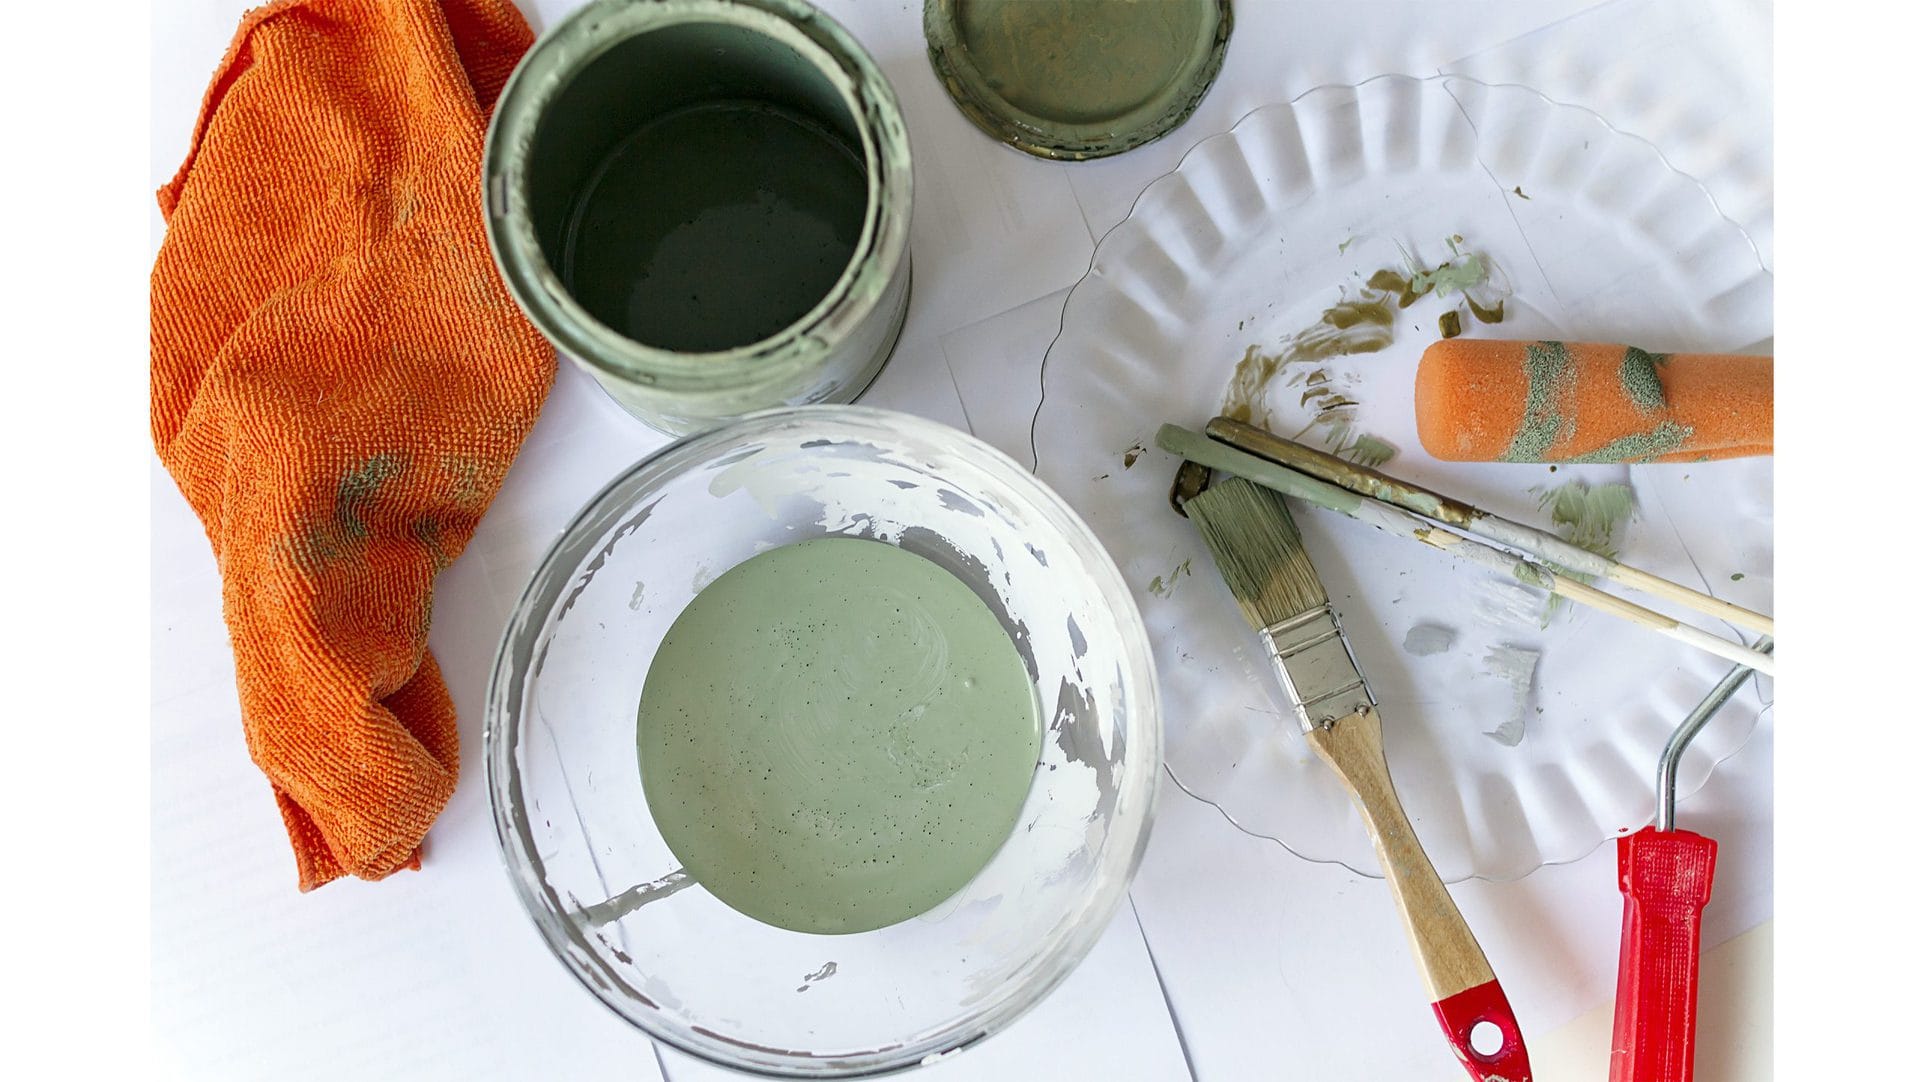
Painting Frames with Chalk Paint
Chalk paint is ideal for use on wooden frames and offers that immaculate matte finish look. This type of paint typically does not require a base priming coat, and oftentimes has no issues covering old paint.
Set up the materials
The setup and materials are extremely similar to the spray painting a frame setup and materials. Instead of spraying the frame with paint, the only substantial difference is that you will be brushing the paint on. For this, we recommend using the “Belle Brush” by Dixie Belle to apply chalk paint to the frames.
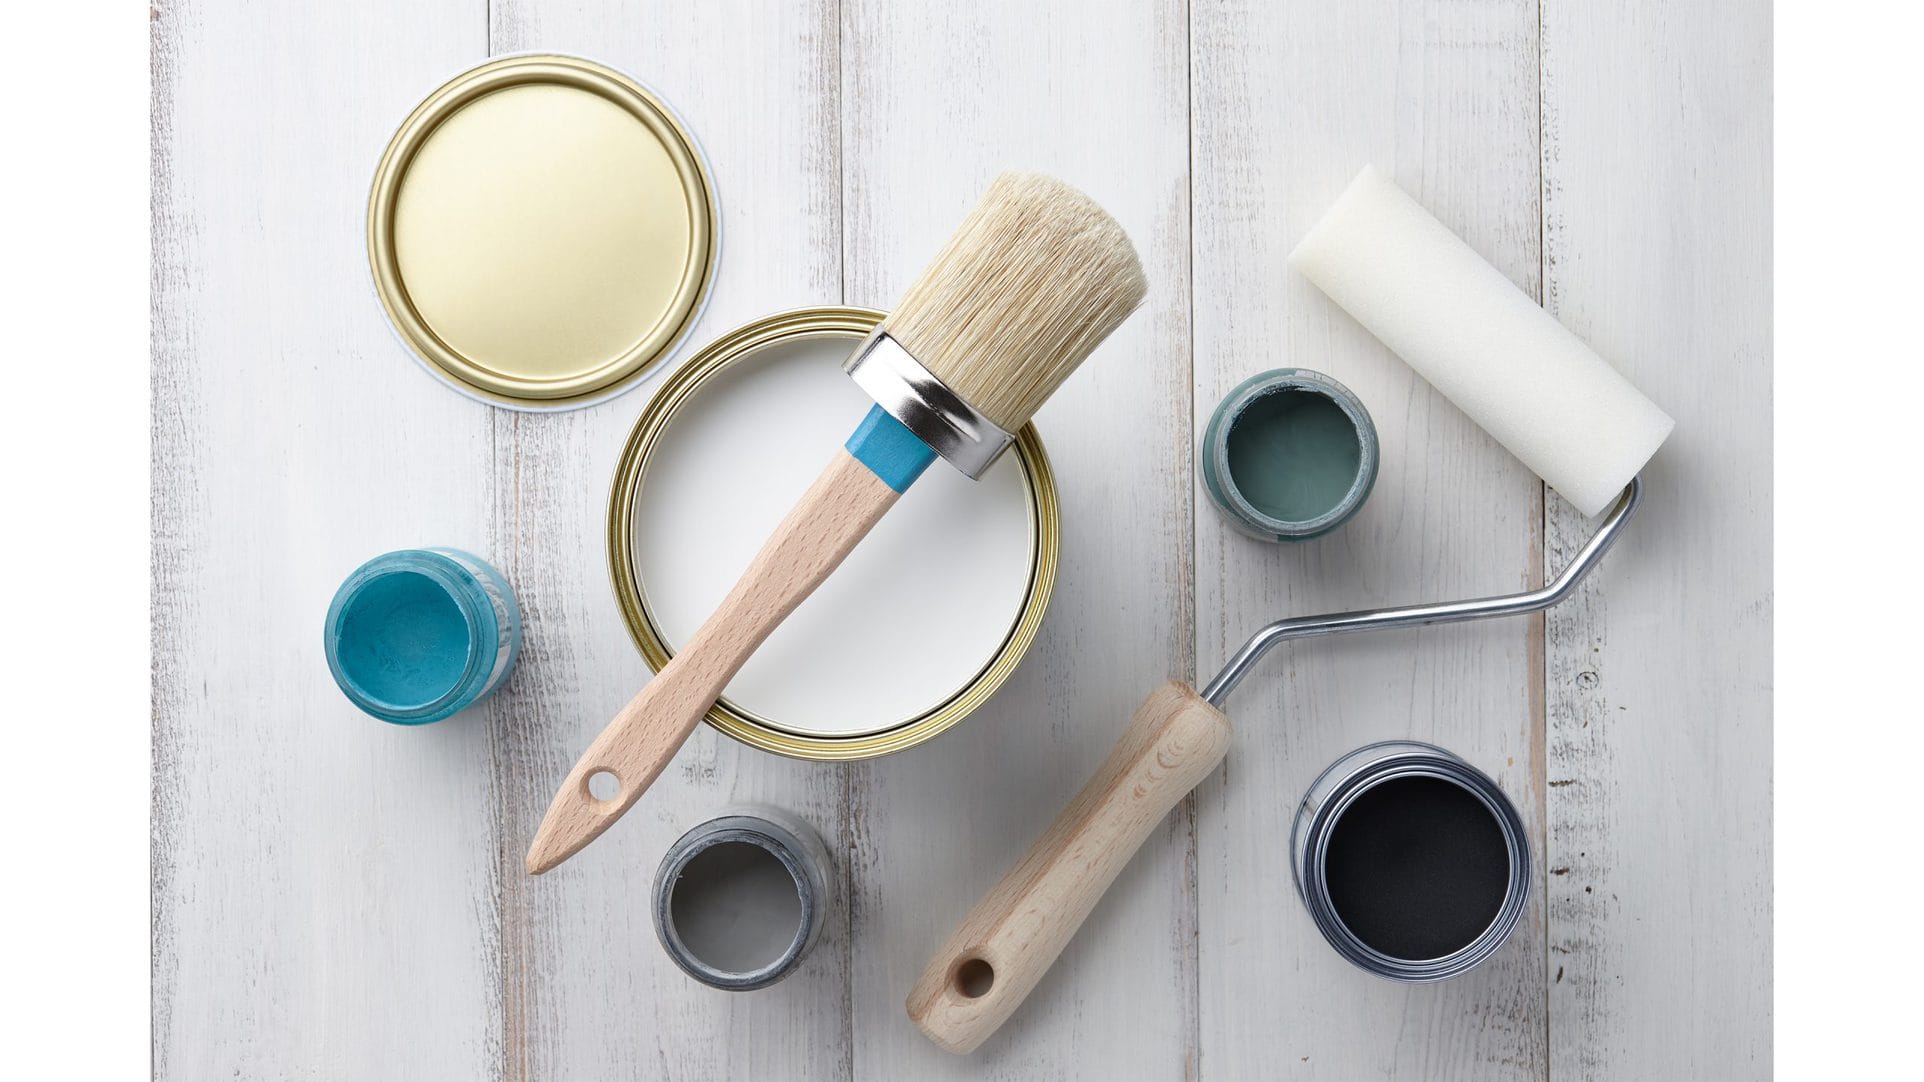
Materials:
- Chalk paint (of your choice)
- Disposable tarp
- Painters tape
- “Belle Brush” by Dixie Belle
- Damp cloth
- Newspaper
Remove All Contents
If possible, remove all contents of the frame before beginning. This is not always a feasible option, so if that is the case, tape newspaper down on the glazing to protect the contents.
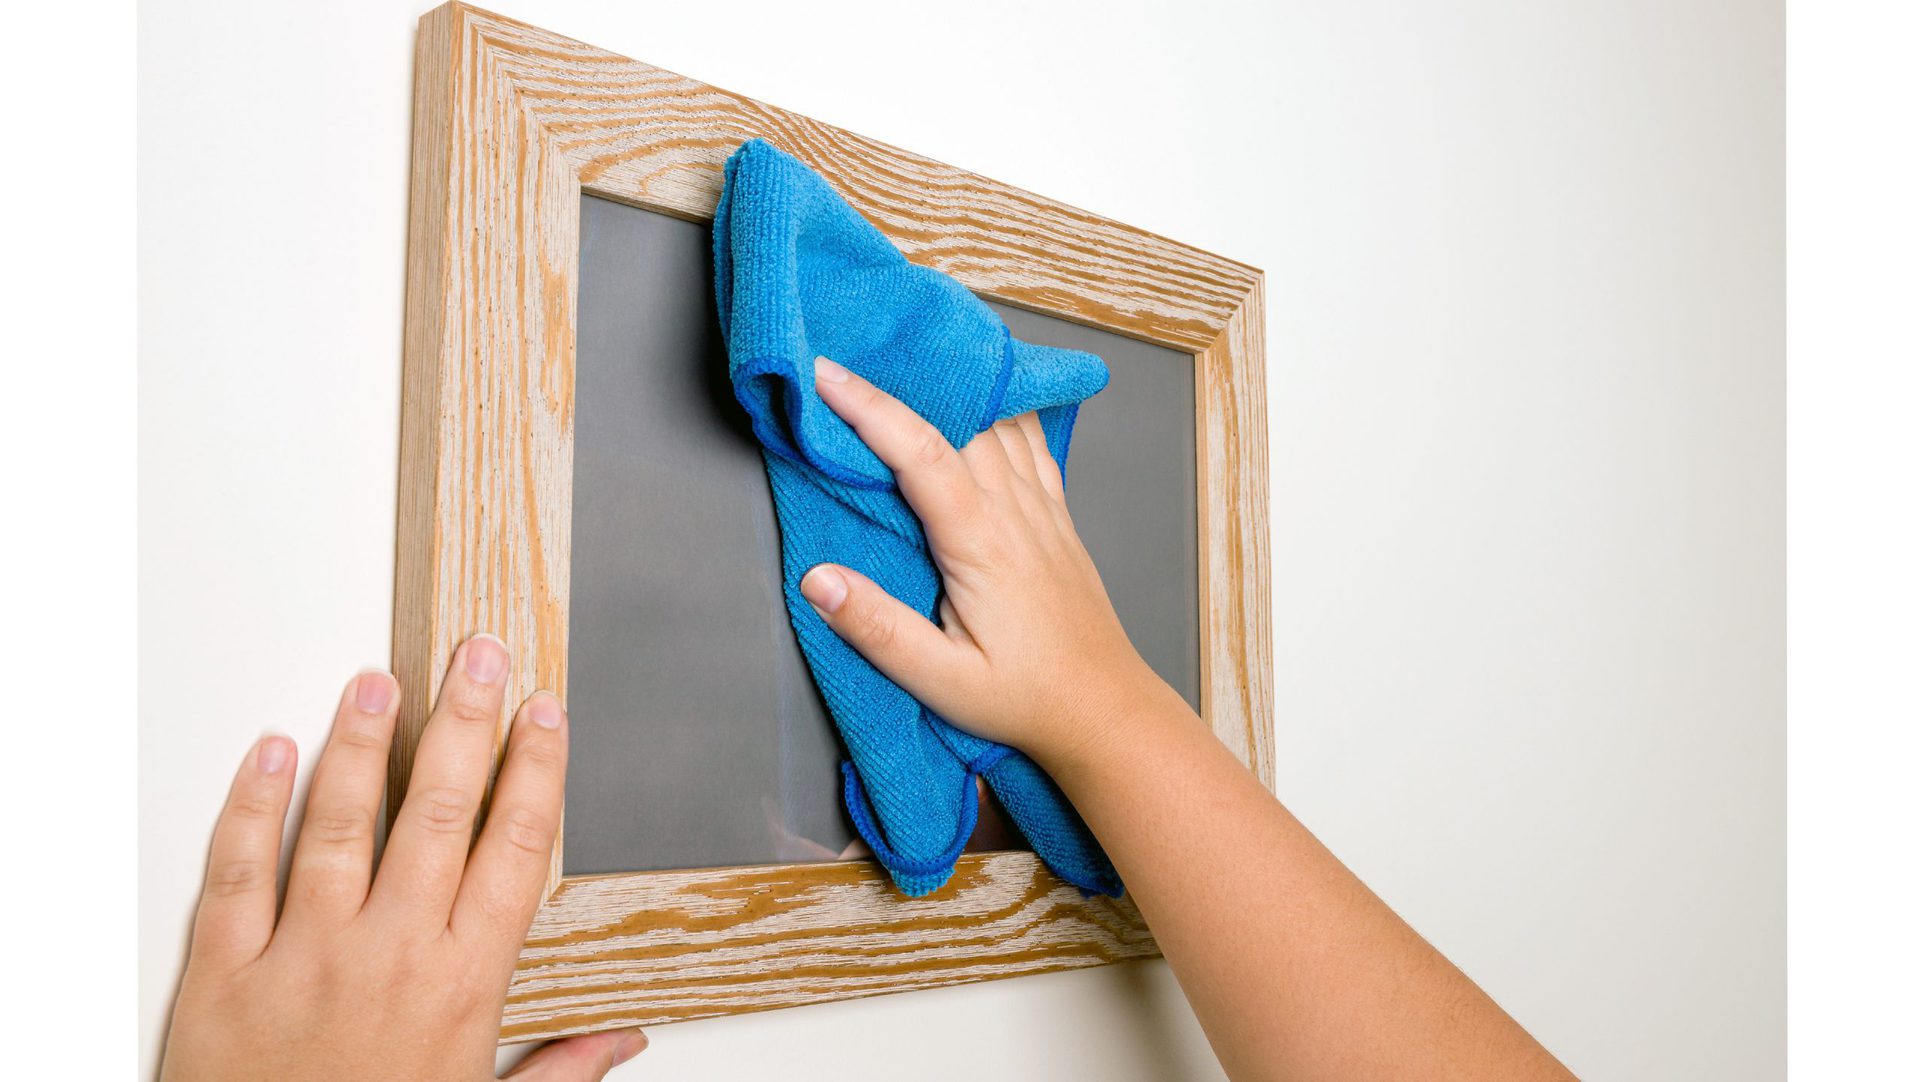
Clean the Frame
Before applying the paint, cleaning the frame is recommended. To perform this, use a damp cloth, wipe the frame’s surface and wait for the frame to dry fully before painting.
Setup Workspace
While waiting for the frame to dry, select a well-ventilated area and place a tarp down. Optionally you may add tape to the edges to ensure the tarp stays in place while painting.
Paint the Frames
Once the frames are fully dry, place them upon the tarp placed while waiting for the drying process to be complete. When painting the frames, be sure to use small back and forth strokes to provide an even coat.
Since chalk paint is great at covering leftover paint, you may not need as many coats as you would using other types of paint. However, if you feel like the frame does need extra coats, allow the paint to fully dry before adding additional coats.
Allow the Frame to Dry
Once finished, allow the frames to dry overnight before displaying them.
Painting Plastic Frames Using Multi-Surface Acrylic Paint
Multi-surface acrylic paint works phenomenally on plastic frames. The painting process strongly resembles the chalk paint process and is simple to perform.

Materials:
- Disposable tarp
- Princeton brushes
- Painters tape
- Acrylic multi-surface paint
- Rubbing alcohol
- Cloth
- Newspaper
Remove the Contents
Ideally, the frame contents should be removed; however, if that is not possible, tape the newspaper over the glazing to protect the contents.
Clean the Frame
As mentioned above, cleaning the frame before the paint application is recommended. To perform a quick cleaning on a plastic frame, use a small towel and rubbing alcohol and wipe the frame’s surface.
Lay a Tarp Down
Pick a well-ventilated area and place a tarp on that area. You may tape the ends down to ensure the tarp does not move while applying paint to the frames.
Began painting
We recommend Princeton brand paintbrushes when painting frames with acrylic multi-surface paint. Princeton offers a wide variety of paintbrush sizes that are of high quality. Using your Princeton paintbrush, begin painting the frames with small and swift, back and forth strokes.
Allow the Frame to Dry
More than likely, you are going to need more than one coat to achieve the desired appearance. Allow each coat to dry fully before applying the next. Once finished, allow the frame to dry overnight before hanging your beautiful artwork on your wall.
Painting Plastic Frames Using Multi-Surface Acrylic Paint
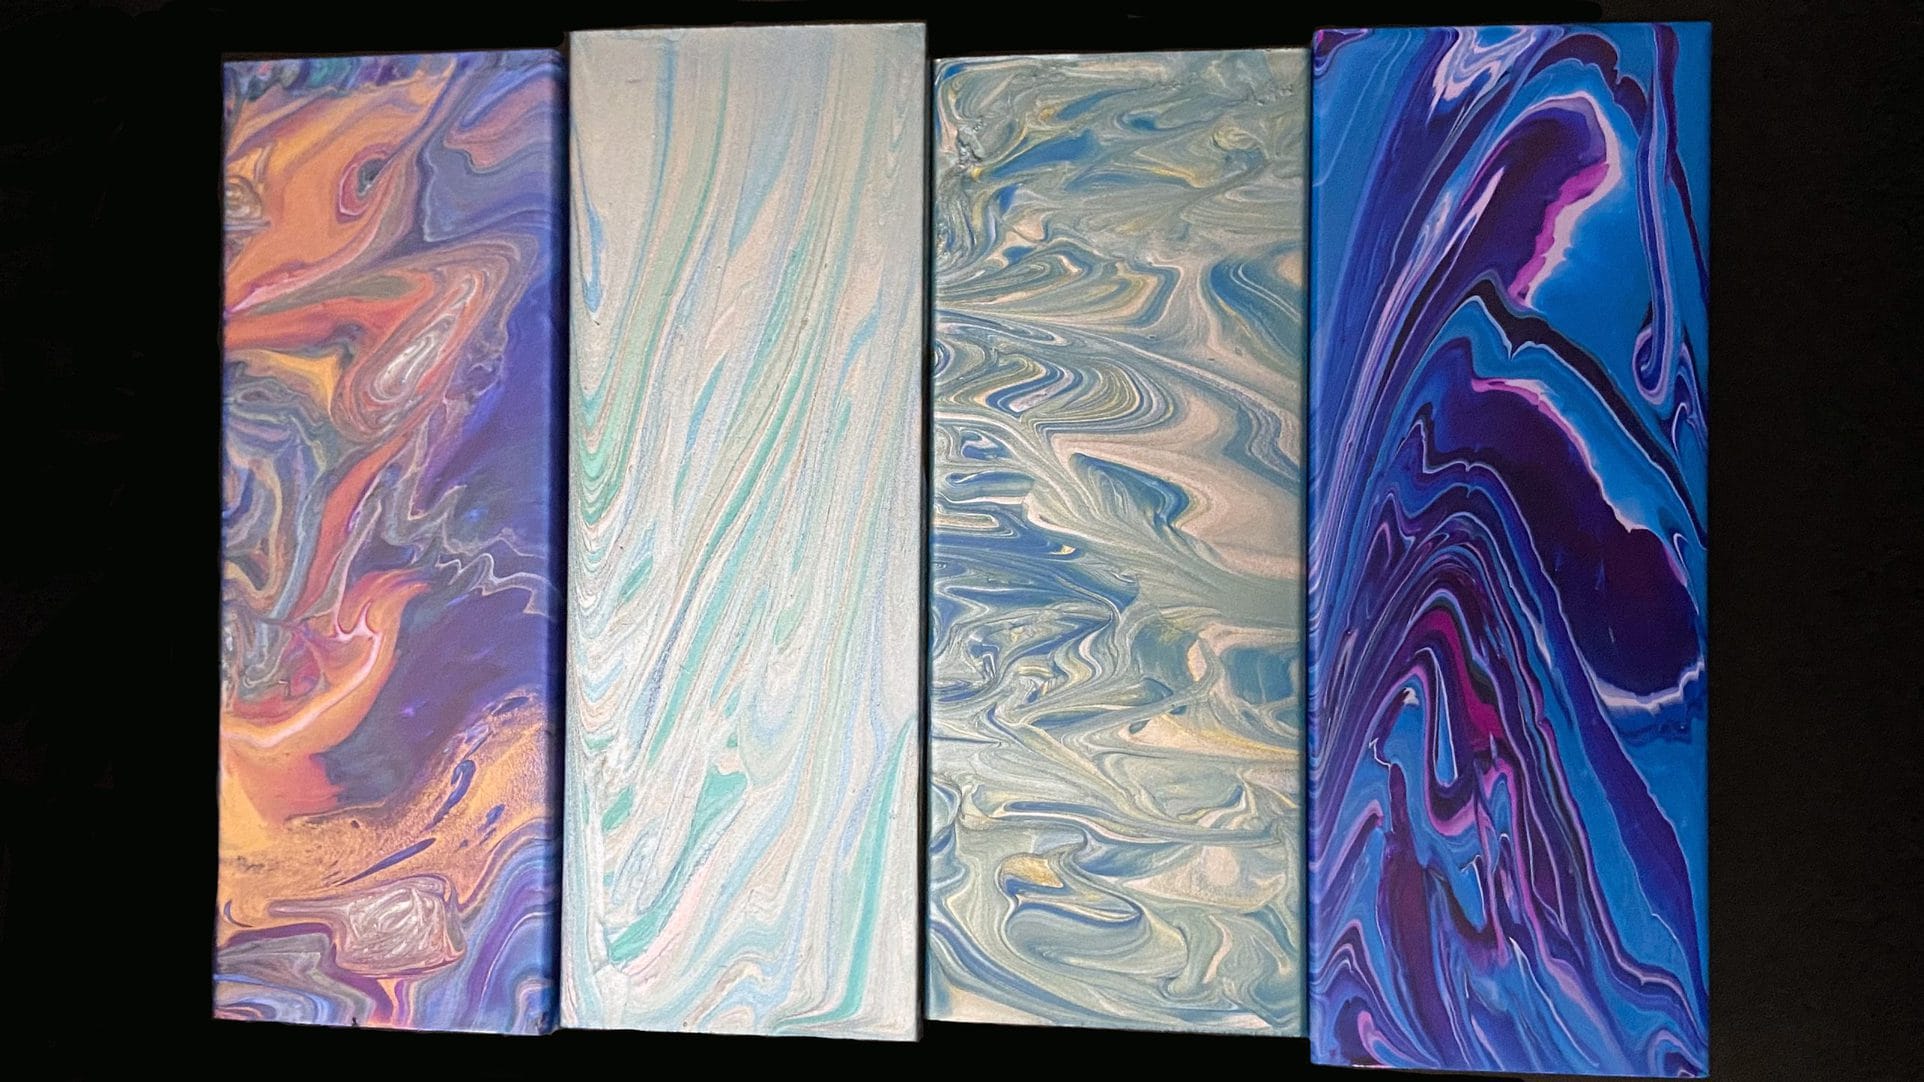
Acrylic pouring is a painting technique that allows you to create one of a kind works of art. The creative technique results in an abstract style appearance. The beauty of pouring acrylic is that two frames will never look the same. This is an effortless and fun way to make any frame beautifully unique.
Materials:
- Plastic cup
- Acrylic paints
- Small tarp or newspaper
- Primer
Lay a Tarp Down
When beginning the acrylic pouring process, be sure to have the area you plan to paint on covered with either a small tarp or some newspaper. Pouring acrylic can be a somewhat messy project, so this will ensure that nothing gets ruined during the process.
Prime the frame
Begin by priming your frame using a painting primer, this will ensure the paint adheres to the frame with no issues. Allow time for the primer on the frame to dry, before moving onto the next step. If using a spray paint primer, this should not be a timely process.
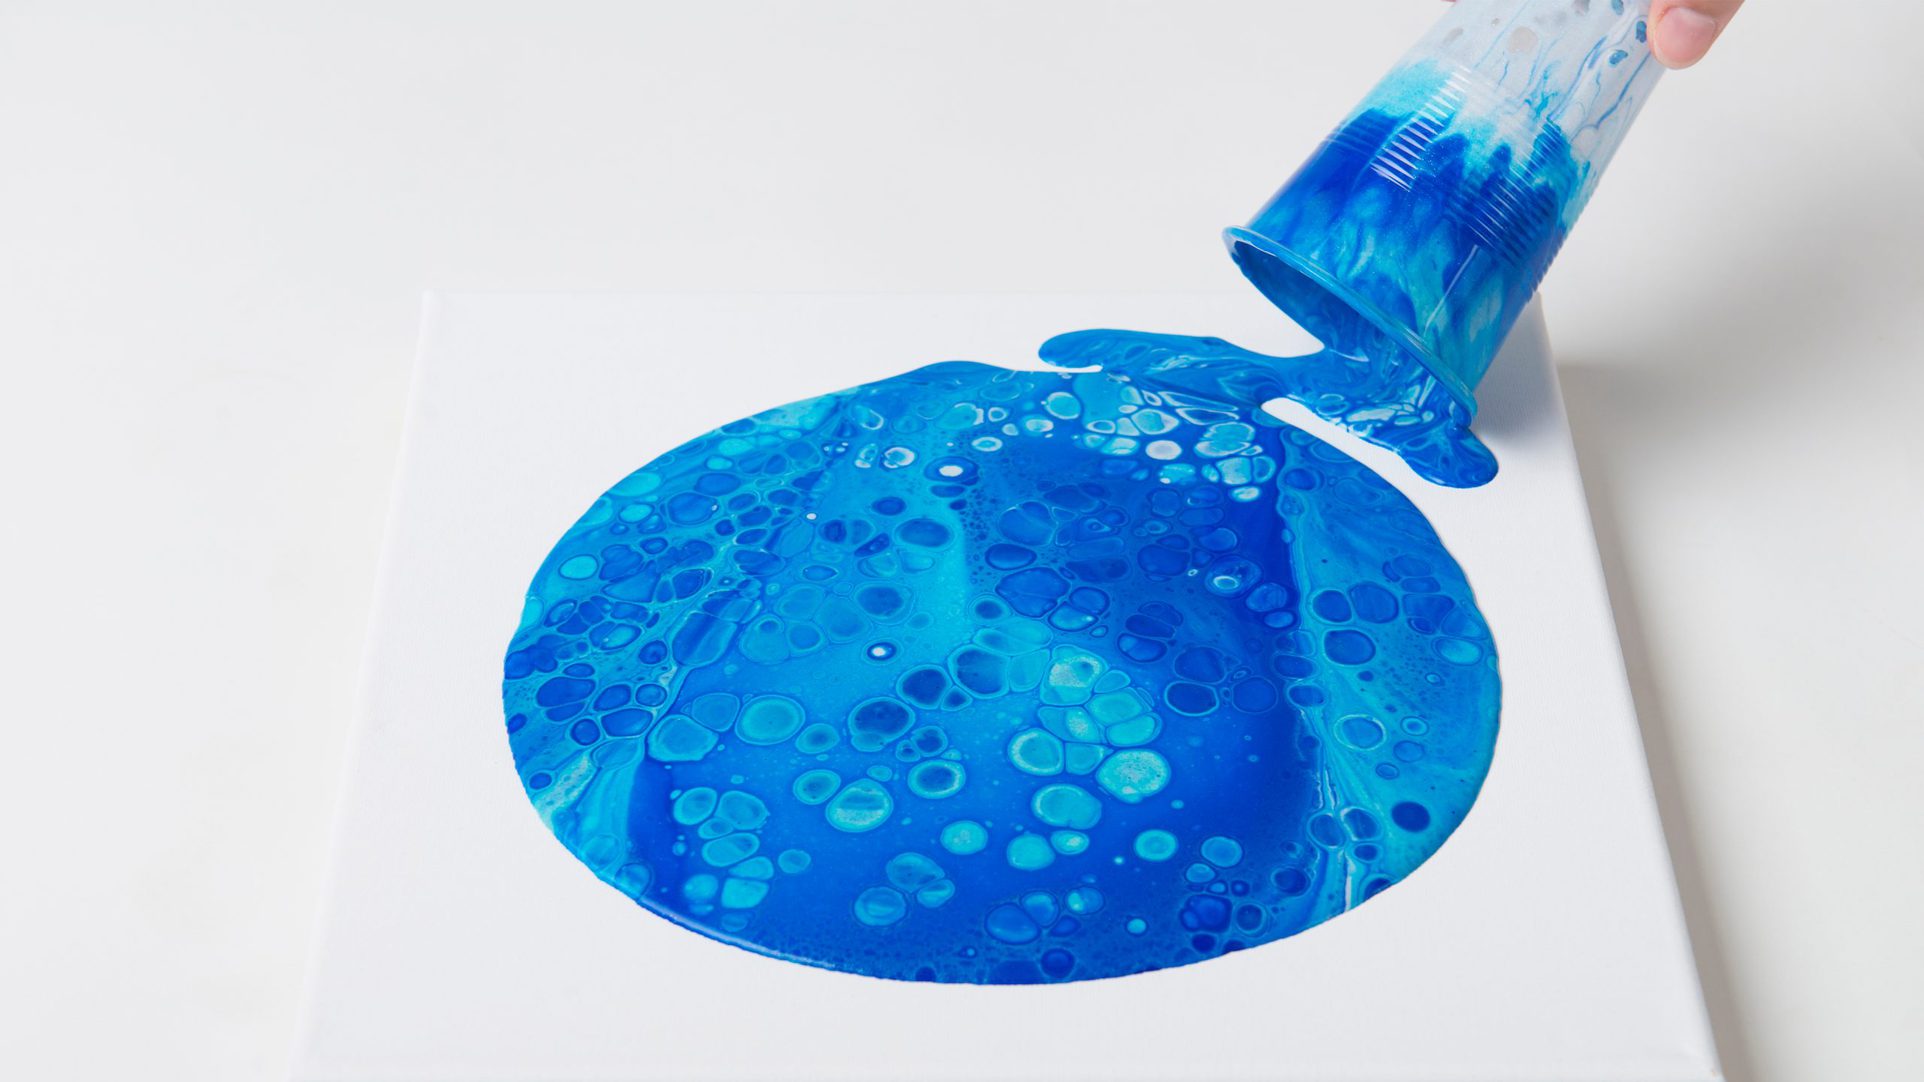
Begin Pouring the Painting into a Cup
Once the primer is dry, grab the plastic cup, as well as the multiple different colors of acrylic paints. Next, pour the different colors of acrylic paints into the single plastic cup.
After all desired colors are inside of the cup, pour the cup of paint over the surface of the frame.
Tilt Frame for the Desired Look
If there are bare spots on the frame’s surface, simply tilt the frame in the according to angles to cover those areas up. Be sure to allow ample time for the drying process, as the layer of paint may be thicker than other styles of painting.