
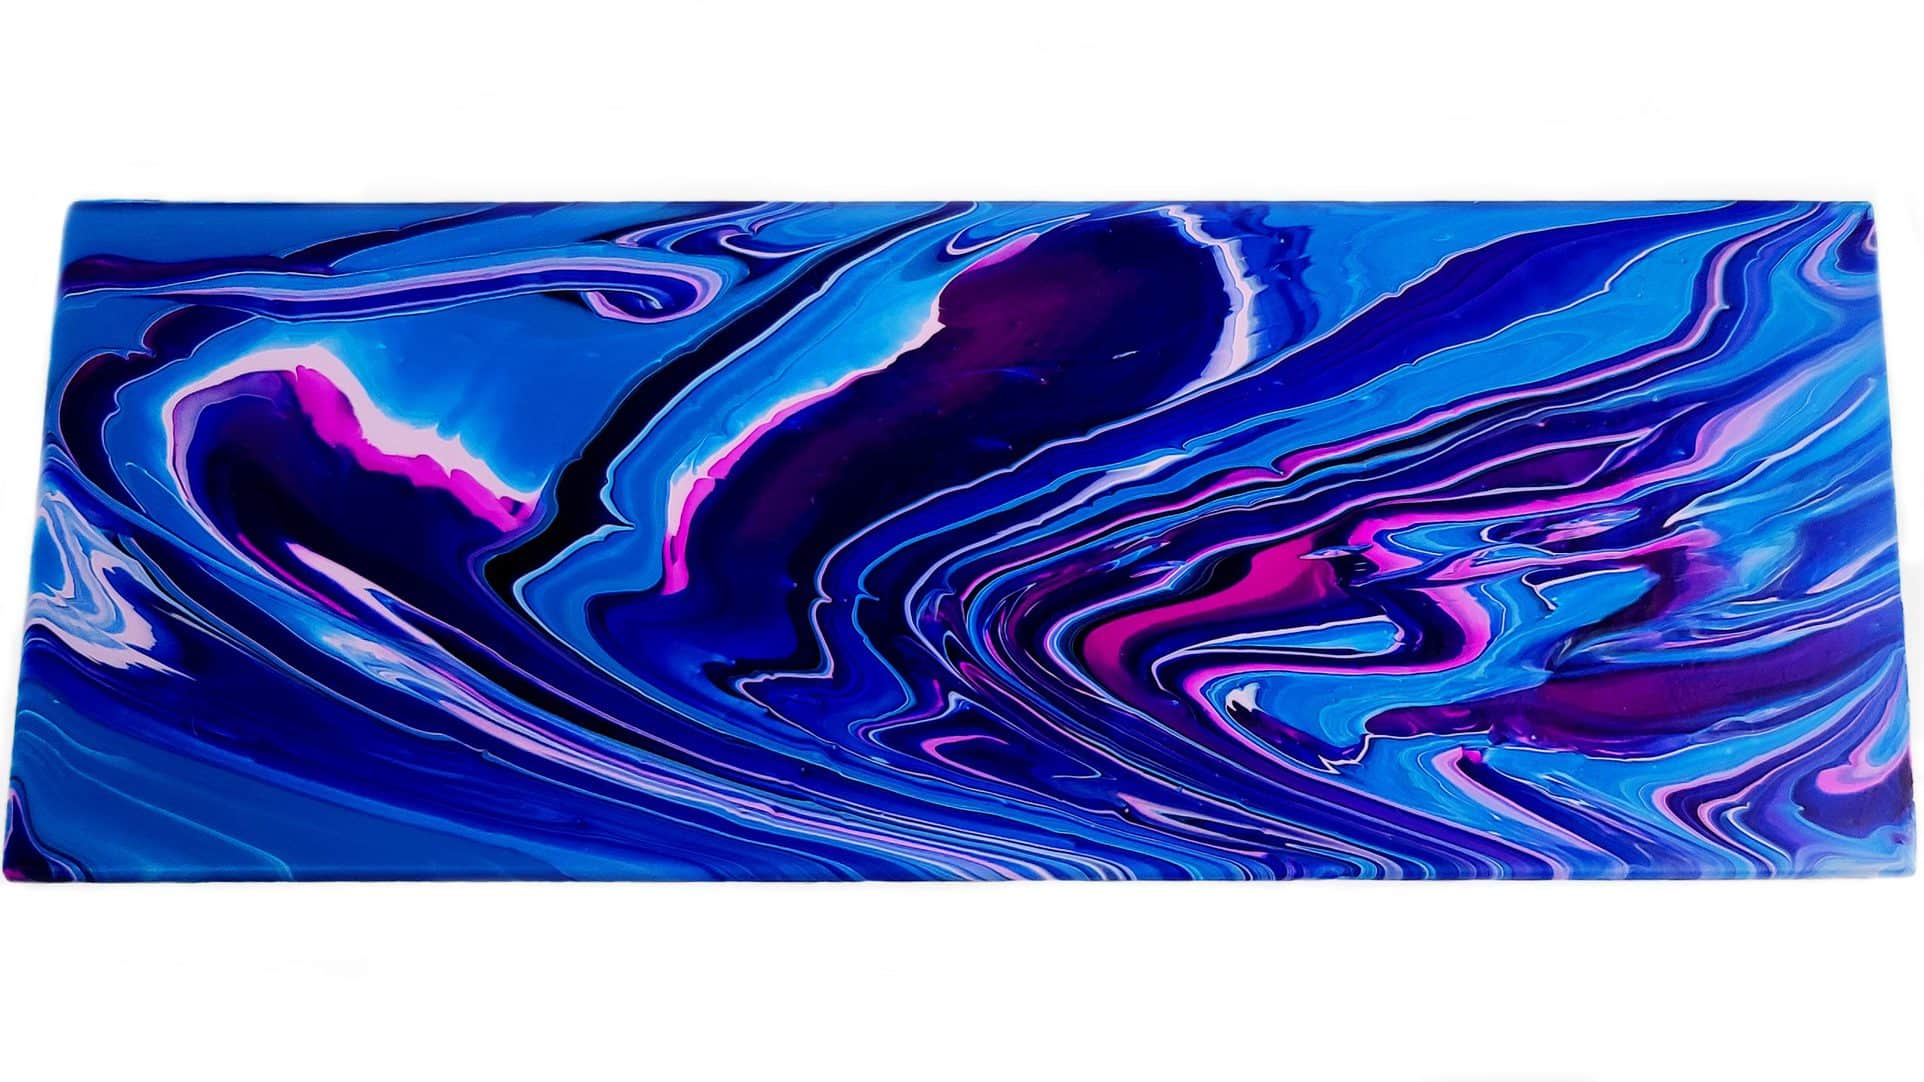
Acrylic Pouring is a unique fluid painting technique commonly used to create one of a kind, eye-catching works of art. Not only are the outcomes truly one of a kind, but the process is also therapeutic, as well as relaxing.
The best part? This painting technique is simple, making it a fun craft for the entire family!
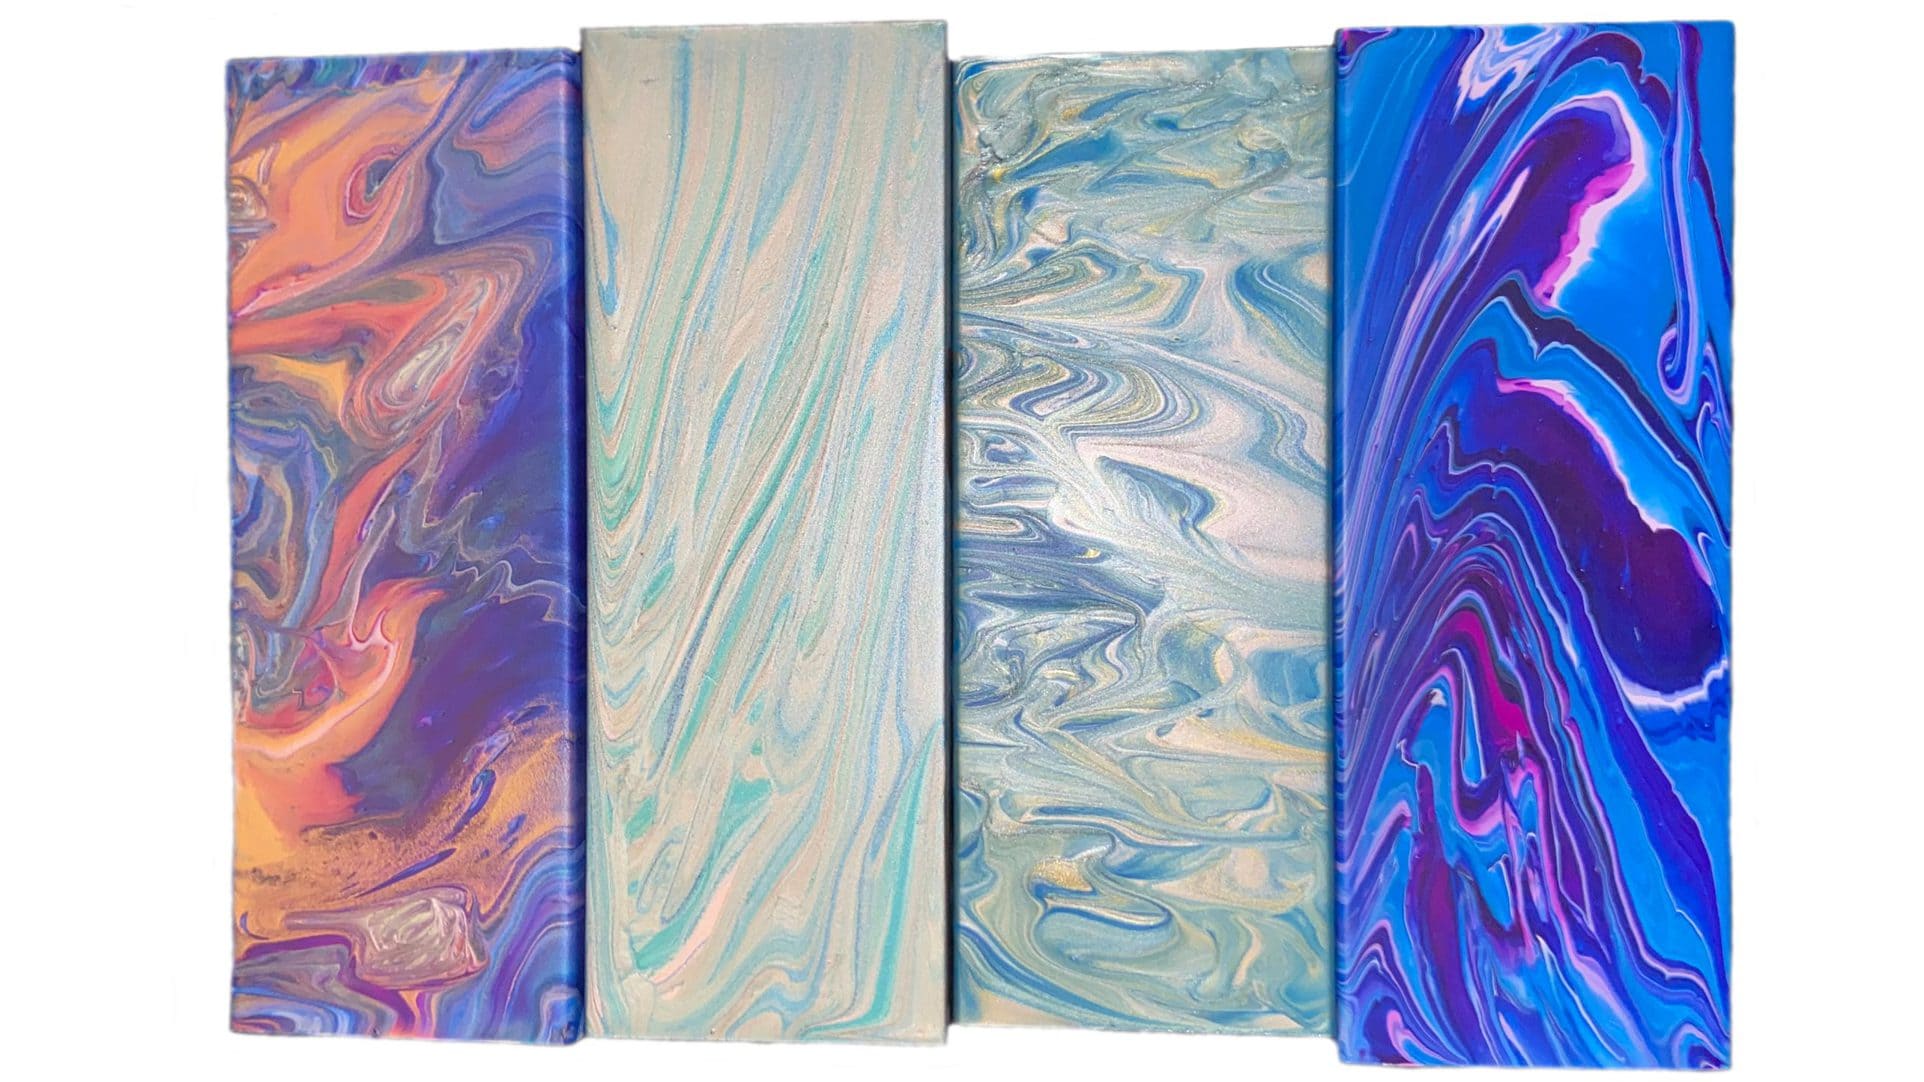
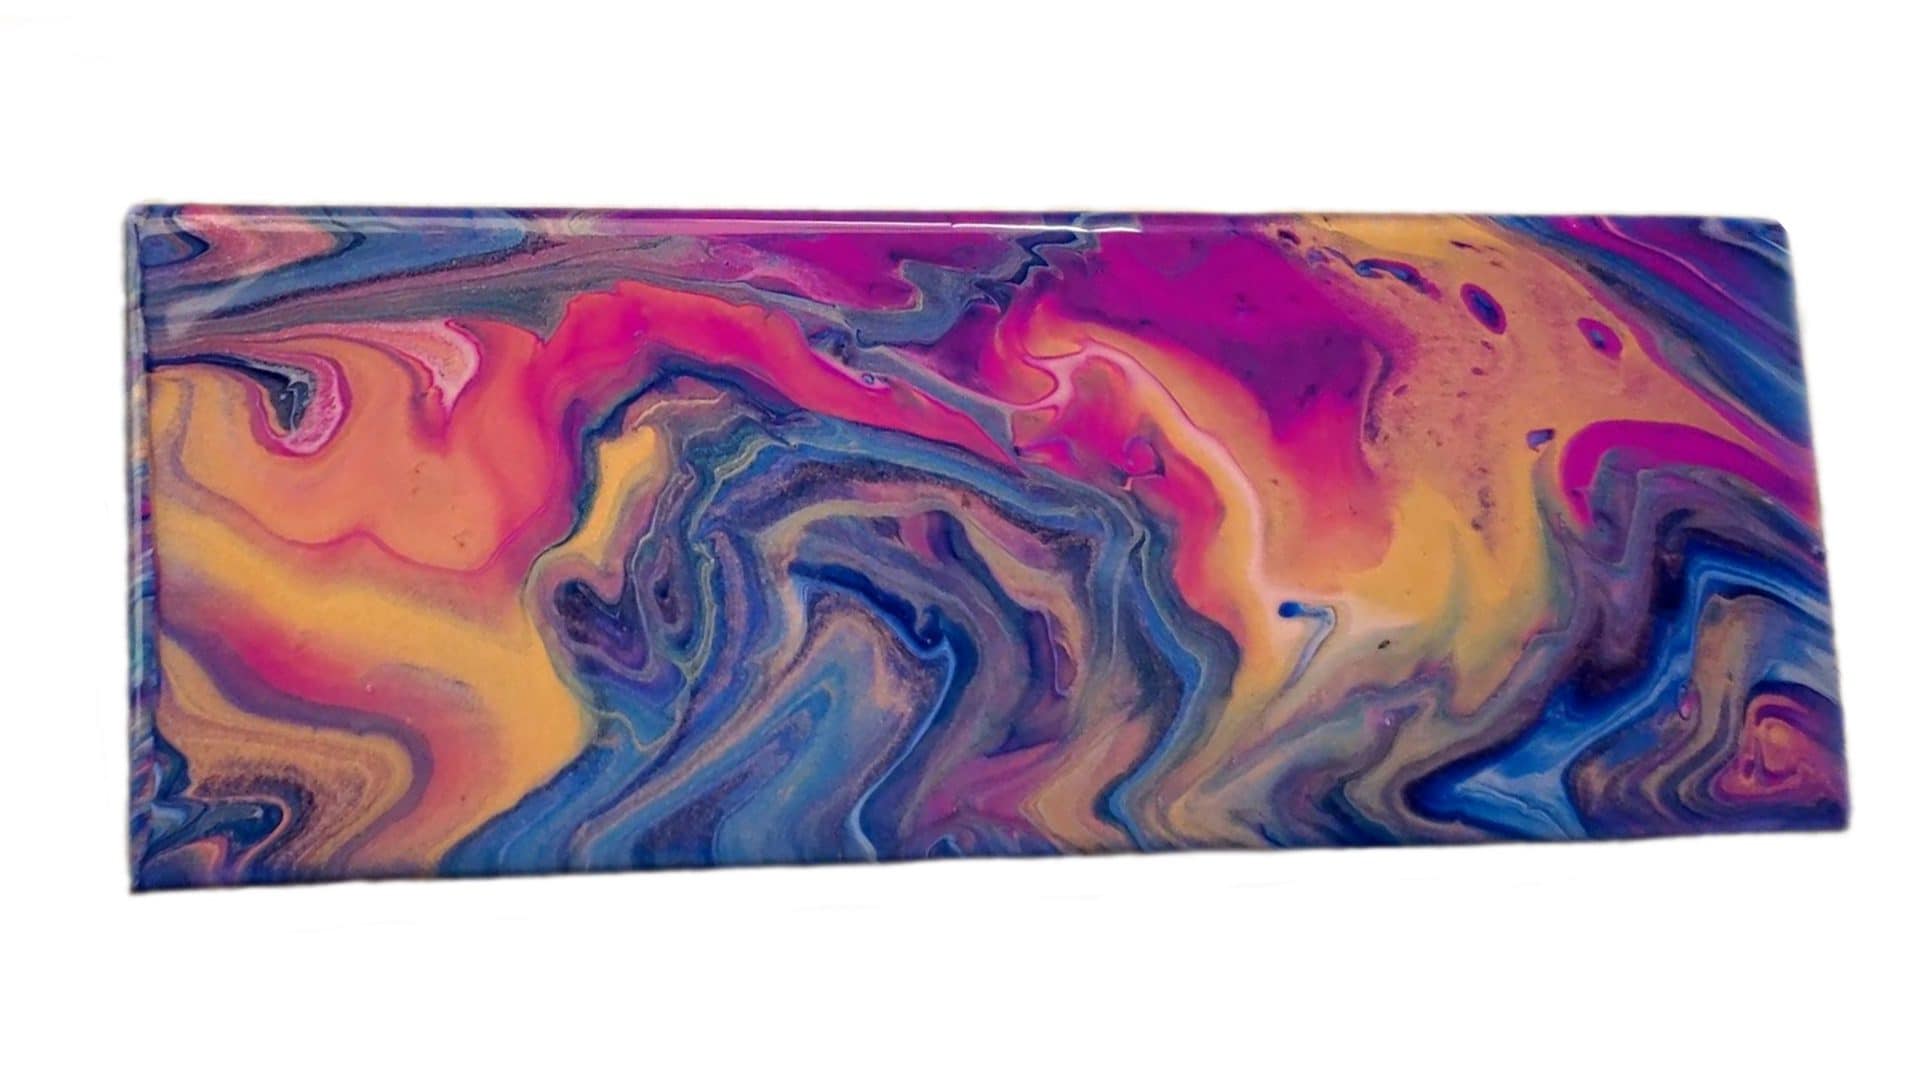
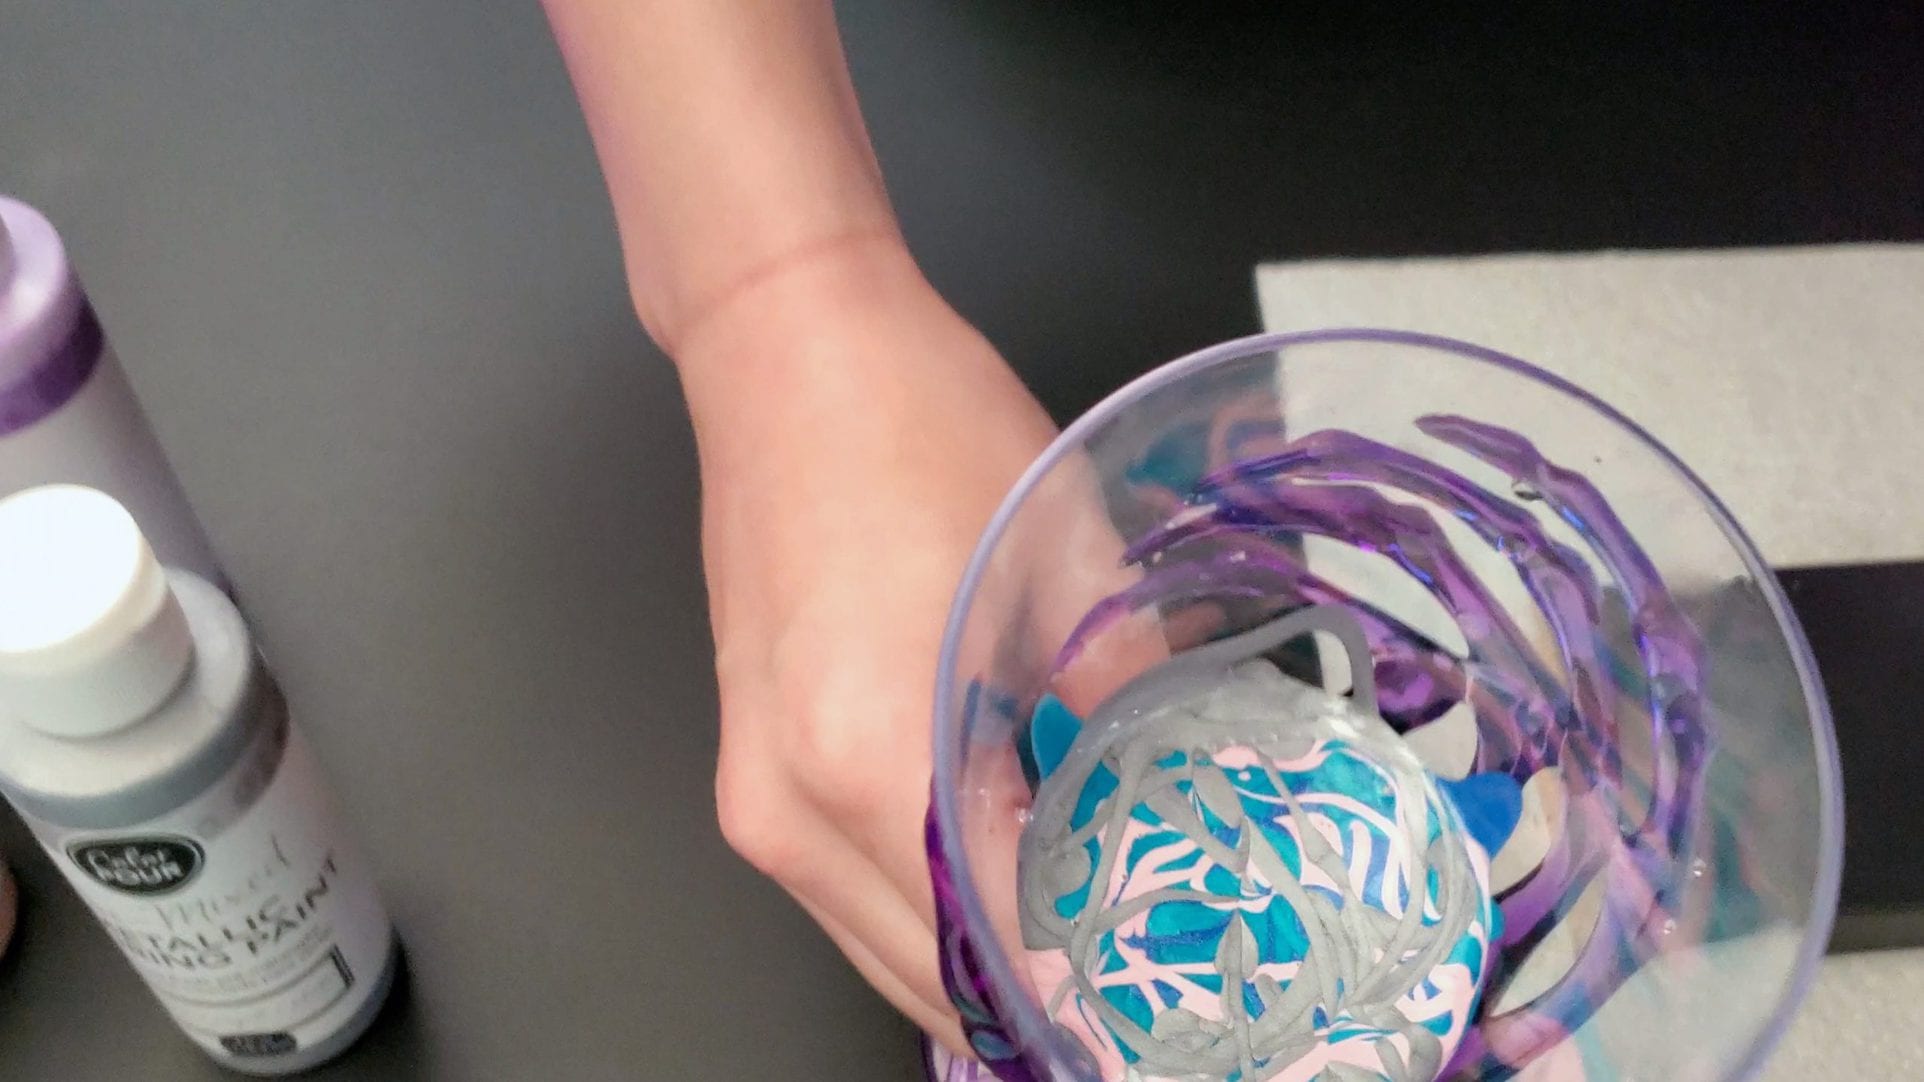
Acrylic Pouring, as mentioned above, is a fluid pouring painting technique. In this unique painting style, you mix many different colored acrylic paints with a pouring medium and place each color into one cup. Once the desired colors are inside of the cup, you pour the cup of paints onto the surface of the frame being painted.
After pouring the paint, tilting the frame will disperse the colors onto any bare areas. Tilting the frame will give you a substantial amount of control as to where the different colors spread out.

One of the many reasons this technique is adored by so many is that you do not have to be an overly artistic person or a professional artist to achieve a stunning masterpiece. Absolutely anyone is fully capable of performing a successful Acrylic Pour paint job.
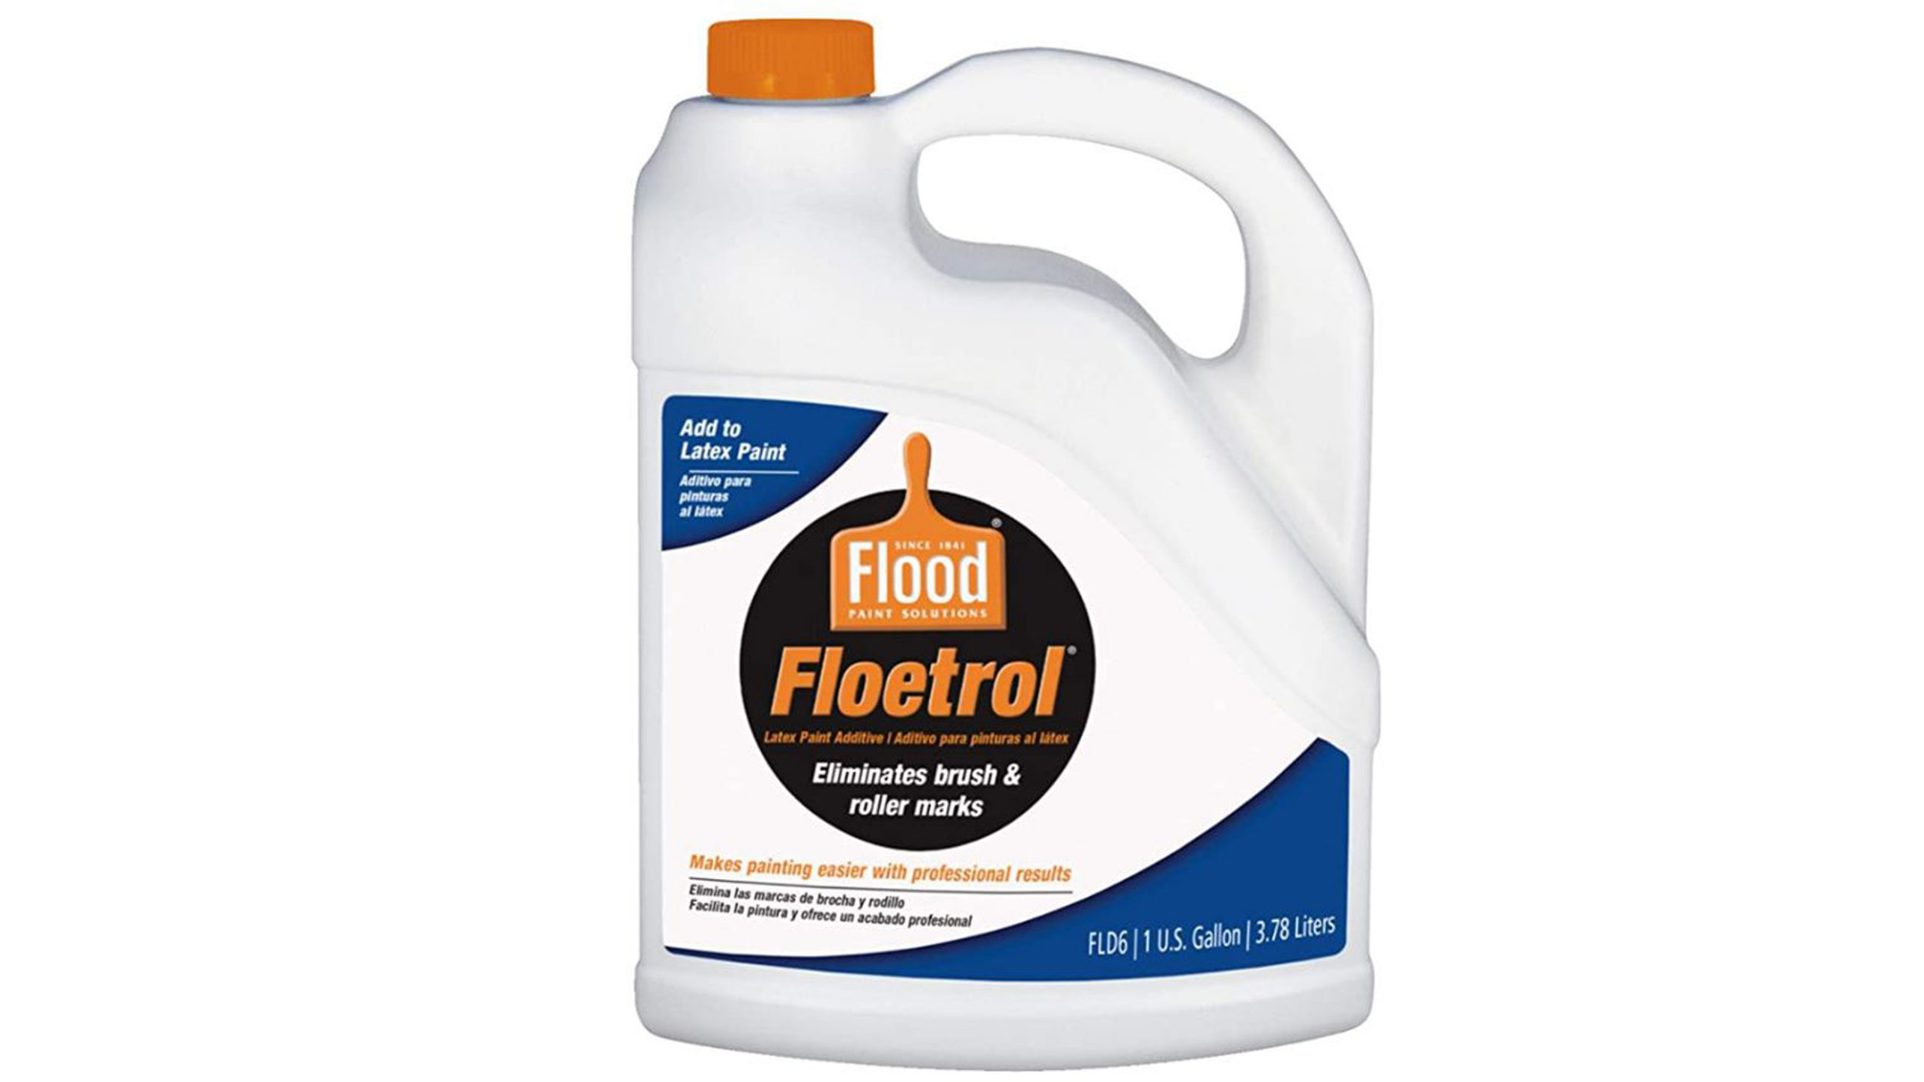
A pouring medium is a substance that is added to acrylic paints to thin them out, thus allowing the paints to flow out smoothly and freely. Pouring mediums not only dilute your paint but also work as a binder. Mediums also help the paints act more uniformly, causing the paints to be less likely to mix.
Another fantastic benefit of using a pouring medium is that after the drying process is complete, the medium will protect the painted frame’s appearance. Mediums help the paints avoid any paint cracking, fading, or separating. These mediums come in both glossy and matte/standard finishes.
Essentially pouring mediums allow you to turn any acrylic paint into a pourable, fluid art paint. They also allow your end piece of art to last for an extensive period of time.
It may feel a bit overwhelming when trying to choose the correct pouring medium for your new project since there’s an abundance of options available. The choice will inevitably come down to how experienced you are in this field, as well as your budget.
If you are an average or a beginner artist, using the product “Floetrol” is the best option. Floetrol comes in a variety of different volumes and comes ready to be mixed into paints.
For professional artists that would like to achieve a perfect and well-rounded medium, using Liquitex Pouring Medium or Floetrol is the best choice.
Another option would be using “Elmer’s Glue-All” mixed with distilled water. When creating your own pouring medium, we recommend using a 50/50 solution to achieve the best final results.
When using multiple brands of paint, the consistency of each painting may differ slightly. The general rule for mixing a medium with acrylic paints is half medium and half paint. However, in certain types or different paint brands, you may need a bit more or a bit less. Once the paints have developed a nice, creamy texture that isn’t excessively runny, they are ready to be poured.
The most important aspect of achieving an Acrylic Pour is having the correct consistency for each painting. Many art supplies stores have acrylic paints specifically for the Acrylic Pour technique that is already premixed with a pouring medium. The use of premixed paints is highly recommended since they do not utilize an additional pouring medium. Not having to add in a pouring medium will inevitably save you time and money.
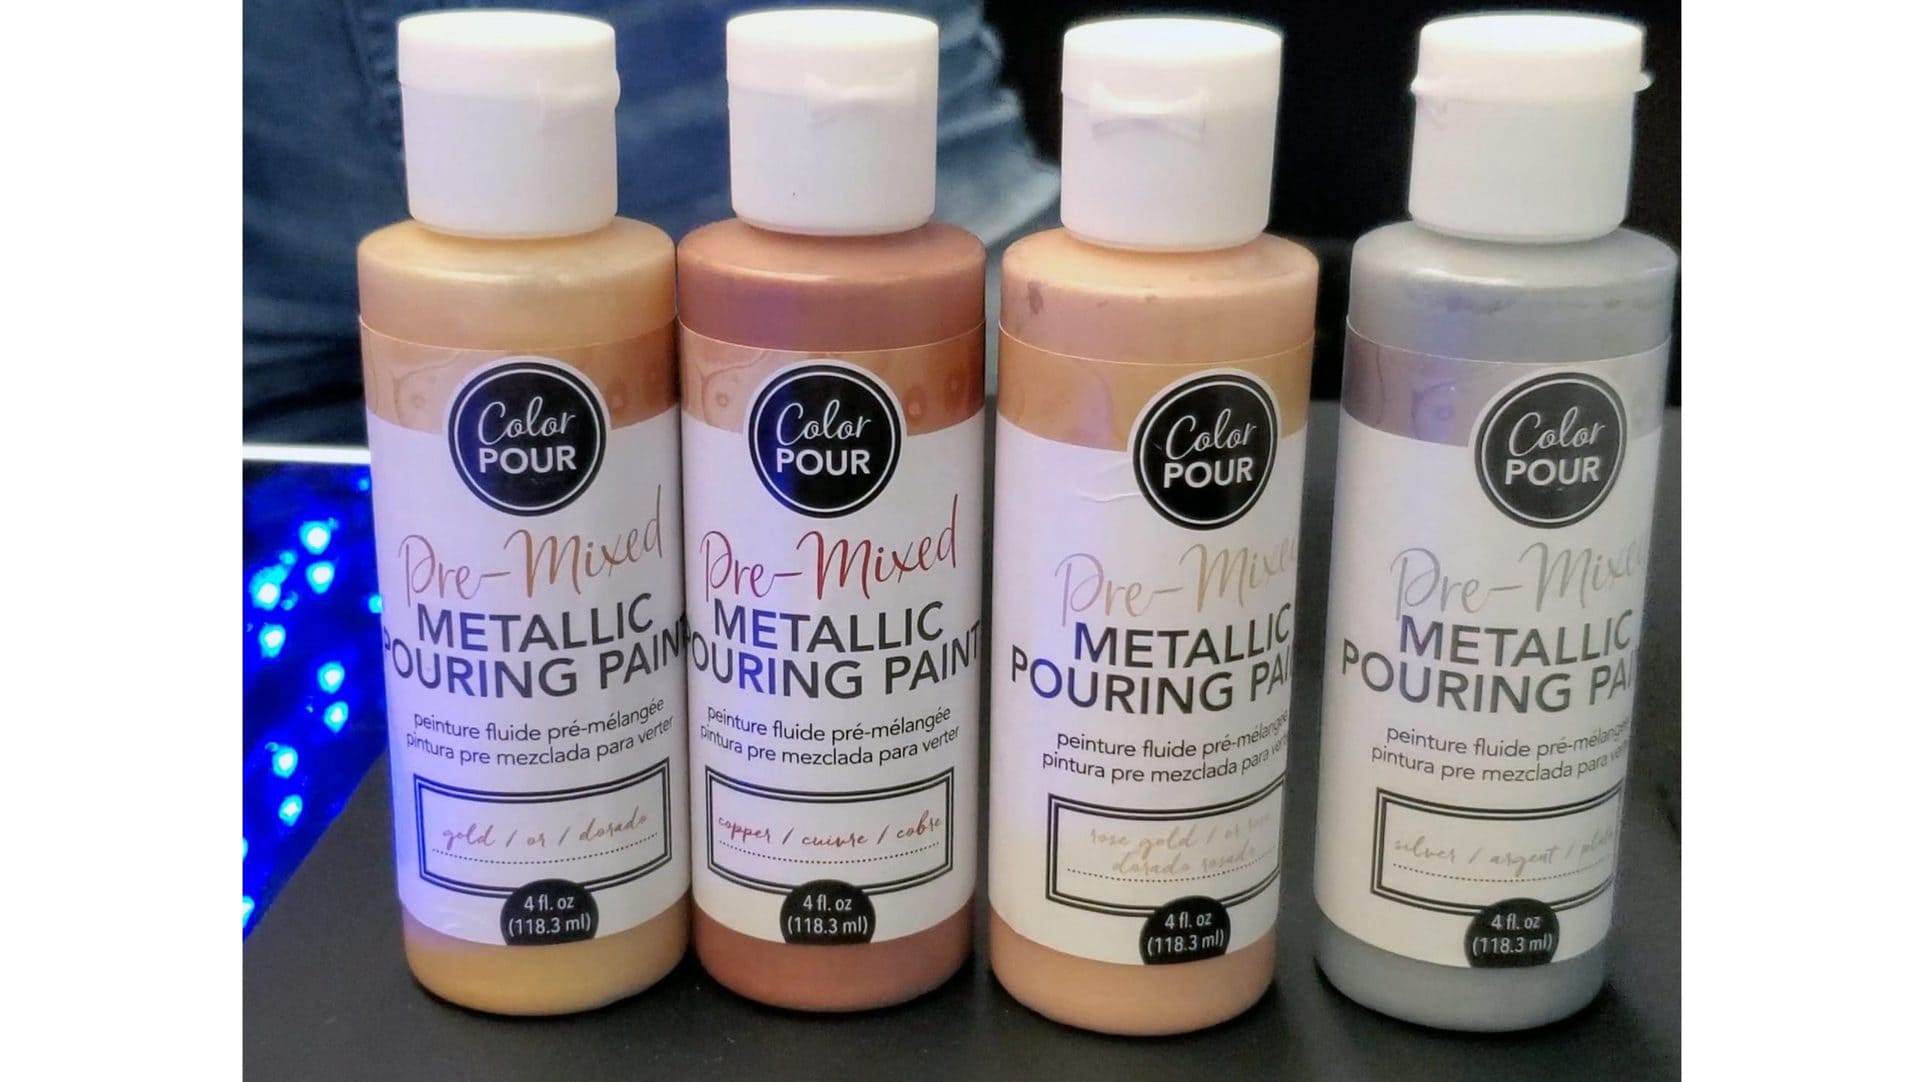
If adding in a pouring medium is not an issue for you, using the Apple Barrel brand paints may be the best option. Apple Barrel paints are highly pigmented and are extremely cost-friendly.
If this is your first Acrylic Pour attempt, using 3 different colors and white paint is recommended to ensure the best results. This amount of paints should be enough to allow you to achieve a beautiful, unique appearance without creating an overcrowded effect.
When first attempting an Acrylic Pour, you should avoid the use of the color black. Black paints tend to be overpowering and are notorious for bleeding into the other colors utilized.
Acrylic Pouring can be a messy project, so you will need to protect the area you’re going to be painting on. When setting up the painting area, it’s important to place a barrier between the surface and the frame. The surface chosen should be level, as well as located in a dust-free environment.
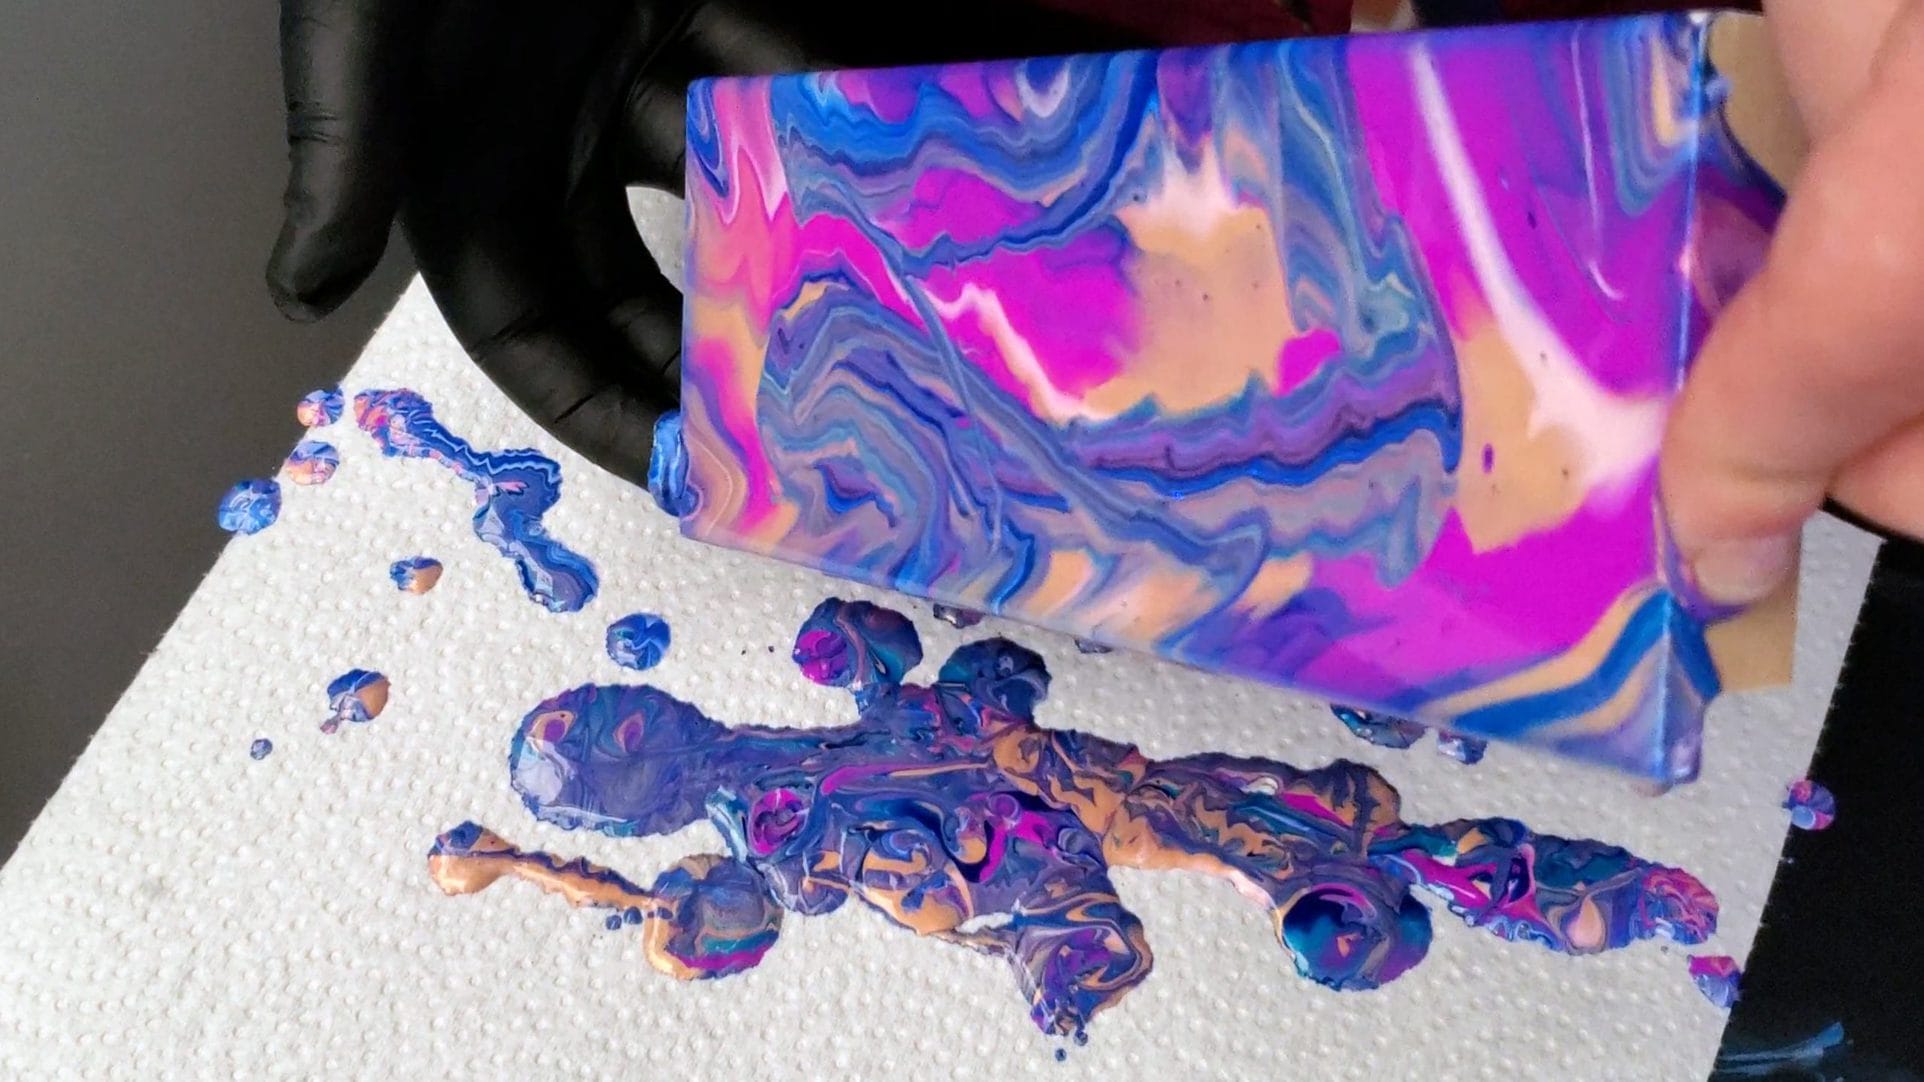
Wax paper works as a phenomenal barrier when performing an Acrylic Pour. This is because after the spilled paint has dried on the wax paper, you are then able to easily pull the dried paint off in sheets, which may be used for other DIY crafts. When setting up, be sure to cover more surface than the frame will utilize. By covering a more significant area, you will be assured that the surface being painted upon will remain safe and clean.
Many different factors can impact how long your new, immaculate frame will need to dry fully. Typically the frame will dry within 24 hours but may take up to 48 hours.
The factors that will determine the amount of time needed for the frame to fully dry include: the levels of humidity, the medium of painting ratio, the amount of paint applied, as well as the type of paints that were used.
Once finished performing the pour, choosing an ideal place for your new masterpiece to dry is incredibly important. Choose a dark, cool and dry environment as this will ensure an even, as well as fast drying process.
In conclusion, Acrylic Pouring is a simple, relaxing technique that allows absolutely anyone to create one of a kind artwork. When beginning the Acrylic Pour process, you will want to be sure that you are fully prepared and have taken the necessary precautions. By following these simple steps, you can ensure that the process will be smooth and successful.