
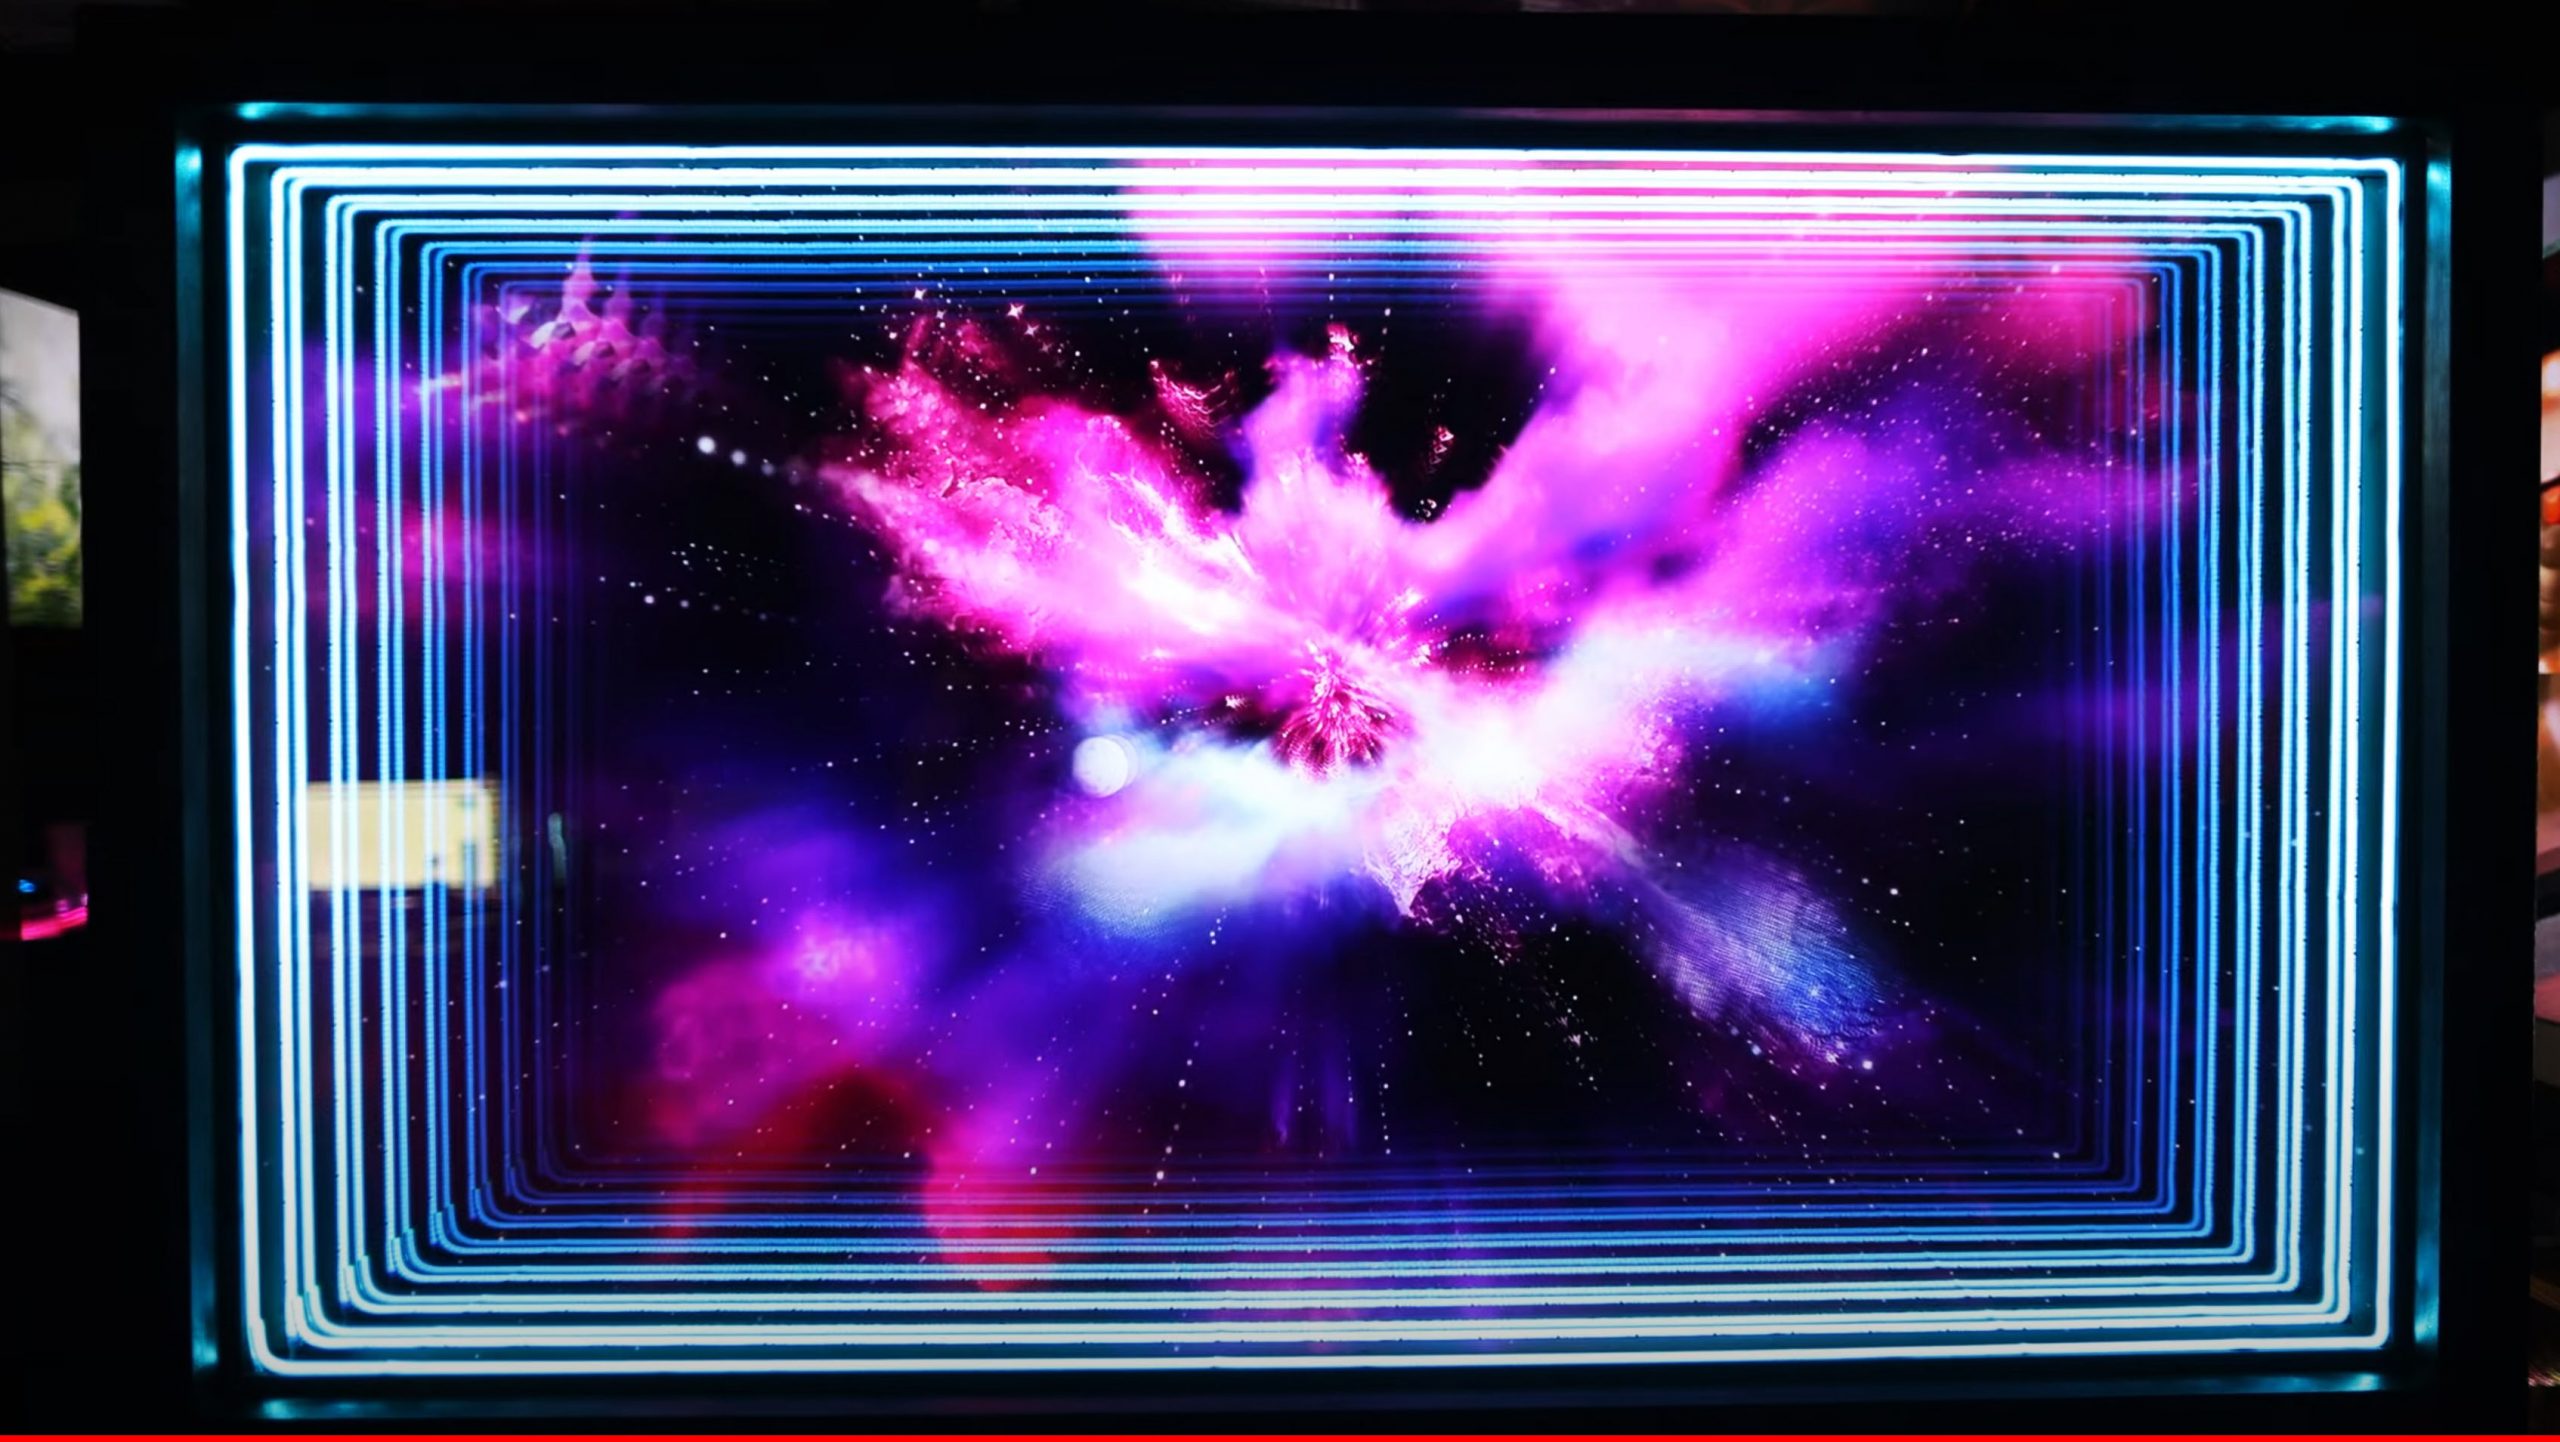
Have you ever seen an infinity mirror? Have you ever seen a mirrored TV? How about a hologram or holographic display? How about all of them combined? INTRODUCING the Holographic Infinity Mirror TV!
Prepare to be amazed as we enter the realm of holography and visual illusions with the incredible Holographic Infinity Mirror TV. This mesmerizing creation combines transparency and reflection, fueling our imagination as it brings any content to life on its infinite screen. Get ready to explore the magical world of this fascinating illusion that captivates viewers with its infinite effect. In this article, we’ll delve into the wonder of the Holographic Infinity Mirror TV, its captivating features, and the endless possibilities it presents. So, get ready to be transported into a world of sheer magic and wonder.
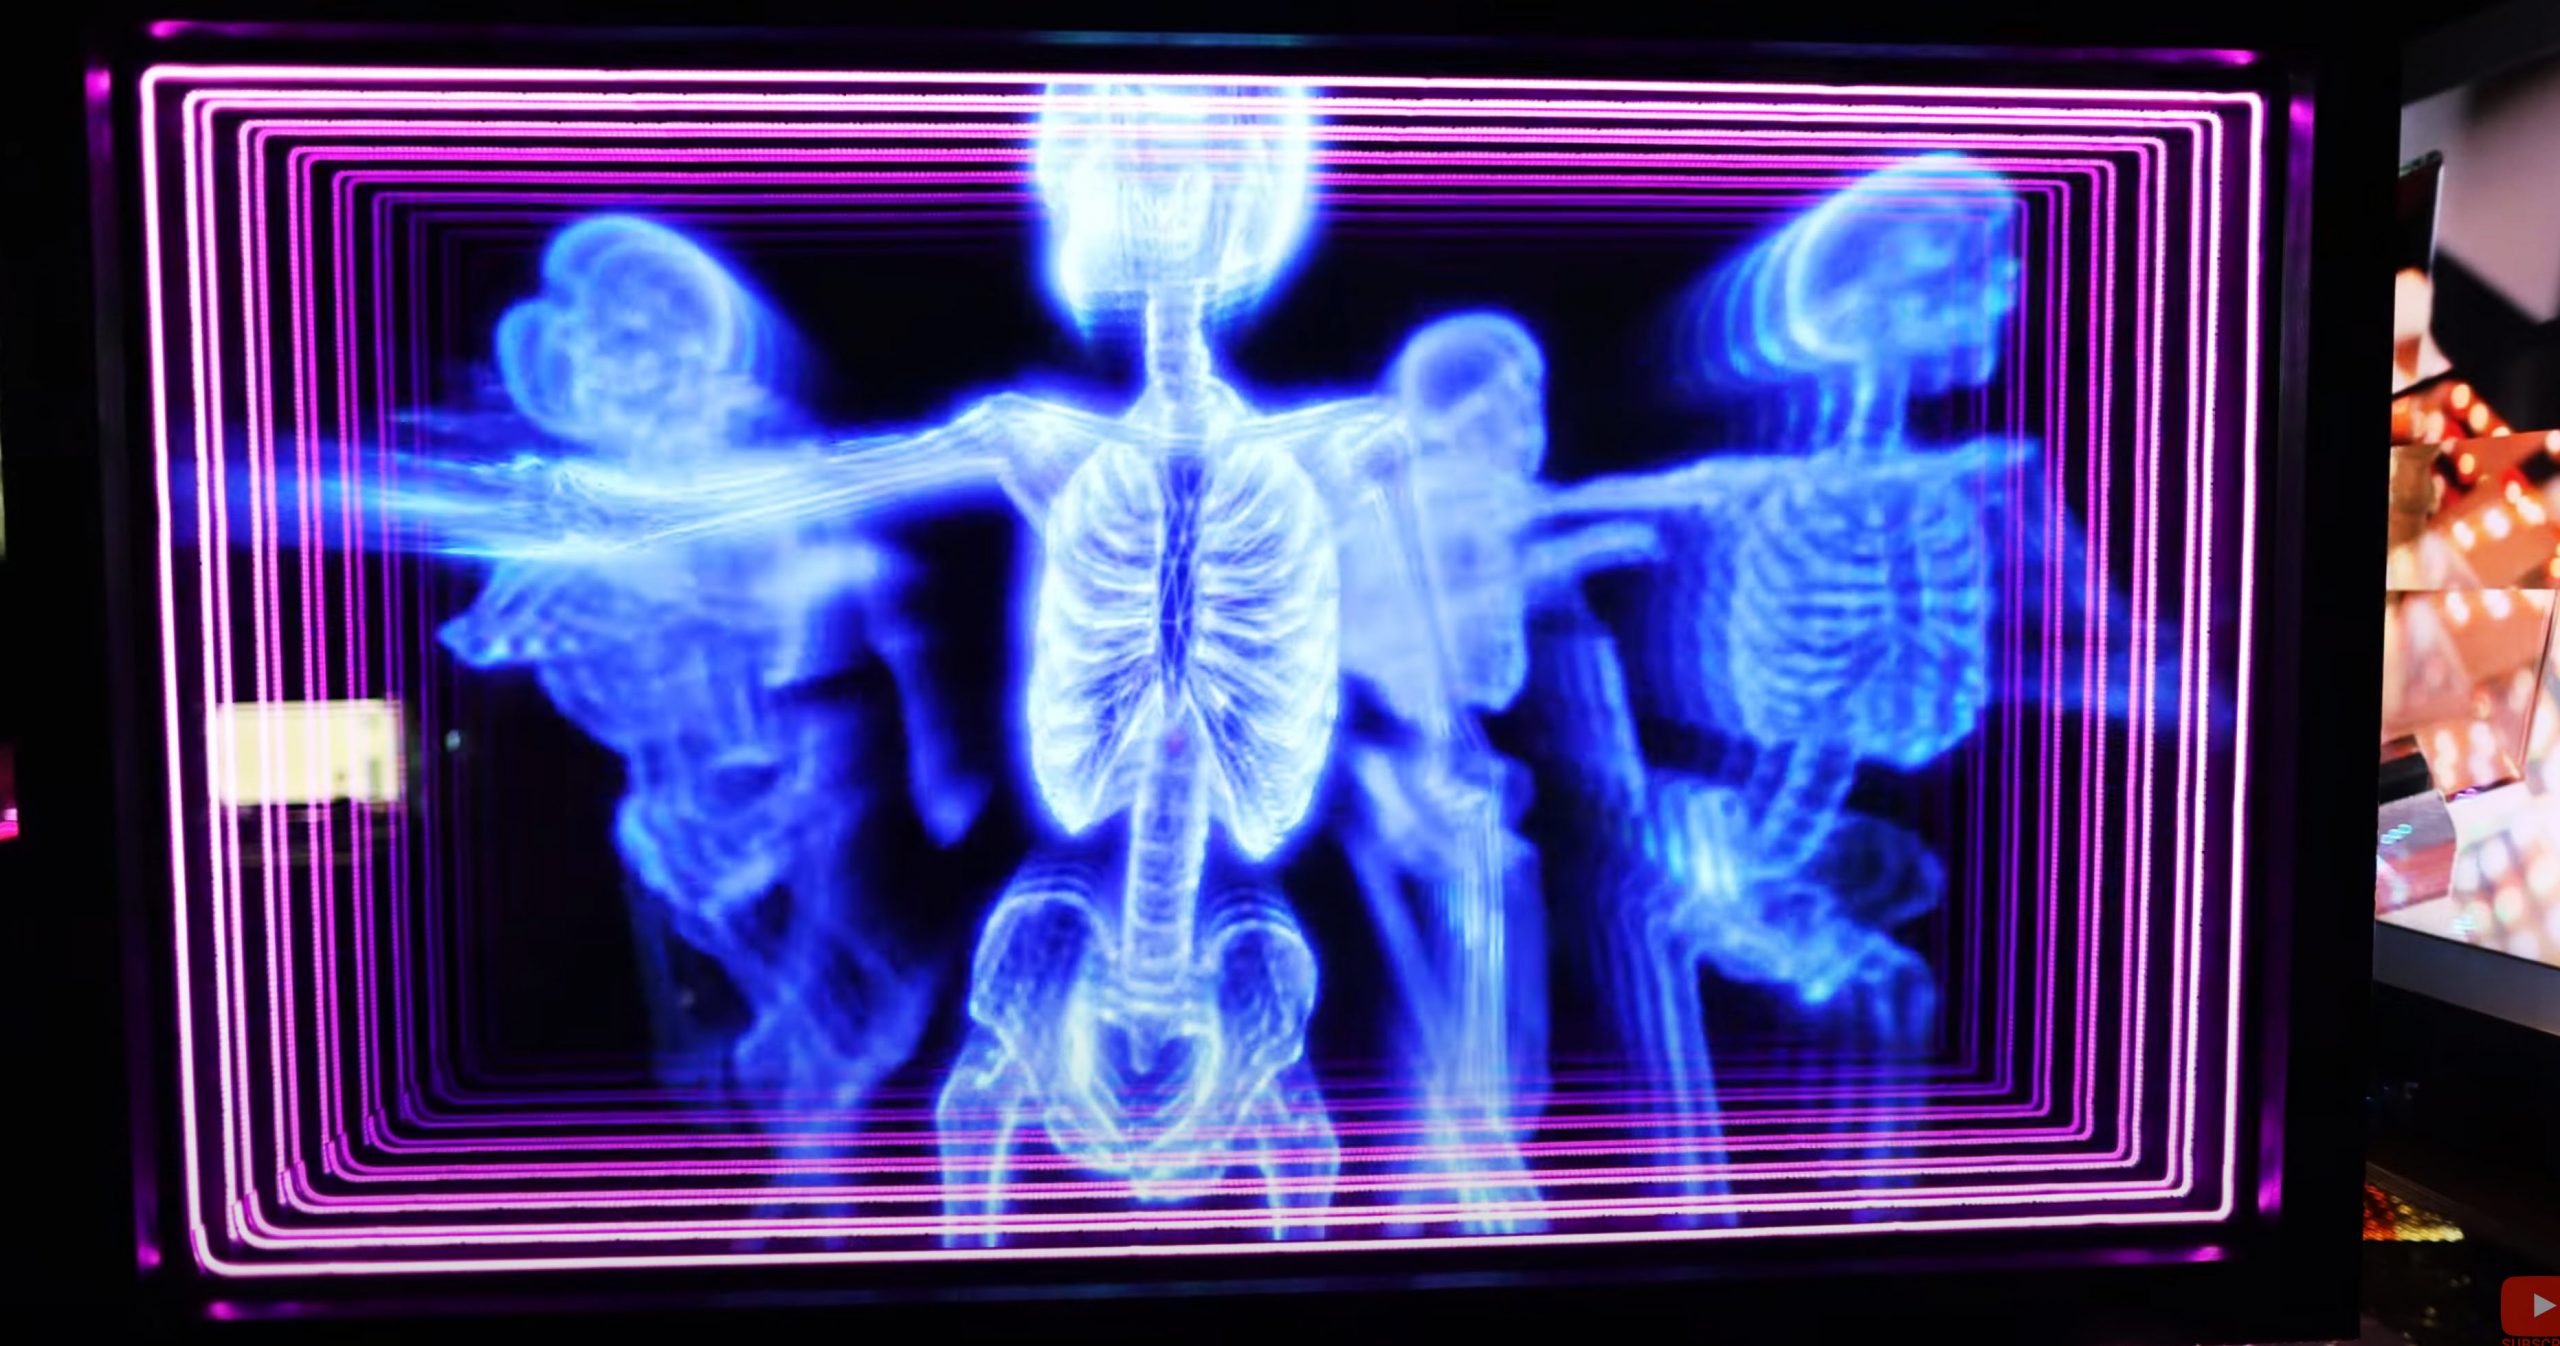
Check out our video that shows a complete step-by-step guide, and what the final product looks like!
Below you will find our step-by-step guide, materials, inspirations, applications, and more. So, keep reading!
Materials
Tools we used to create this project:
- Glass Smart Mirror OR Glass Dielectric Mirror
- Frame
- Samsung TV
- Z-Bar Brackets
- Stainless Pan Head Phillips Wood Screw
- Drill
- Router
- Miter Saw
- Table Saw
- Spray Paint (make sure it matches your frame)
- LED Strip Lights
- Titebond Wood Glue
- Ammonia Free Glass Cleaner
- Microfiber Cleaning Cloth
- Flat Corner Brackets
- Triangle Carpenter Square
- IR Repeater Kit
- Masking Tape
- Writing Utensil
- Nail Gun
- NOVUS Plastic Clean and Shine
Samsung TV Recommendations:
We ALWAYS recommend Samsung TVs when working on a project with mirrors. Their quality and brightness works wonders with the glass! Also, they’re extremely thin and easy to work with. We always use a Samsung TV when creating a project that utilizes a display.
Step-By-Step Guide
All of these steps are also included in the video above!
Step 1: Measure The TV’s Overall Size.
We used a 65” Samsung TV. We measured the overall size of the TV, which came out to be 53 1/4″ by 30 1/2″.
This gives us our base measurement before we add the thickness of the frame to get the overall frame size.
The frame thickness for the frame we are using is 2 1/4″. Then, you take this thickness and multiply it by two. You do this so the TV sits inside of the frame. So, if you are doing this project at home, all you need to do is measure the thickness of the frame you are using and multiply it by two.
Therefore, our measurement comes out to 4 1/2″.
Then, you will add that measurement to the overall TV size. This creates the overall frame size that you will be cutting in the next step. The overall frame size we have is 57 3/4″ by 35″.
Step 2: Finding the Routing Measurements
The Samsung logo on the TV sticks out further than the other parts of the TV, so we use that as the most outward point for routing.
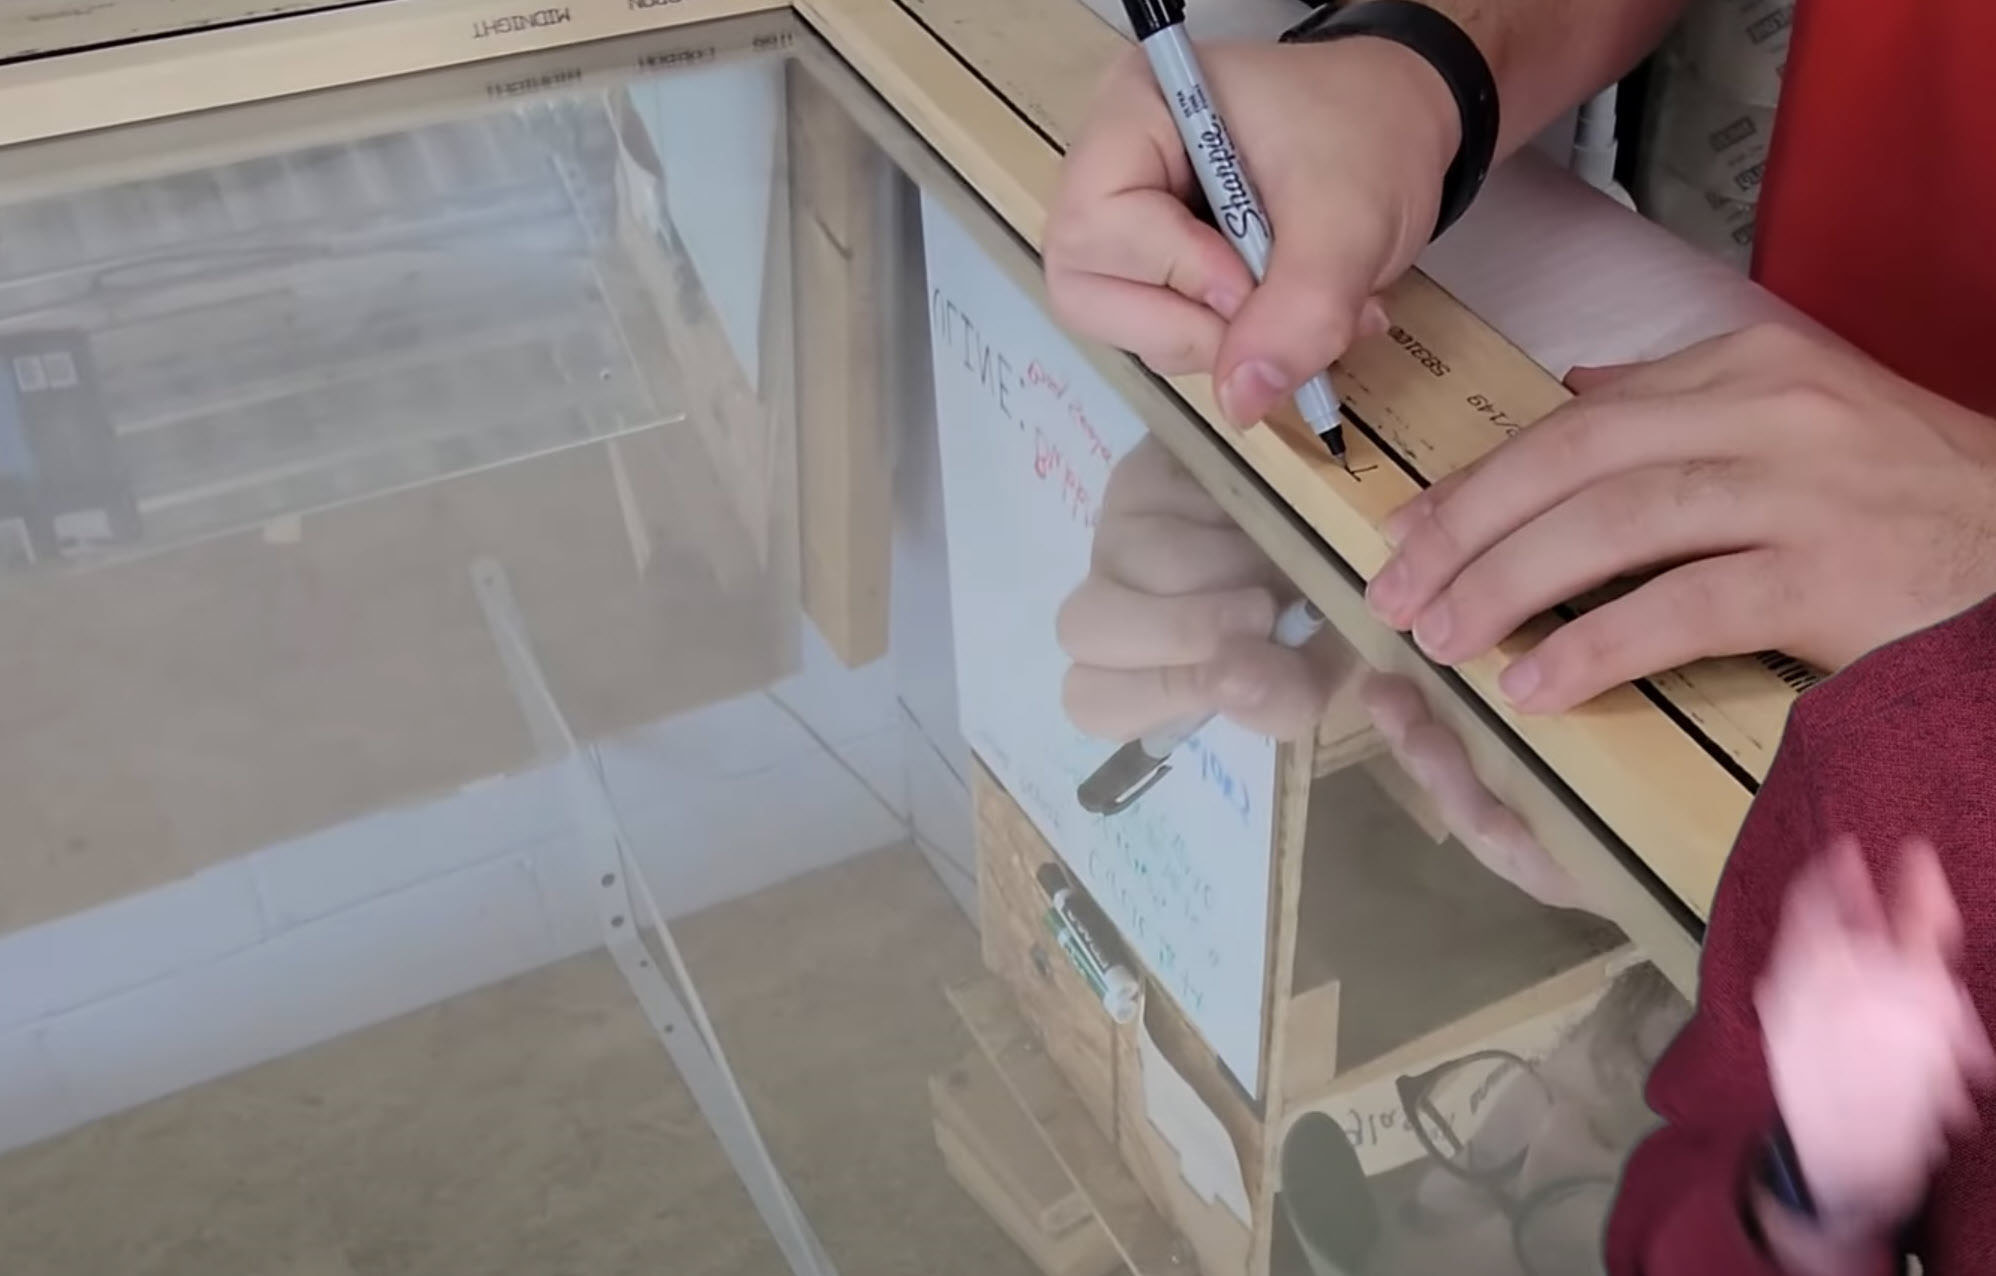
Using a Triangle Carpenter Square, make sure you are not measuring at an angle and you are providing the straightest line possible to get the most accurate measurement of the distance.
You measure from the most outward part of the Samsung logo, to the black digital bar on the inside of the screen. In this case, where the green starts. This step is important because every TV is different.
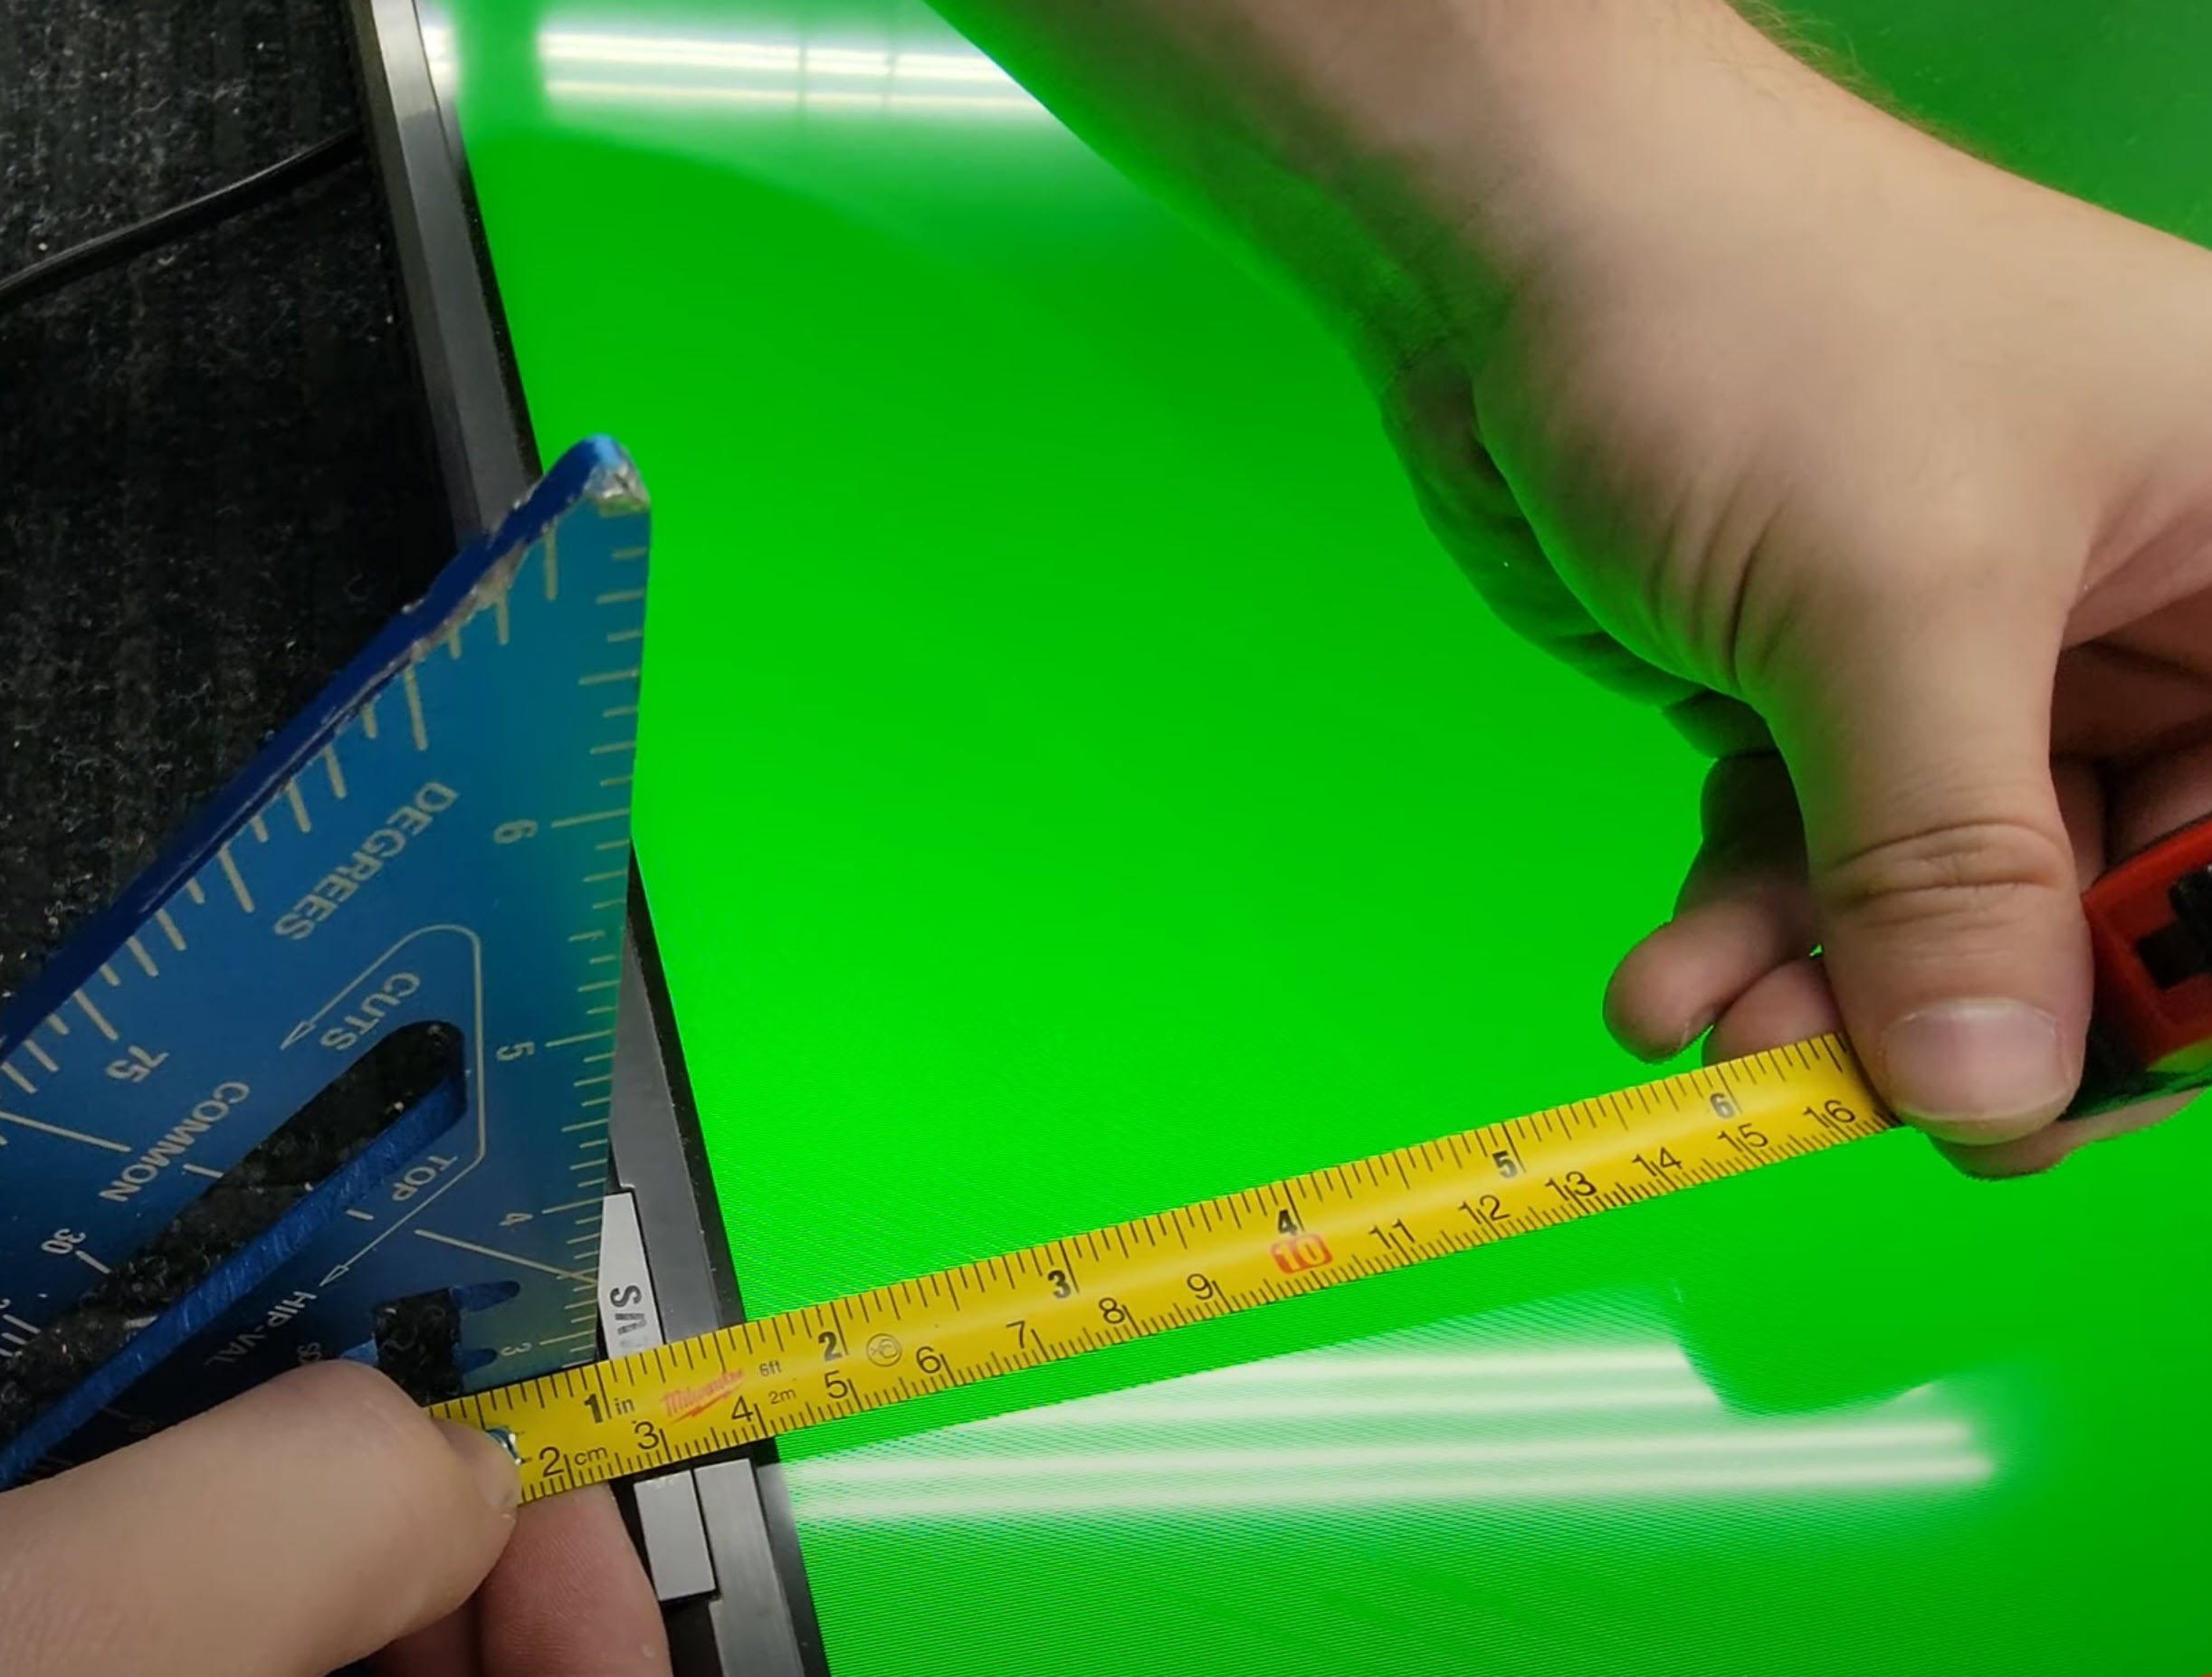
As you can see, initially we wrote down 7/16th because that was the size of the measurement from the logo to the green screen. However, we also wanted to incorporate an IR Repeater Kit, so we added a 16th for the IR. The measurement will change for your project at home depending on the size of the IR repeater you are using.
Step 3: Cut The Frame Sticks To Size
This step is simply cutting all 8 frame sticks to size at 45 degree angles. You need 8 frame sticks total because you are making two separate frames to glue onto each other, which we will tackle in a future step.
But make sure you cut all frame sticks.
You will need 4 sticks at 57 ¾ and four frame sticks at 35 inches.
First we cut the 57 and three fourths frame sticks. Then, we cut the 35″ frame sticks.
Step 4: Route The Frame To The Samsung Logo Bevel
First, set the height of the routing blade. You can use a scrap from the frame you are using to test the height.
Ours is set to half an inch – The measurement we got in step 2.
You will want the height roughly a 1/32″ under the lip. Basically, you want it as tall as possible without damaging the lip, because you could possibly see it in the mirror reflection.
We place the frame stick that we are routing up to the TV where it would be sitting. Then you can slide it back, and place masking tape slightly larger than the area of the logo. This will mark where you want to route.

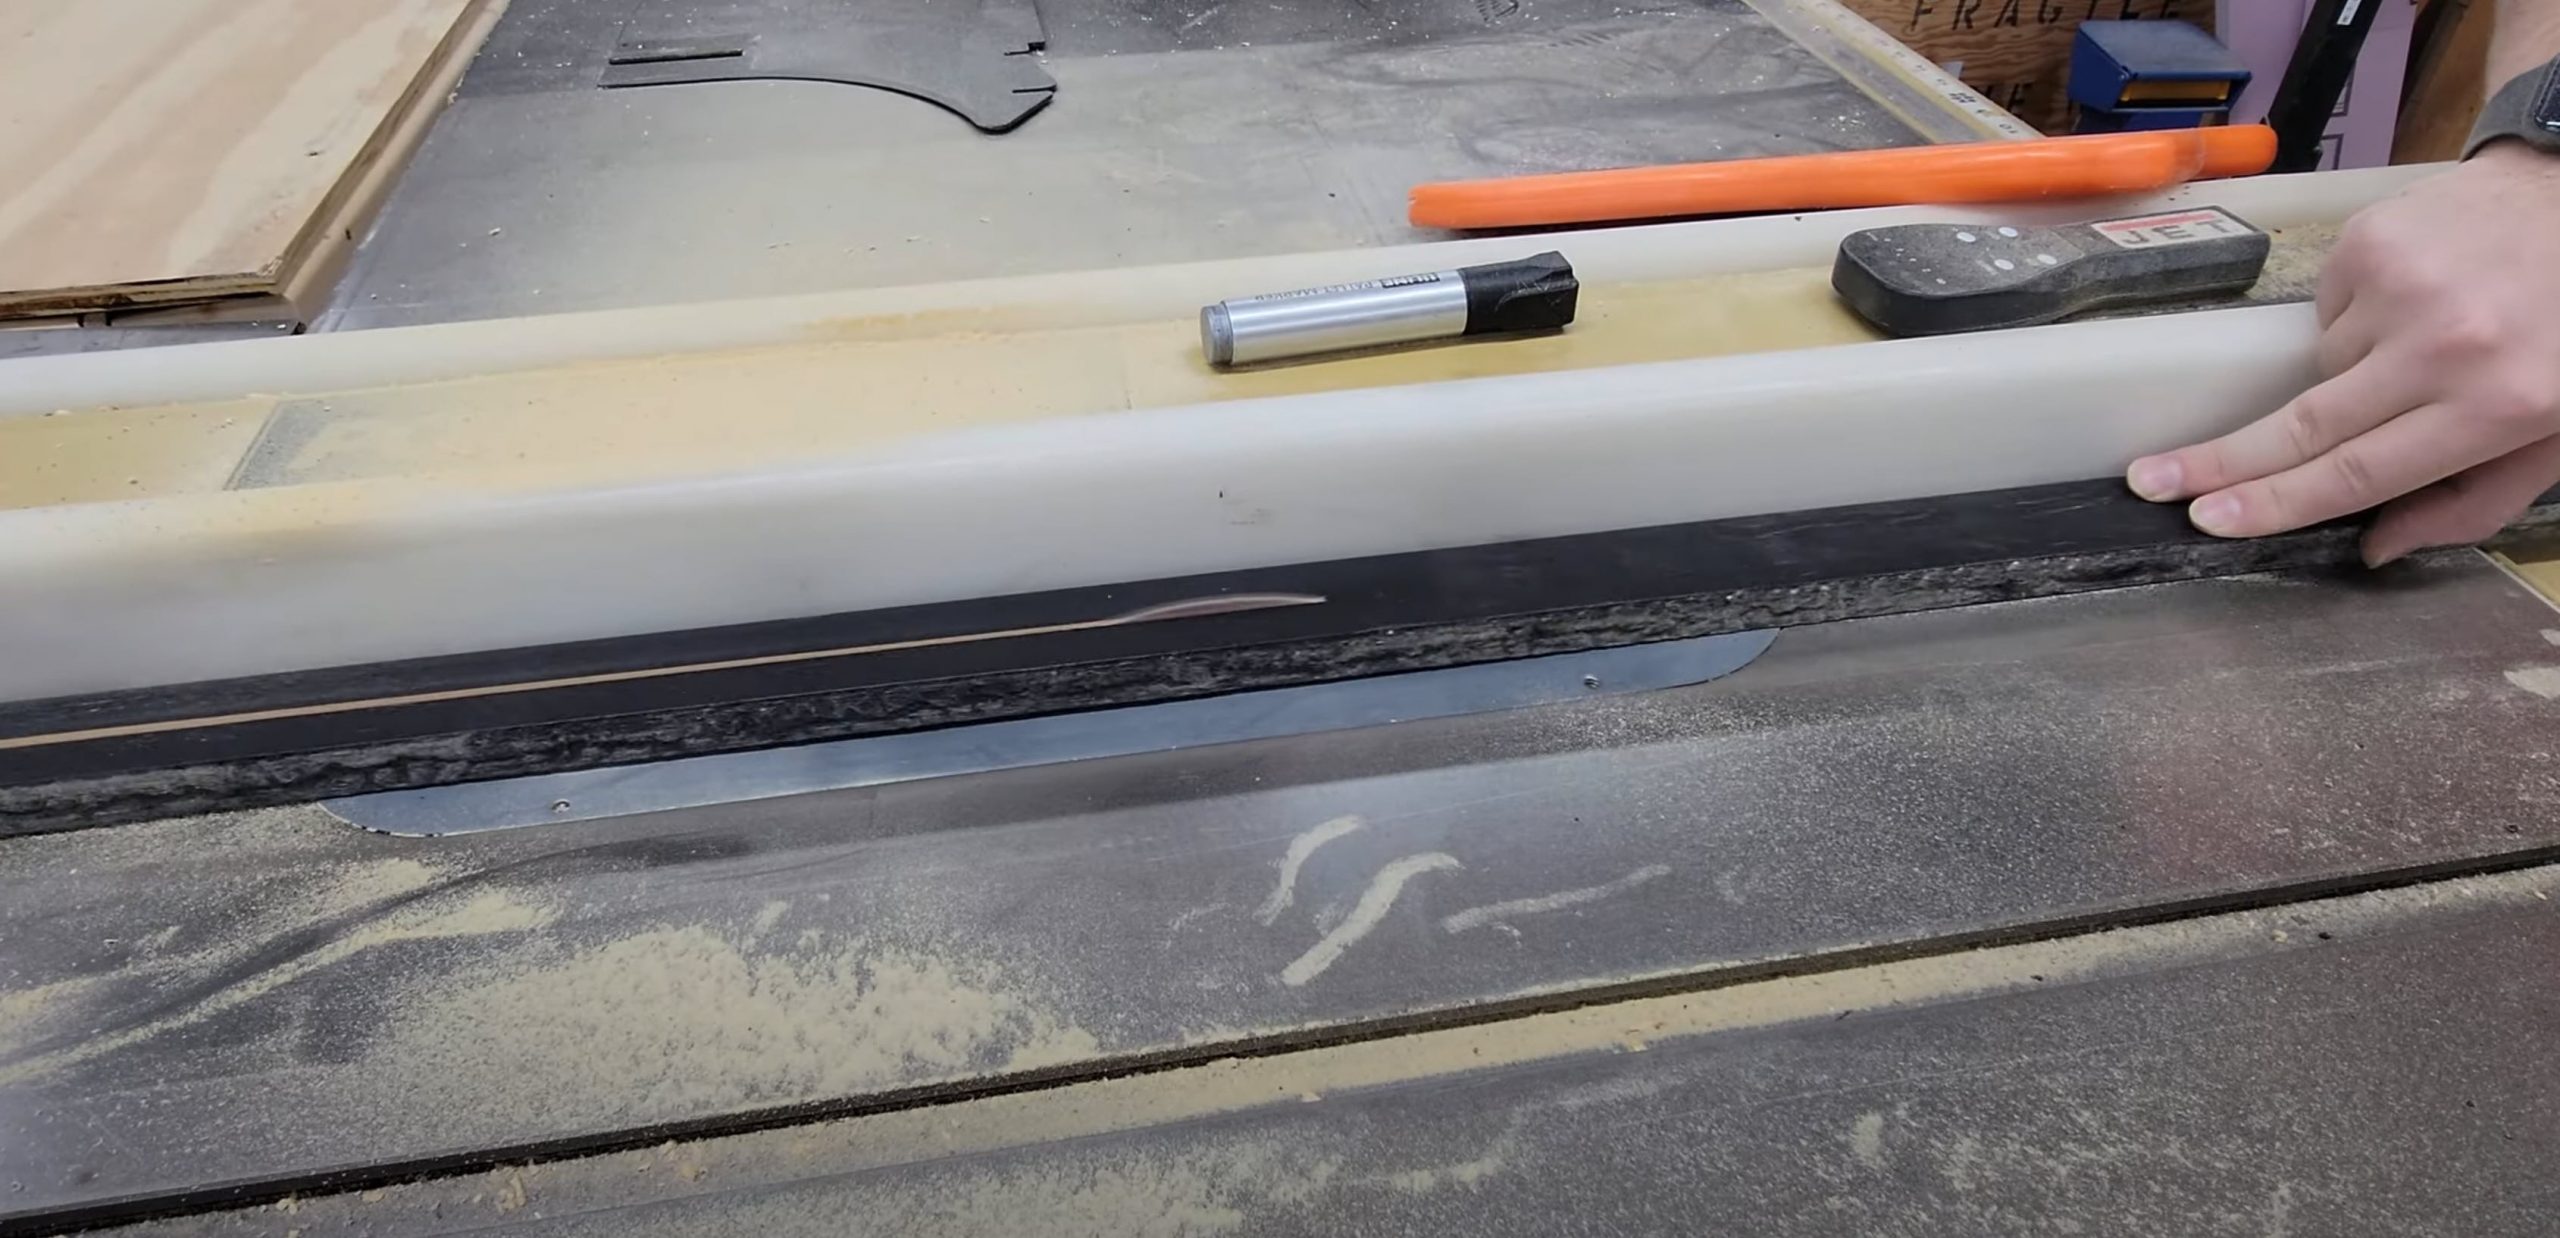
Step 5: Trim Off The Textured Design On 4 of the 8 Frame Sticks
Using a table saw, trim off the design on 4 of the 8 sticks. Two of each size.
As you can see, we are lining the frame up to the blade, with just a little bit hanging over.
We are doing this to create a perfectly flat surface to glue the TV frame on top of the front frame. The final product will be two frames stacked on top of each other.
If you are doing this yourself and using a different frame, you still might want to do this step because it will glue and hold stronger, therefore providing a safer and stronger outcome.


Step 6: Gluing Together the TV Frame.
Line up the four corners so they fit together. Then, use clamps to hold them in place.
Once you have them secured, use Titebond III Wood Glue to adhere the sticks together.
Wipe away any excess glue that squeezes out of the frame. We used a Microfiber Cleaning Cloth when doing this so we wouldn’t scratch the frame.

Step 7: Remove The Frame From The Table and Scrape Off The Dried Glue From The Bottom of the Corners.
We scrape the glue off the bottom of the corners for a more professional product and it keeps the corners flat.
You can skip this step if you would like, but we do this with all of our projects to make them look more professional.
Step 8: Measure the Frame Bevel for the Size of Glass to Use. Then, Cut the Glass to Size.
Measure from the inside corner to the inside corner of the frame where the glass will sit. We subtract a millimeter to insure the glass will slide right in, but you can also cut it to complete accuracy to minimize any wiggle area.
We cut our glass on the table by hand. We use hand held score cutters with CRL suction cup straight edge tools to get a precise line and measurement. Then, you can break the glass with any type of handheld glass pliers.
If you want to skip this step and order the glass straight from us, you can easily do so by going to twowaymirrors.com and use the price calculator on top of the page. We cut our glass within a 1/16 tolerance, so it will 100% fit in your frame!
We are using our glass Smart 3mm for this project, but after we finished it we realized the dielectric beamsplitter would have been a better choice.
Step 9: Clean the Glass.
You can use Ammonia Free Glass Cleaner to clean the glass, and we wipe it down with a Microfiber Cloth.
Step 10: Move The Glass Into The Frame
Move your freshly cleaned glass and place it into the frame. Make sure you wear proper safety equipment and gloves when handling glass!
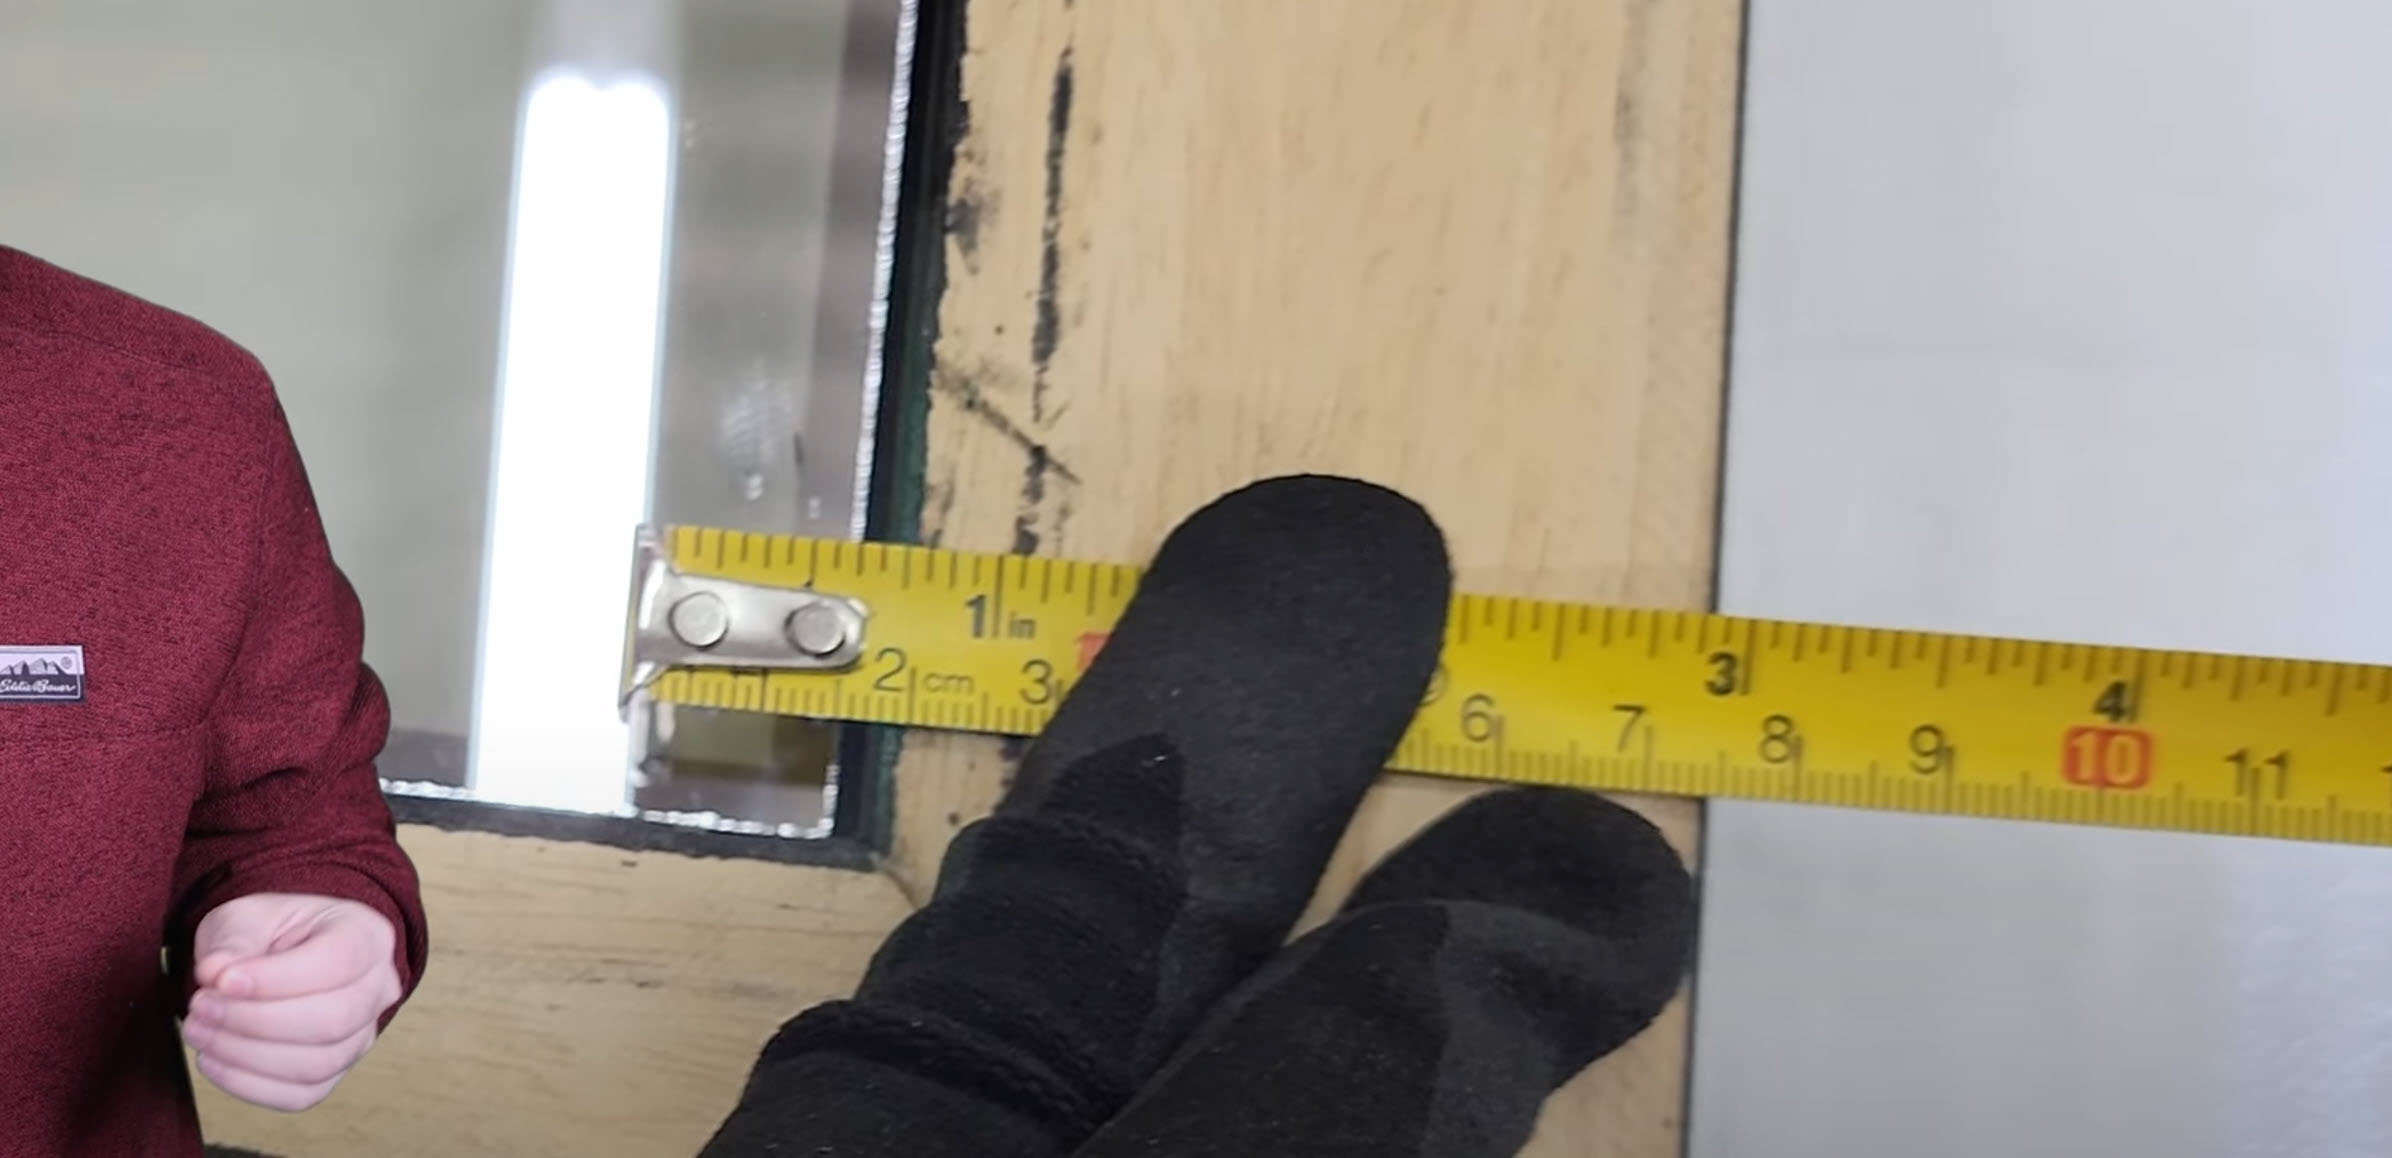
Step 11: Measure the Remaining Height of the Frame to Cut a Border That Will Hold the First Pane of Glass Securely.
You will want to measure the remaining depth of the frame. From the top of the glass to the back of the frame, the depth turned out to be 5/8th.
Then, we thought 3/4ths of an inch would be sufficient to hold in the material without blocking the view of the TV or ruin the mirror effect. This also provides a custom area to adhere the lights to.

Step 12: Cut Frame Sticks to Start the Border.
In this step, we used extra frame sticks that we had. You can use any type of wood that you can get a hold of if you don’t have any extra frame sticks.
We cut the frame sticks a few inches larger than the overall size, because we will be trimming them down to their exact size later.
Step 13: Trim the Frame Sticks with the Table Saw to the Measurements Obtained Earlier in Step 11.
Use a table saw to trim down the extra wood to 5/8″.
After that, we trimmed it to 3/4″. So the overall stick size is 5/8″ x 3/4″. We will get the exact lengths in the next step.
Step 14: Measure the Inside Length of the Frame to Cut the Border to Size.
We started off getting one size at a time. The first stick was 53” and 5/16th. You want to make sure you measure each side individually.
Step 15-a: Cut the Border to Size.
Cut the stick to the measurements you just got. Then, place it in the frame. Ideally, you want it to have a snug fit.
Then, measure the second size once the first one is placed in and fits. It turned out to be 29”.
Step 15-b: Label the Top of the Border.
We chose to label the top of the border with a “T” to ensure that each stick goes in the direction we intended it to. This will help us with in the future when we are spray painting the border
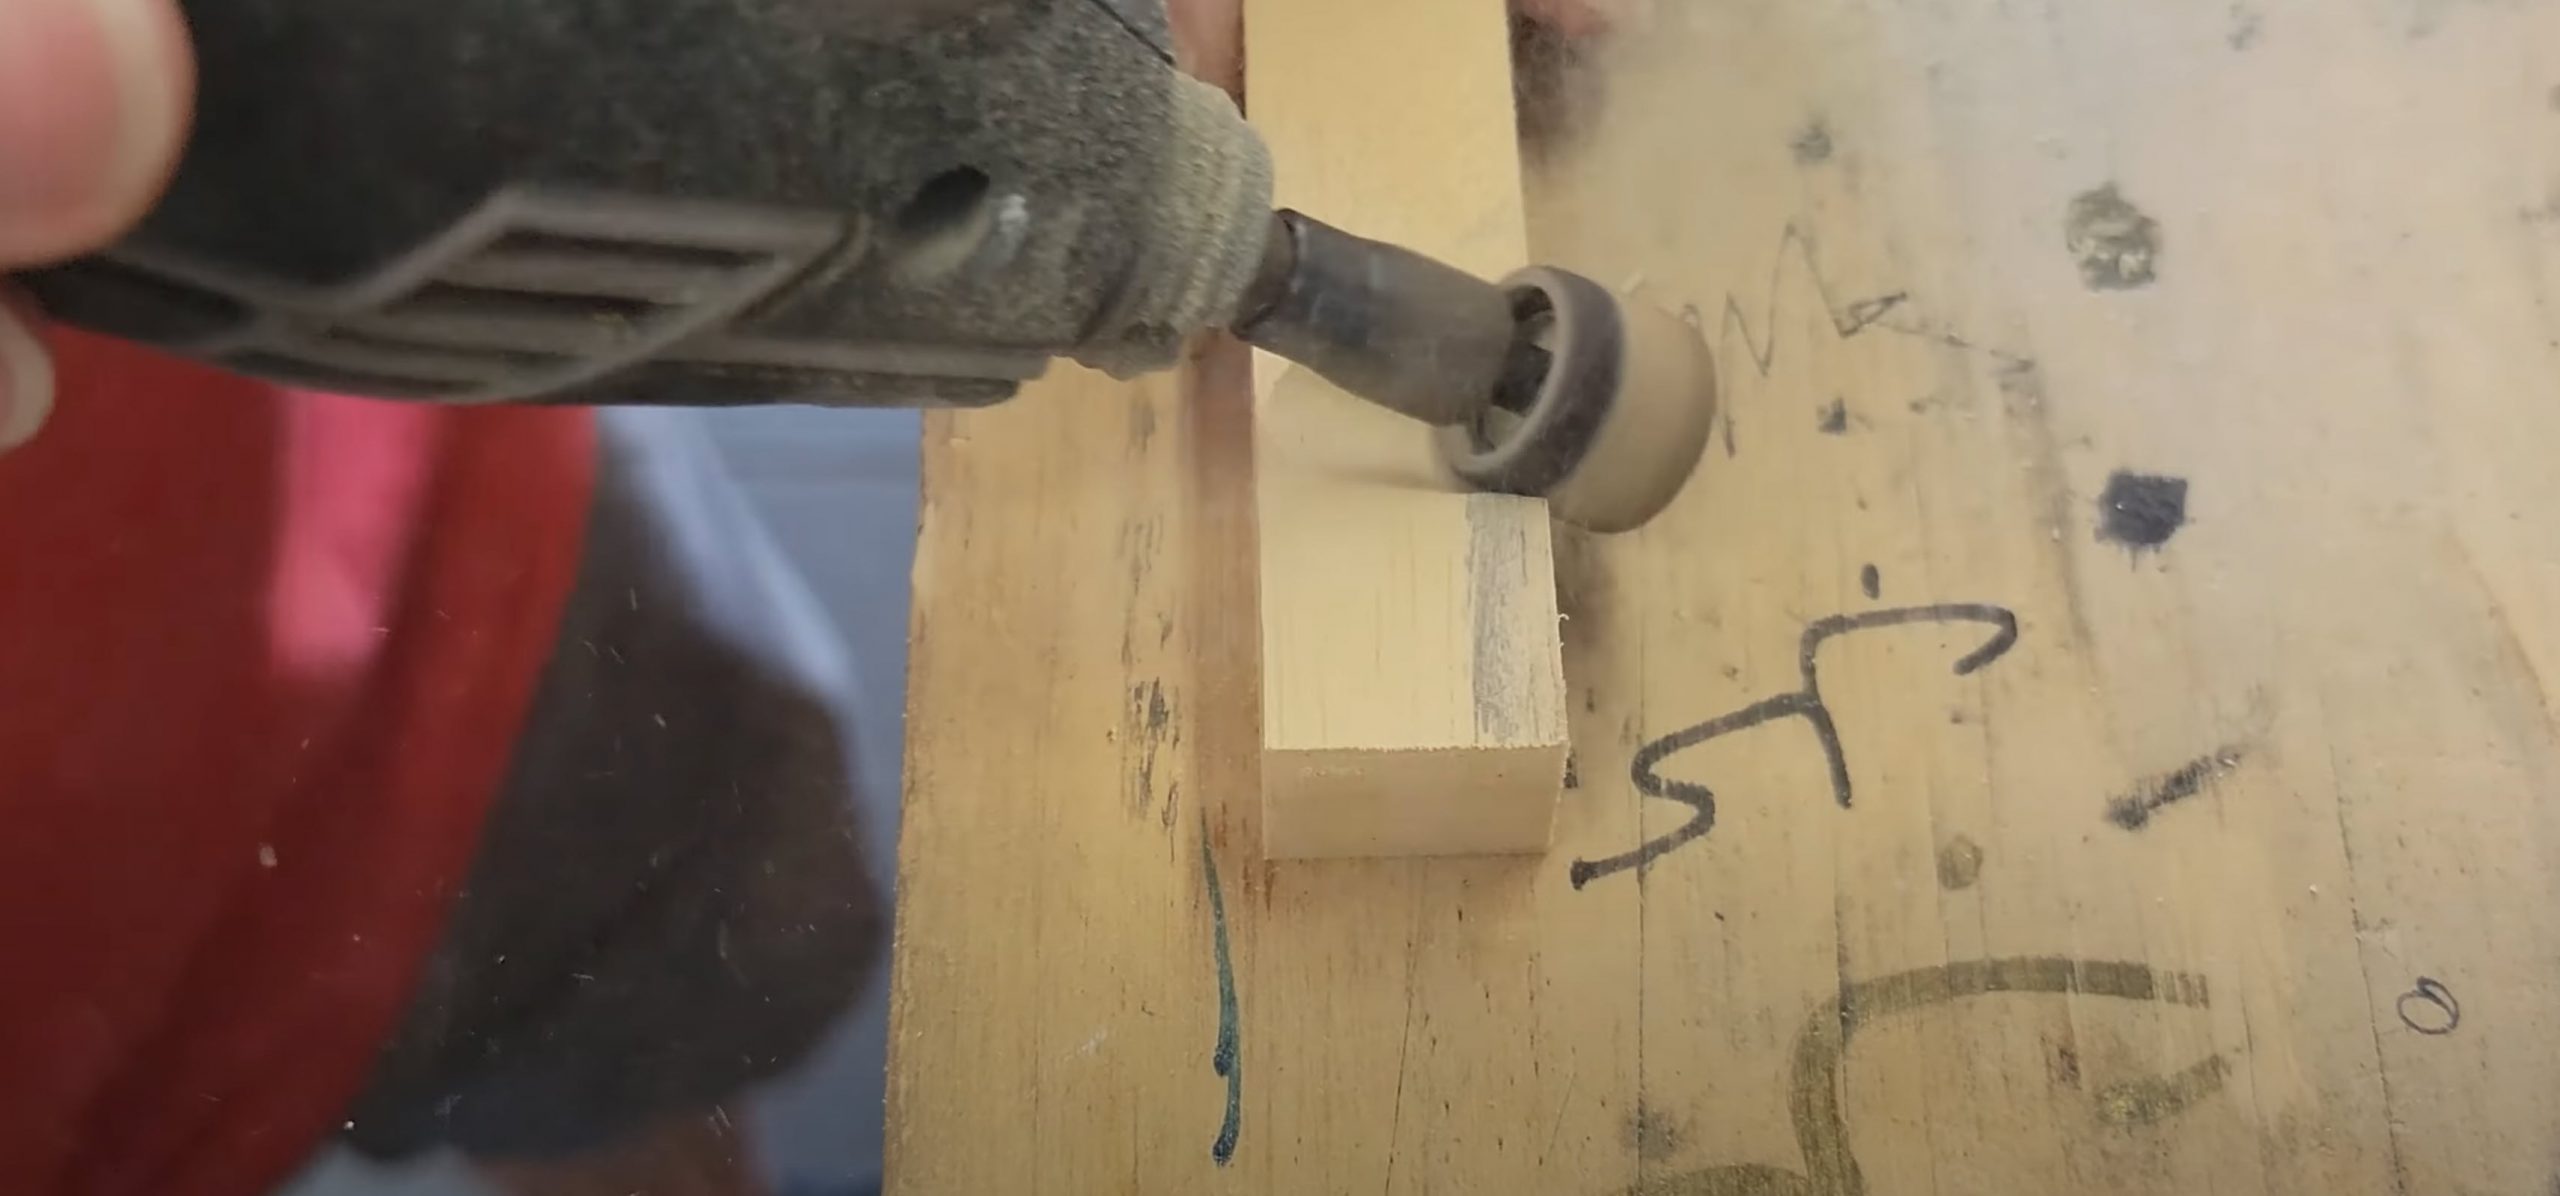
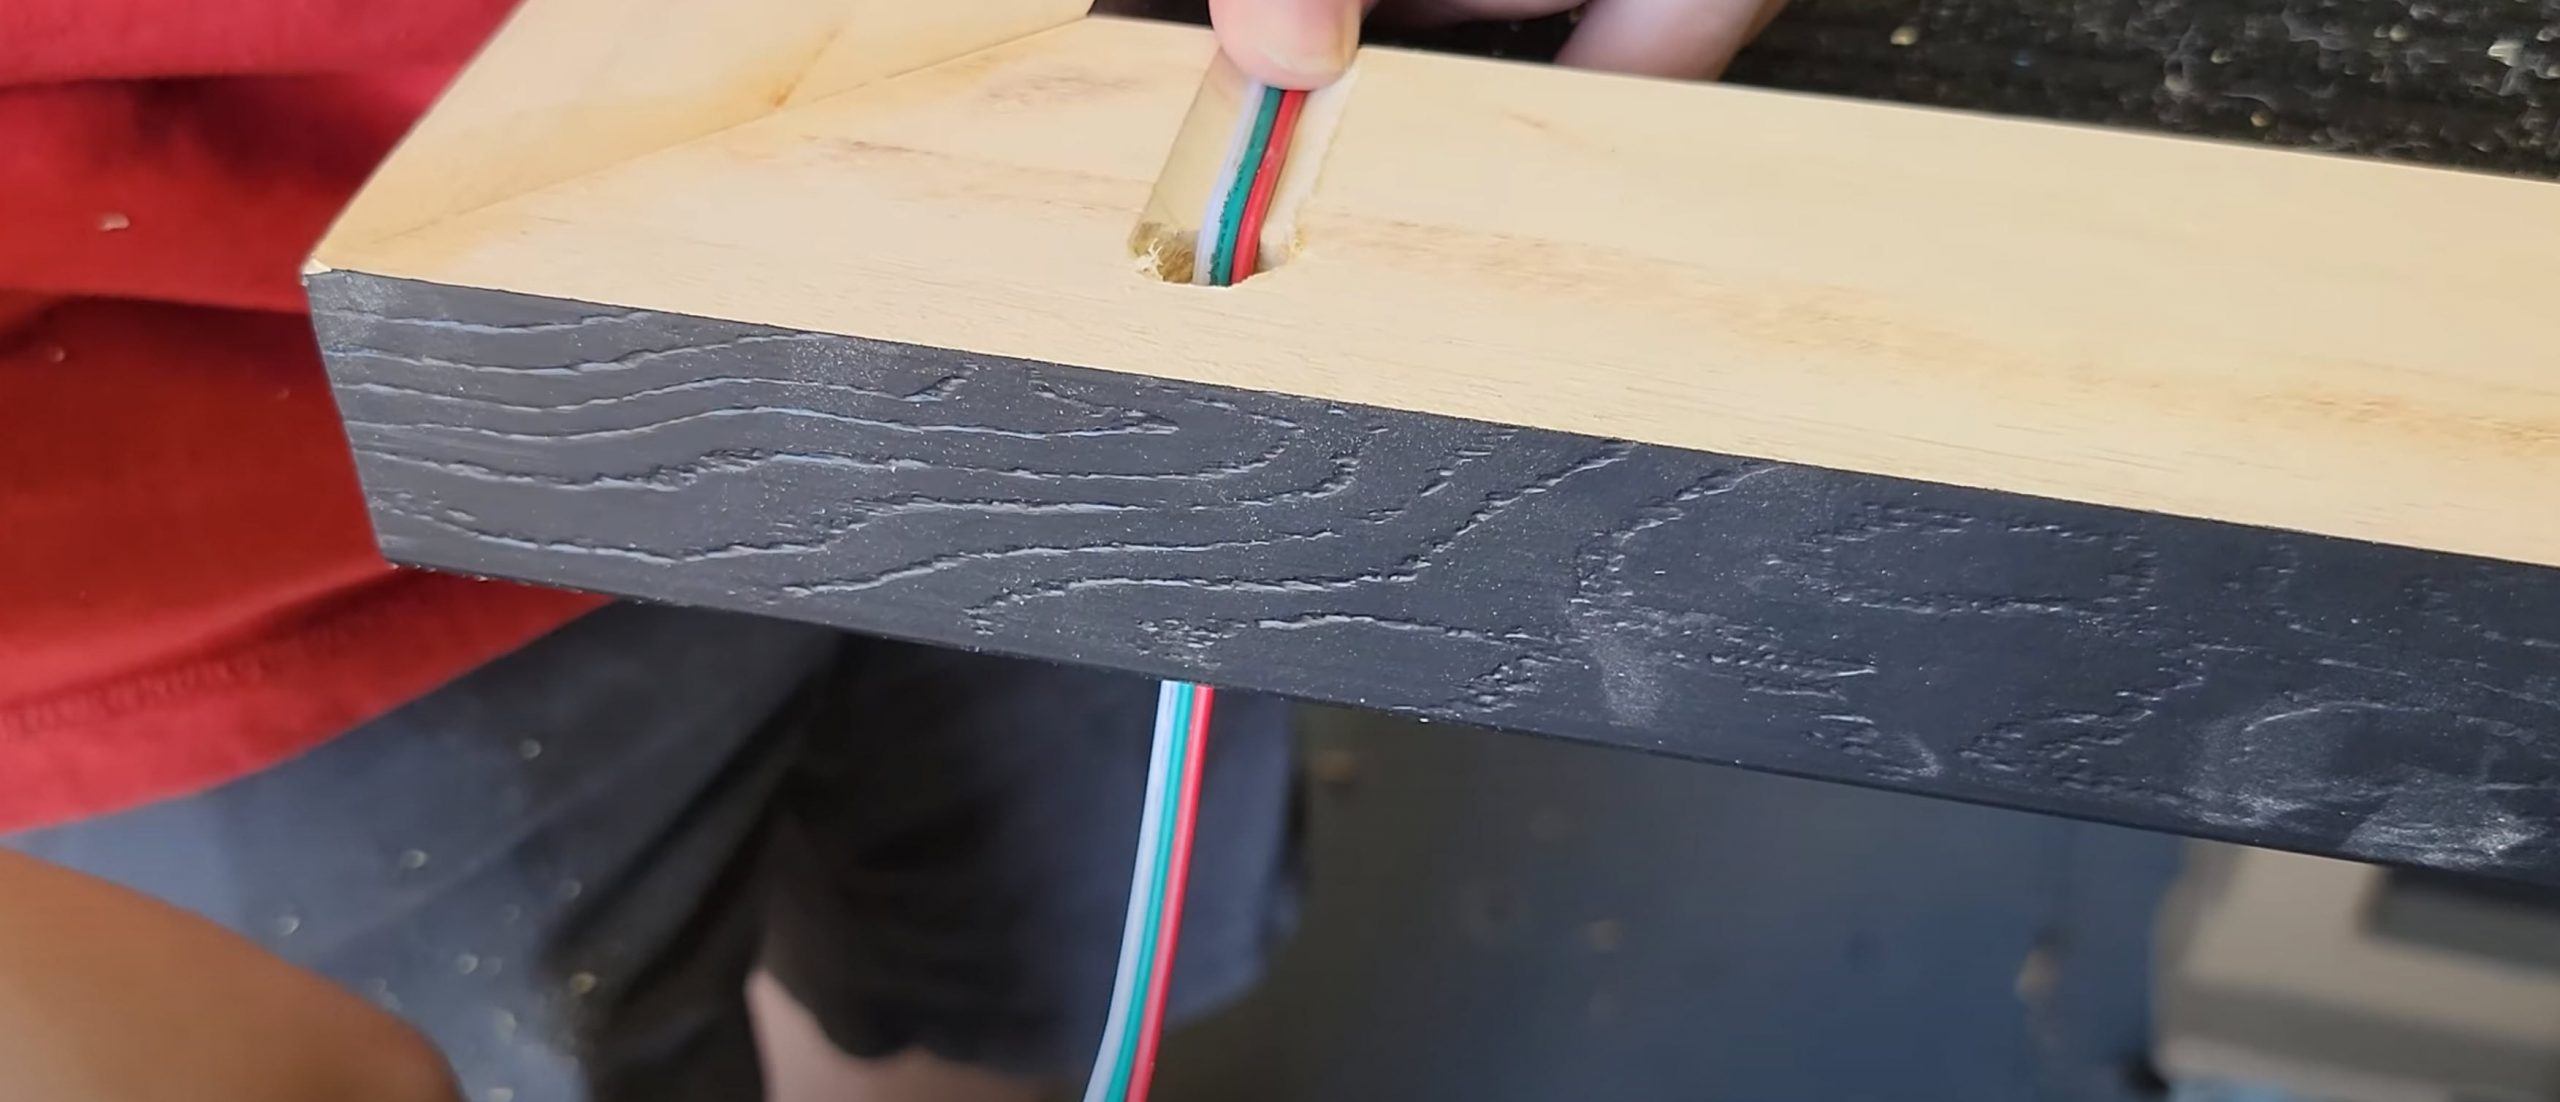
Step 16: Create an Outlet for the Light Cord
We used a Dremel tool with a sanding bit attached to it. We lined up where we wanted the cord to travel through the frame that would hide the power connection but would still make it easily accessible.
Then we measured on our TV frame where the power cord for the LED is going to travel. We wanted to keep it hidden so we decided to bevel out the frame to fit the wire and drill a hole to feed the cord through to have a hidden power connection.
Step 17: Spray Paint the Border Black to Match the Frame.
Using flat black spray paint we painted the sides and bottom of the border sticks. This is where the T labeled on each stick can help you visualize what needs to be painted.
You will want to use a spray paint that matches your frame. We used black because our frame was a dark, charcoal grey/black.
Step 18: Clean the Glass
Remove any fingerprints and dust that could have accumulated on the glass.
Step 19: Nail in the Borders to the Frame
We placed the dry border sticks back into the frame and connected our Nail Gun to the air compressor. We used 5 nails on the long sides and 4 on the short. I attached a link to a 4-in-1 nail gun, but ours that we used required an air compressor.

Step 20: Flatten the Nails to Make Them Flush with the Frame.
When we installed the border the nail gun was at an angle so the nails didn’t go in completely and we needed a flush finish to install the lights so we hammered them the rest of the way in for our next step.
Step 20: Flatten the Nails to Make Them Flush with the Frame.
When we installed the border the nail gun was at an angle so the nails didn’t go in completely and we needed a flush finish to install the lights so we hammered them the rest of the way in for our next step.
Step 21: Apply the LED Light Strip
We aligned the LED Light Strip around the inside of the frame in the direction we decided we wanted the lights to run.
Then, we removed the backing of the lights to adhere them onto the frame. We made sure we made the corners as tight as possible to help with the effect.
Once everything was sealed together, we cut the strip right after it went around the last corner. Make sure that when you are cutting the strip, that you cut it where the manufacturer instructs you to.

Step 22: Glue the Second Frame onto the First Frame.
We had two people hold the frame up so we could wiggle in the wire to the LED light strip through the frame. Once the cord was through, we used Titebond III to glue the two frames together. Then, we clamped it down and let it dry for 24 hours.

Step 23: Measure the Inside of the Second Frame for the Second Pane of Glass.
Take a tape measure and measure the inside of the second frame like you did for the first pane of glass. This is a repeated process of that step.
Step 24: Cut the Second Pane of Glass.
You can either cut your second pane of glass, or order it directly from us!
When handling glass, make sure you wear proper safety equipment. We are using our Smart 3mm glass for the second pane, just like we did the first.
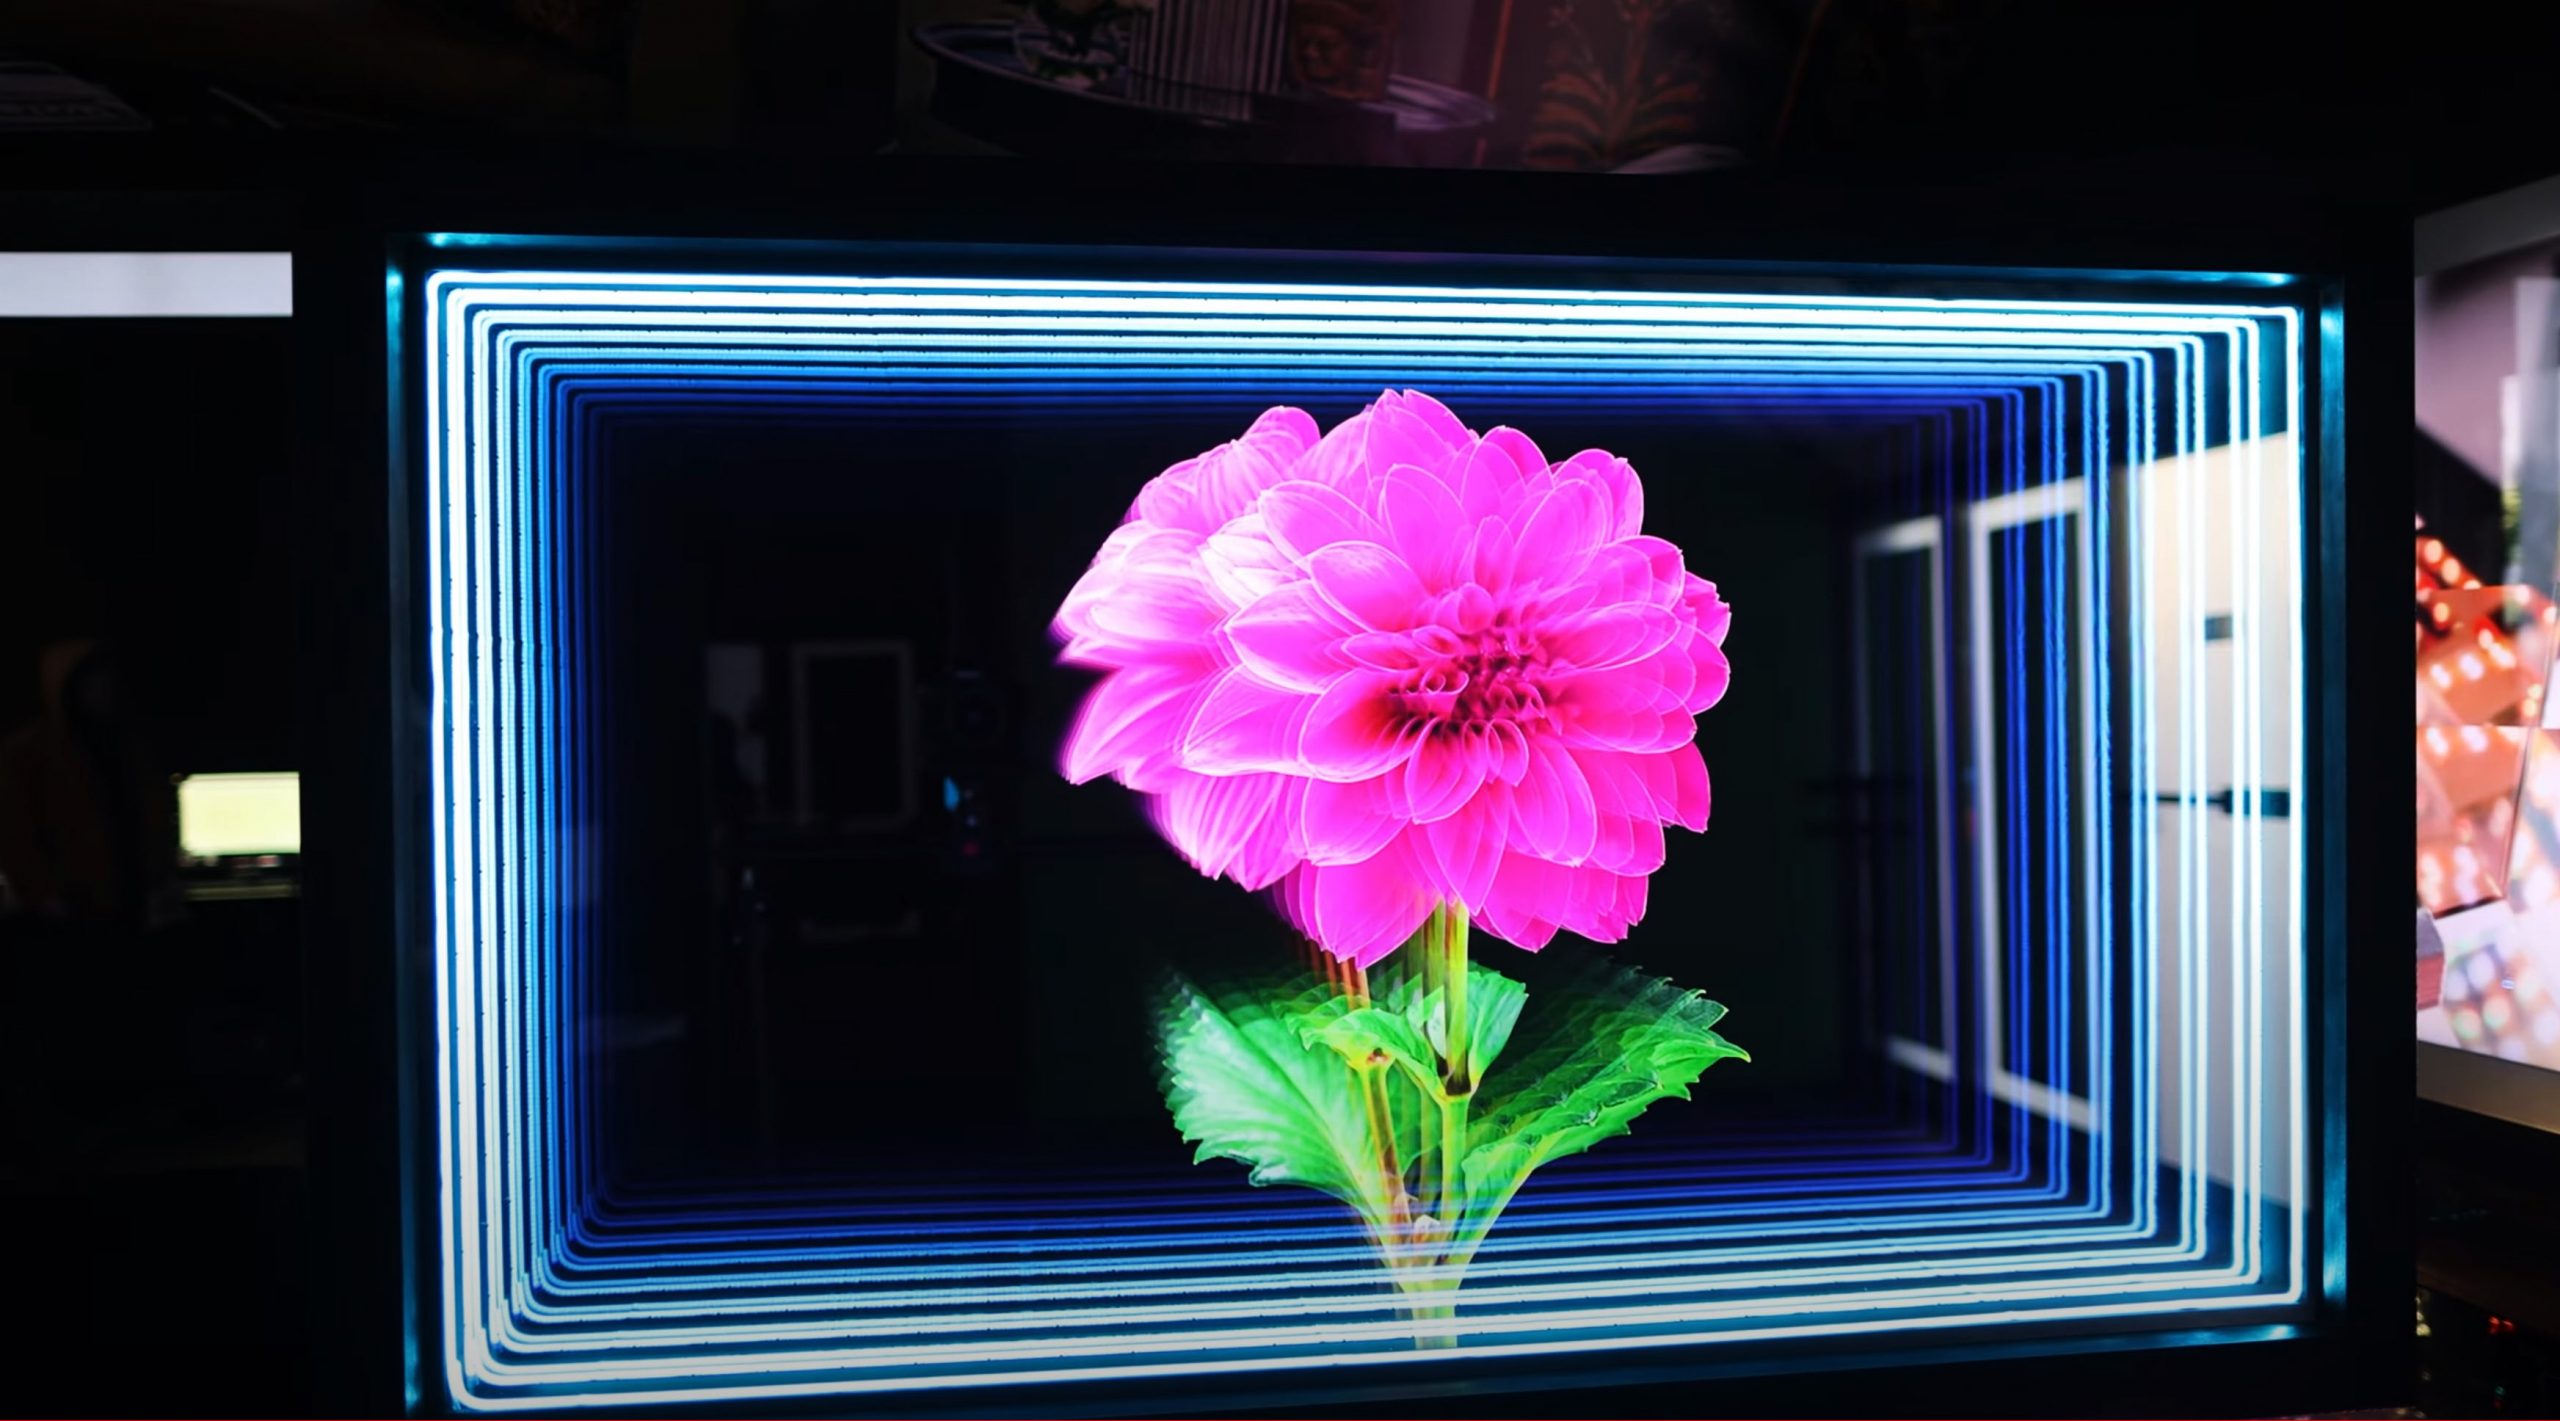
Step 25: Place in the Second Pane of Glass.
As you can see, the two glasses on top of each other with lights in between creates the infinity effect when the lights are turned on.
This is because our smart mirror (and dielectric mirror) glass is both transparent and reflective. Therefore, you can see through it, but the lights also reflect off of the glass.

Step 26: Clean the TV Screen and Place in the TV.
We use NOVUS Plastic Clean and Shine to clean the TV screen with a microfiber cloth.
When placing the TV inside the frame, we put the top in first, then gently lower down the bottom.

Step 27: Spray Paint the Corner Brackets.
We thought the corner brackets might be visible from the side, so we decided to spray paint them black to match the frame. This would also give it a cool look if you were to display the back of the TV.
Step 28: Get Measurements for Z-bar Brackets.
We measure from corner bracket to corner bracket to get the size we want for the Z-Bar. We do both sides and the top of the TV.
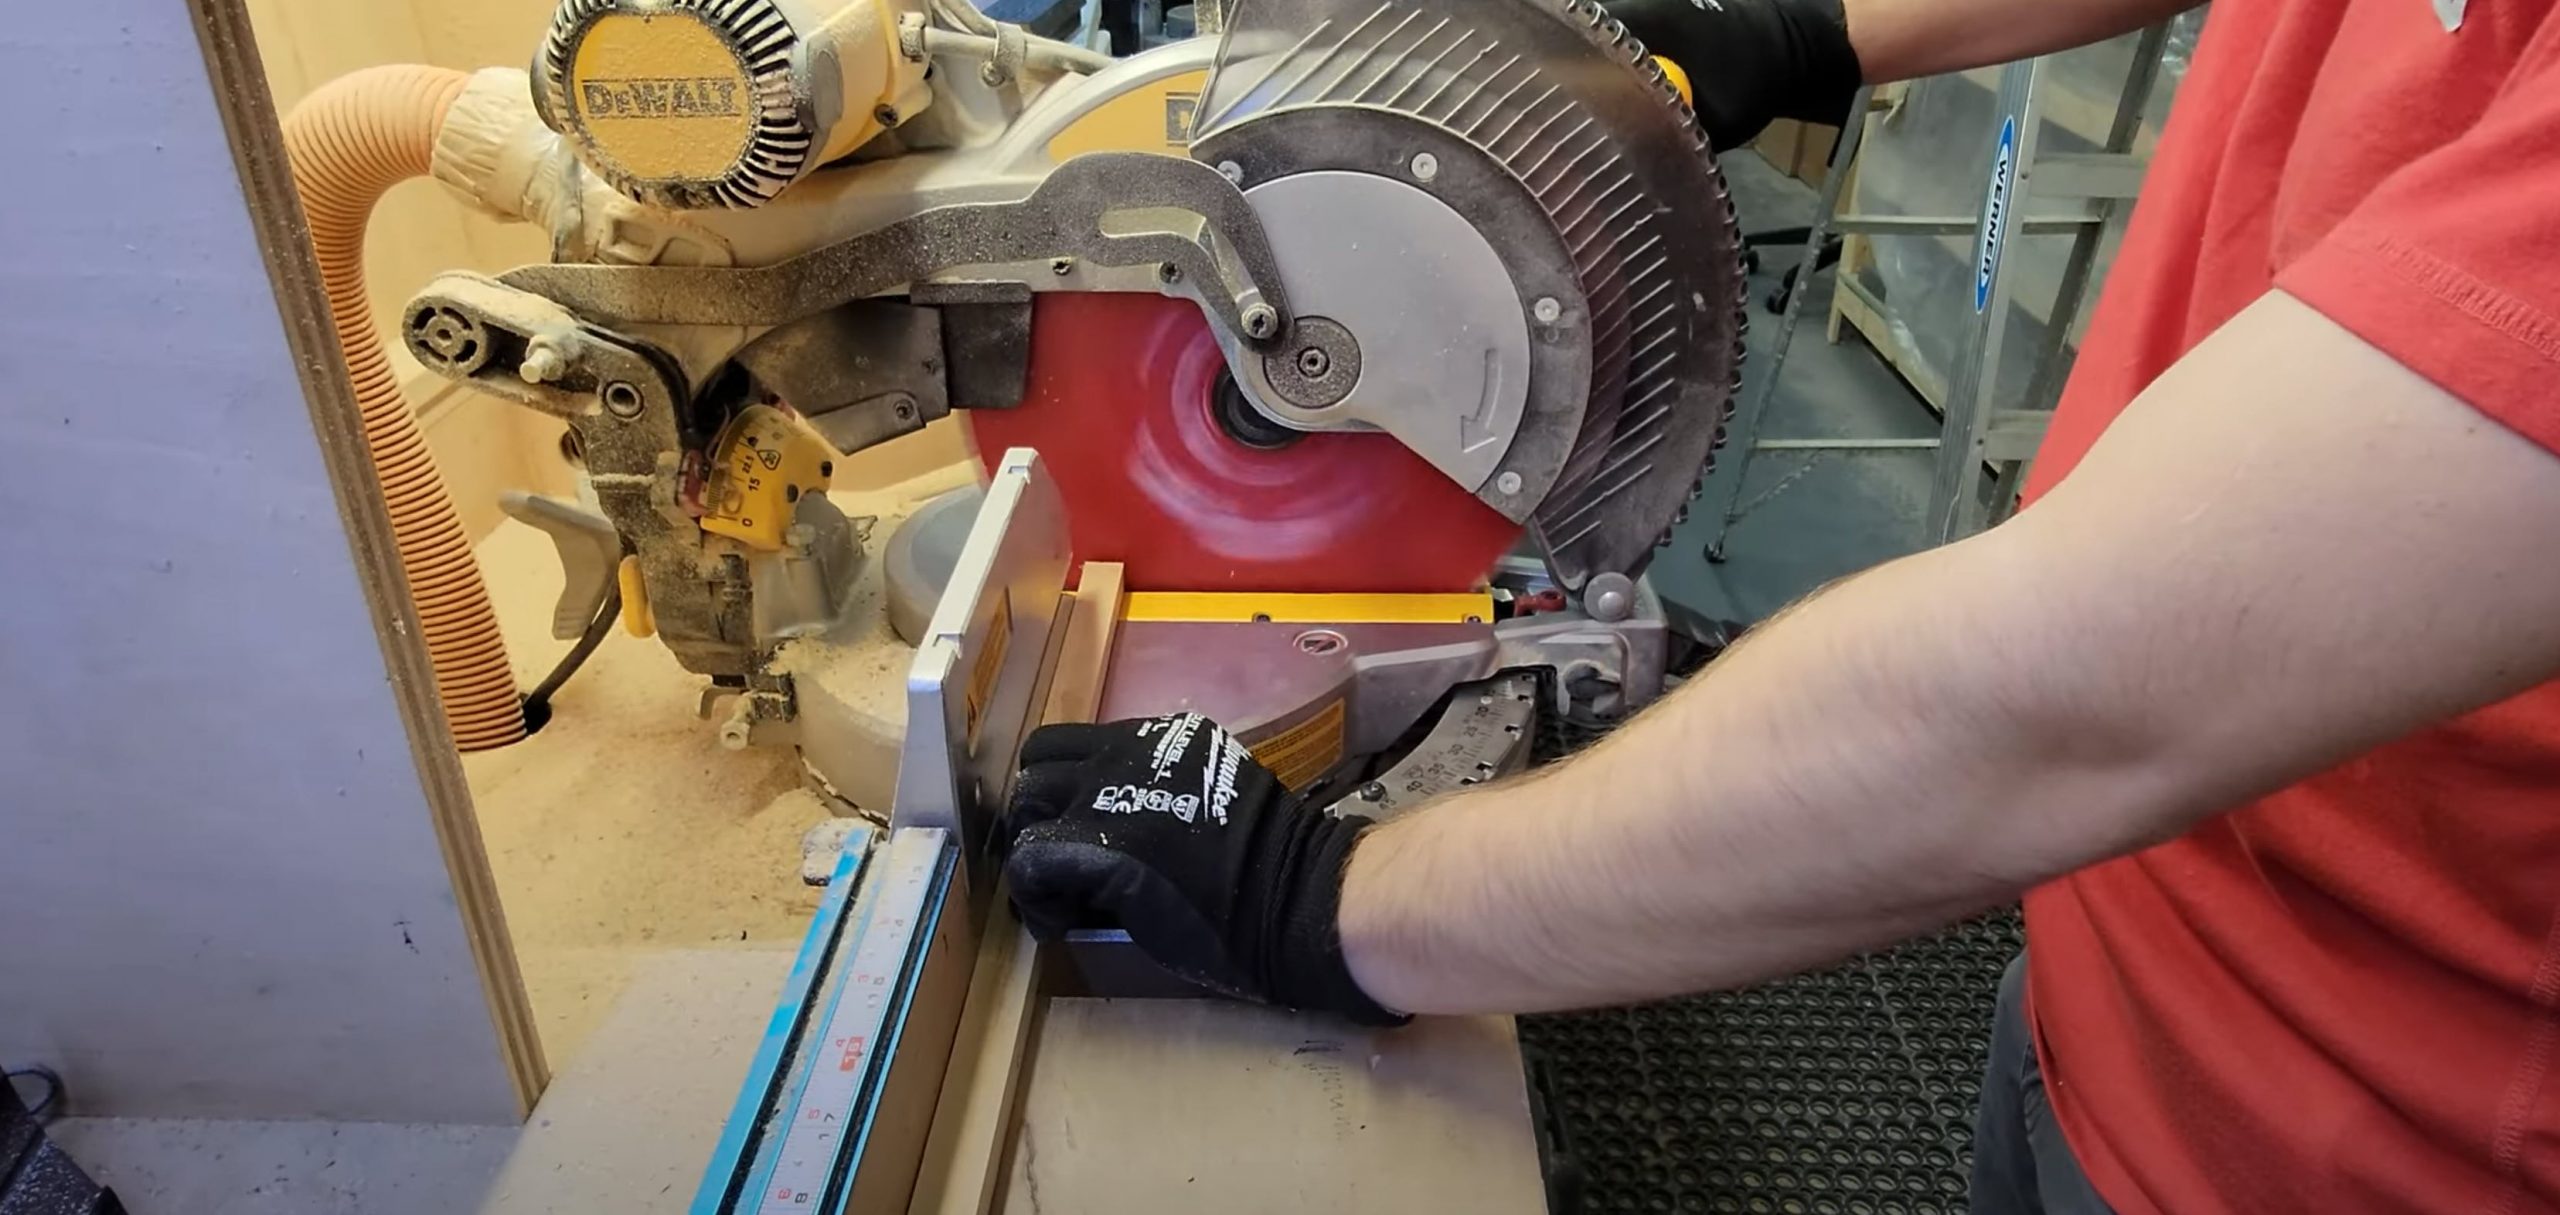
Step 29: Cut and Sand the Z-Bar Brackets.
We cut the Z-Bars using our miter saw.
Then, we sanded down the edges, and sanded the surface to remove any contaminants so when we spray paint it, the paint will adhere better to the aluminum.
Step 30: Paint the Z-Bars Black to Match the Frame.
We painted the Z-Bars black to match the frame.
Step 31: Attach the Corner Brackets.
First you want to pre drill the holes, then drill in the corner brackets. We are using 2.5” flat corner brackets.
corner brackets

Step 32: Attach the Z-bar Brackets.
Using a pre-drill, pre-drill in all the holes. We like to use pan-head screws to have more of a clamping effect when the screws are installed.

Holographic Infinity Mirror TV Applications
Unleash your creativity with an Infinity Holographic Mirror TV! This innovative technology combines the worlds of art, decor, and science, creating a captivating centerpiece that doubles as a conversation starter. Whether you’re an art enthusiast, a tech aficionado, or simply looking to elevate the aesthetic of your space, this cutting-edge device offers endless possibilities.
- Photographers: Think of the endless and infinite creative photos you could take! Pose your model in front of the display for unique lighting and background applications! The possibilities are endless!
- Artist: Whether it’s digital art, sculptures, or more! Design your Holographic Display to showcase your voice! Is the display interacting with the viewers? Are you wanting a certain message to be shown and conveyed? So many routes you can take!
- Home Enthusiast: Are you looking for an ultimate piece of home decor? Creating your own holographic display will add light, and attention, to any room!
- Conversationalist: The science and engineering behind this display is immaculate! Discuss with your friends, family, and strangers this unique creation that combines wood, glass, and a digital screen!
- DIYers: Who doesn’t love a good DIY/challenge!
The possibilities and applications are endless!
Inspiration
What inspired us to make this one-of-a-kind illusion? It’s called a Pepper’s Ghost Illusion!
Imagine witnessing an image materialize seemingly out of thin air. The Pepper’s Ghost illusion, utilizing a powerful tool called a beamsplitter mirror, achieves just that. This fascinating optical technique has captivated audiences for decades, enchanting them with its ability to create seemingly miraculous apparitions.
How does a Pepper’s Ghost Illusion work?
A Pepper’s Ghost Illusion is made by using a stage that is brightly lit. Then, to the side of the stage you have a secret room that is kept very dark. Typically, you have an object in that room that you want to appear “ghostly” on the stage. To achieve this result, you add light onto the ghostly image. But what’s the secret? How do you get the ghost onto the stage? The Beamsplitter mirror!
The beamsplitter mirror is an optical grade mirror that is both transparent and reflective. Therefore, if you place the mirror between the stage and the dark side room at a 45 degree angle you can create the Pepper’s Ghost Illusion. When you apply light to the “Ghost” it will reflect off the transparent glass onto the stage. Then, when you turn the light off, it disappears in mid-air!
Here is a minute long video that show how the Pepper’s Ghost illusion works!
Interested in building your own Pepper’s Ghost Illusion? Check out our video below on one we created here!
You can also read about Pepper’s Ghost Illusions here.
Pepper’s Ghost illusions can also be incorporated into virtual and augmented reality experiences. By combining these technologies, users can have a more realistic and immersive encounter with virtual environments. This opens up possibilities for educational purposes, gaming, training simulations, and even teleconferencing.
Entertainment Industry:
One of the most prevalent uses of the Pepper’s Ghost illusion is in the entertainment industry. From theme rides to concerts and theatrical performances, this optical illusion has been employed to create jaw-dropping visual effects. By projecting a holographic or three-dimensional image onto a transparent stage, performers and artists can interact with supernatural or larger-than-life entities, enhancing the overall experience for the audience.
Advertising and Marketing:
In the realm of advertising and marketing, companies are constantly seeking innovative ways to grab consumers’ attention. The Pepper’s Ghost illusion (and our new Infinity Holographic Display) provides a unique and memorable approach to product promotion. By utilizing this technique, brands can create captivating displays that appear to float in mid-air, leaving a lasting impression on potential customers.
Museums and Exhibitions:
Museums and exhibitions often utilize Pepper’s Ghost illusions to bring history and educational content to life. By displaying holographic figures or recreating historical scenes, visitors can have a more immersive and engaging experience. This approach not only enhances the educational value but also creates an element of surprise and wonder.
Image Gallery
Pricing and Ordering
Are you interested in building you own Holographic Infinity Mirror TV Display?
Go to our Glass Smart Mirror page here and order your custom size glass! Or, you can also build one with our Dielectric Beamsplitter mirror!
Do you want it to look exactly like ours?! We used the Glass Smart mirror 3mm thickness.
Tips and Tricks
Tip #1: Order the same glass for BOTH panes! You want the same color and reflection.
Tip #2: Order a sample of both the glass Smart Mirror and glass Dielectric Beamsplitter Mirror. They have different tints and reflections. You can order a sample here.
Tip #3: On a budget? That’s okay! Our recommendations are tools that we have access to in our shop, and we know not everyone has a workshop accessible at their fingertips. There are many materials you can substitute for items you might already have at home. For any questions, please email sales@twowaymirrors.com and we can help you out!
Tip #4: Do EVERYTHING YOU CAN on a flat surface! When woodworking, a flat surface is CRUCIAL!
Tip #5: Safety: It is important to always wear gloves and eyewear when handling glass.
Tip#6: Glue. Always let glue dry for 24 hours (even if it says a shorter amount of time). you want to make sure the bong is strong since this item is heavier than normal items going into a frame.
Mounting and Installation
How do you mount it? Easy! You can attach a wall mount to it just like you do a normal TV.
IR Repeater
Since ours is a display that is always on in our showroom, we did not attach an IR Repeater. However, if you will be turning your off and on, we recommend installing one.
Here is a video about IR Repeaters.
Author: Hannah Machesky
Twowaymirrors.com
This post contains Amazon Affiliate links.