
A Simple guide on How To Paint Antique Frames
Paint Antique Frames in 3 Steps
DIY
 This guide will help you learn How To Paint Antique Frames for a quick and simple DIY . It’s a great project for making your home look unique and antique. Painting the frames will give it a beautiful ending look. This focuses on bringing something new into something old into your home. This project can be done in a matter of a day. Just by following these steps you’ll an Amazing Antique frame. It does take practice. Start on a smaller frame and work your way up. Then you’ll be ready for your big project. Lets begin the How to Paint Antique Frames!
What Products You’ll Need:
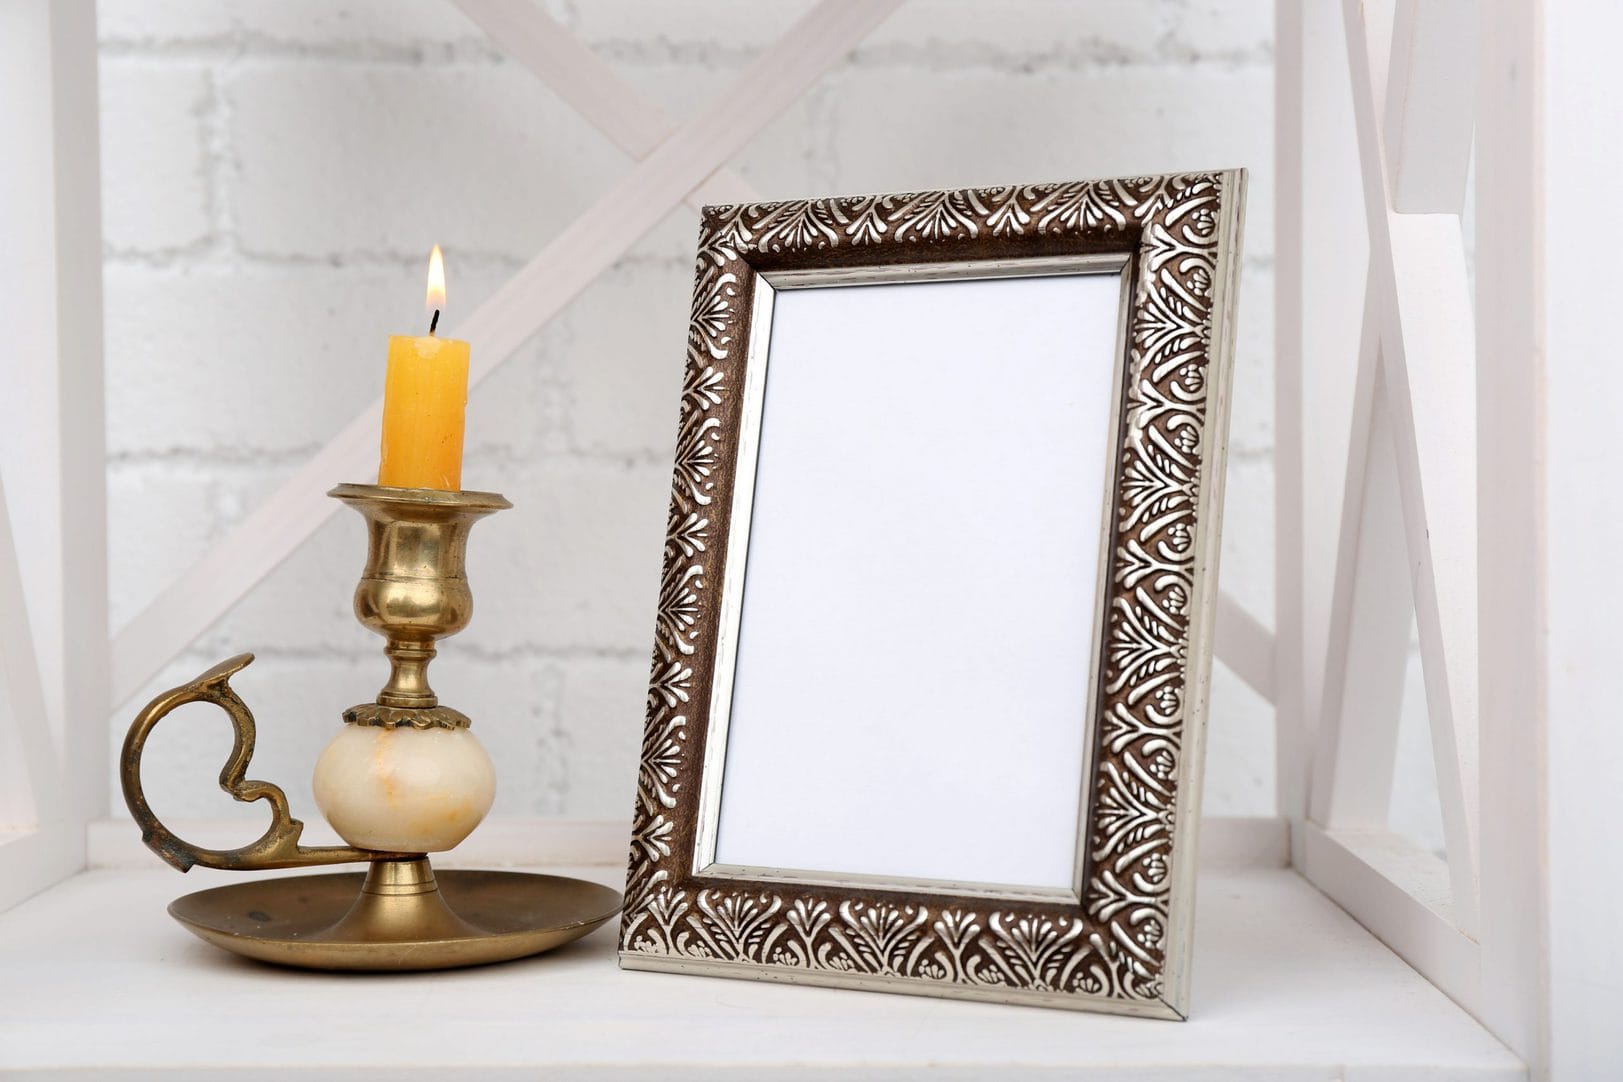
A frame of your choice
Paint
Paint Brush
Optional: Wet Rag
Sand Paper
Big Cloth
Trash Bag
You’ll want to remove the glass from the frame.
Start of by removing the frame. You’ll be able to paint all the way around the edging with no fuss.
Don’t just tape the glass the results will not be the same.

Getting started:
Before painting you’ll want to lay down your big cloth or sheet. The cloth or sheet should be bigger then your frame. Then lay a cut open trash bag on top of your sheet/Cloth as a second clean surface. For this DIY you’ll be painting on the trash bag then removing it later. Make sure to have that that you need in arms length. Lay everything in order of when you’ll use them for an easier process.
Read through all steps before starting.
Recommended Paints
We used these recommended paints.
Metallic Paint (Sliver & Gold)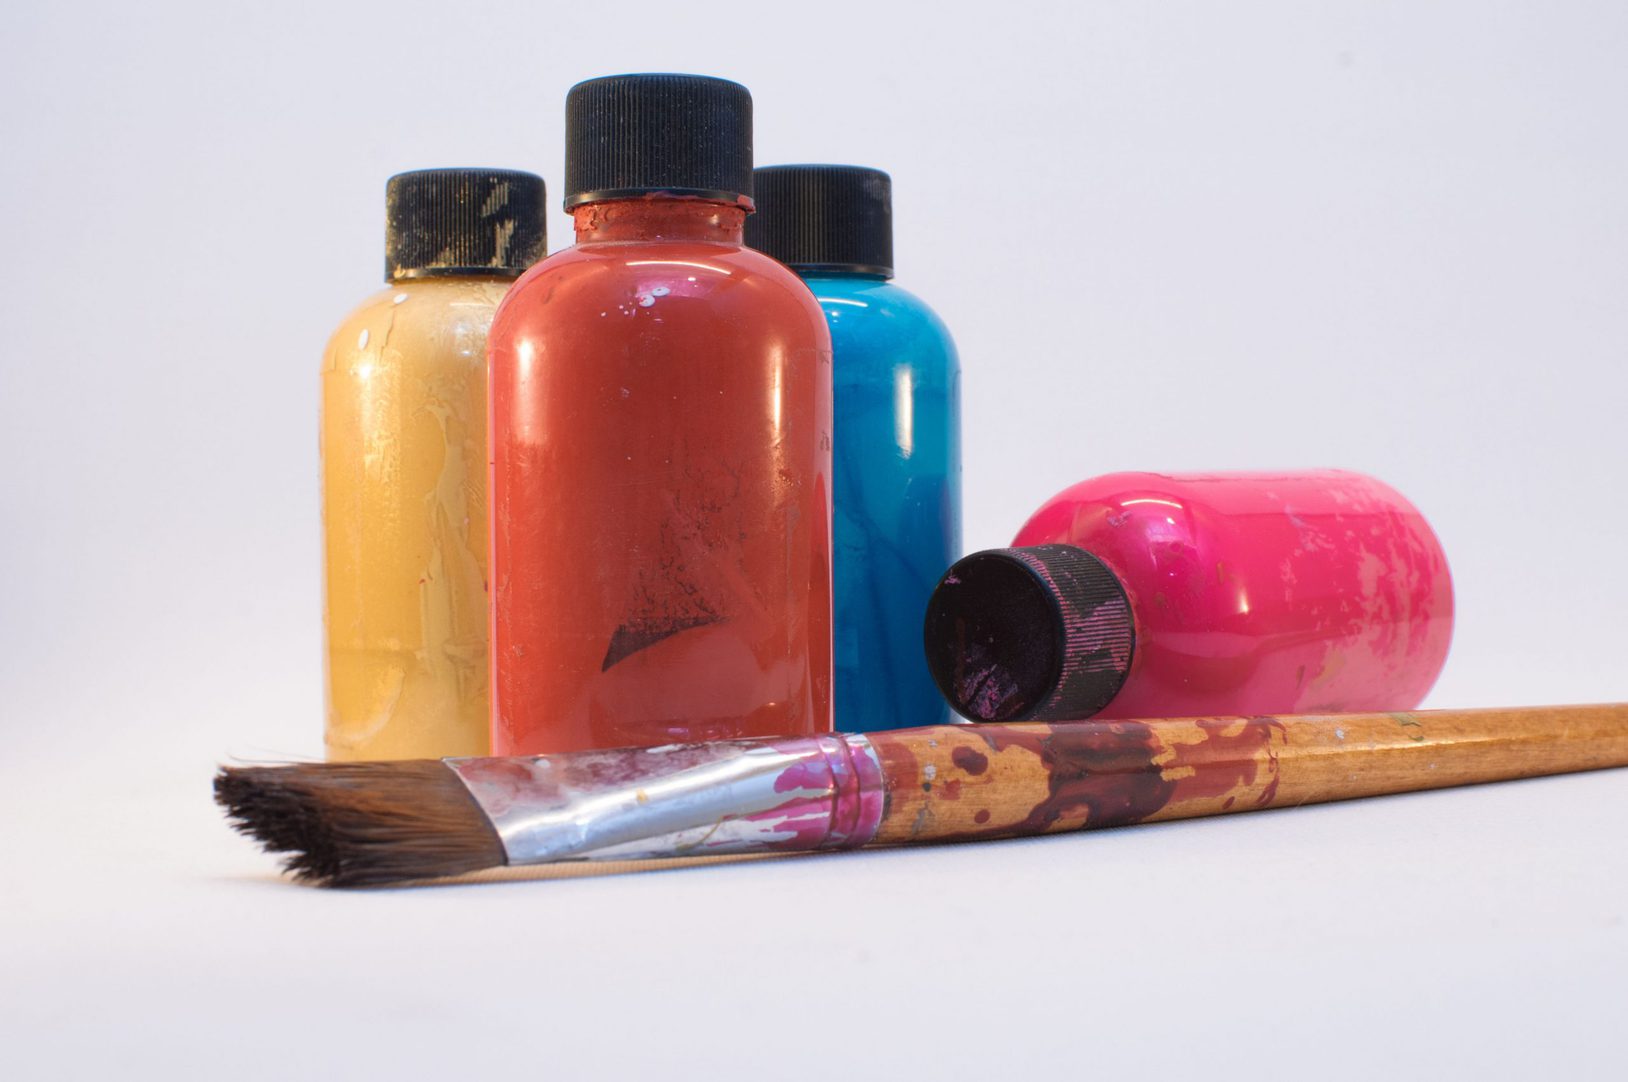
Iridescent Paint (Blues & Light Pink)
Step 1:
First, start by picking out your frame. I recommend finding a sample frame to practice on for learning the technique.
The color frame will depend on how you want your end look to be.
For a more rustic look you’d want a darker frame and light paint. A more Antique look would be a light colored frame and a dark paint. For a more Antique effect find a frame the has pieces sticking up.
(Example: White or Light Brown)
Step 2:
To start step two you should have or sheet/Cloth laid down with a Cut trash bag on top. This gives you a clean work space for step 2. Now you want to place your frame in the middle of the trash bag. Gather your paint and start the first layer of paint on the frame. Give it time to dry the proceed with a second coat. and wait till the second layer is dry before starting step three. If needed some frames will need a third or fourth layer for added effect. With frames the stick out you can move on to step 3 or Paint it your preferred color.
By doing this your starting the effect of Antique

Step 3:
Continuing on to Step 3 there are two versions to go about.
Version 1: You can use Sand paper lightly around the edges. With the added paint layers technique it will give off the more used effect. Making the frame look worn down and Antique. It will be scuffed with the first layer of the original frame. Showing the original color on the first layer being your frame color.
Version 2: You will need the paint layer to still be lightly wet. Now this version is fairly simple. You will want to grab a sightly dab rag. You’ll start from the outside of the frame in. Going through and dabbing the frame along the corners. By going around the edges it will turn into the Antique look.

Bonus Tip: By lightly painting the frame will still give it the same look. This Tip works great with frames that stick out.
There you have it. A simple 3 step Antique project for any home. It’s a great DIY to show off to the family and surprise them with your new found skill.
It does take some practice. In the end you’ll love the chance to change something new into something old. Giving a new feeling into your home. The moment you create your own prefect project will give you the best feeling.
Videos From Our Channel:
Information:
Email: sales@twowaymirror.com
Phone: (419) 787-4526