
Building your own DIY Smart Mirror is pleasantly simple, as long as you follow the correct guidelines and have acquired all of the necessary information. This complete guide will provide you with absolutely everything that you will need to know, providing you with the ability achieve your very own, incredible Smart Mirror.
Prior to beginning your DIY Smart Mirror, you will want to purchase just a few products, and this will ensure that your DIY project remains simple and successful.
Purchase:
Next you will need a monitor or small Smart TV for the display, I used an old Asus computer monitor. The only crucial aspect to keep in mind when choosing your display is that it must have plugs on the bottom or side, instead of the on back.

Begin by taking the case off the screen itself, I had to remove the stand as well. Once I removed the stand, the frame simply peeled away with the help of a flat head screwdriver.
However, be sure to refrain from causing any damage the screen, control panel, or the monitor.
Part 2: The Frame
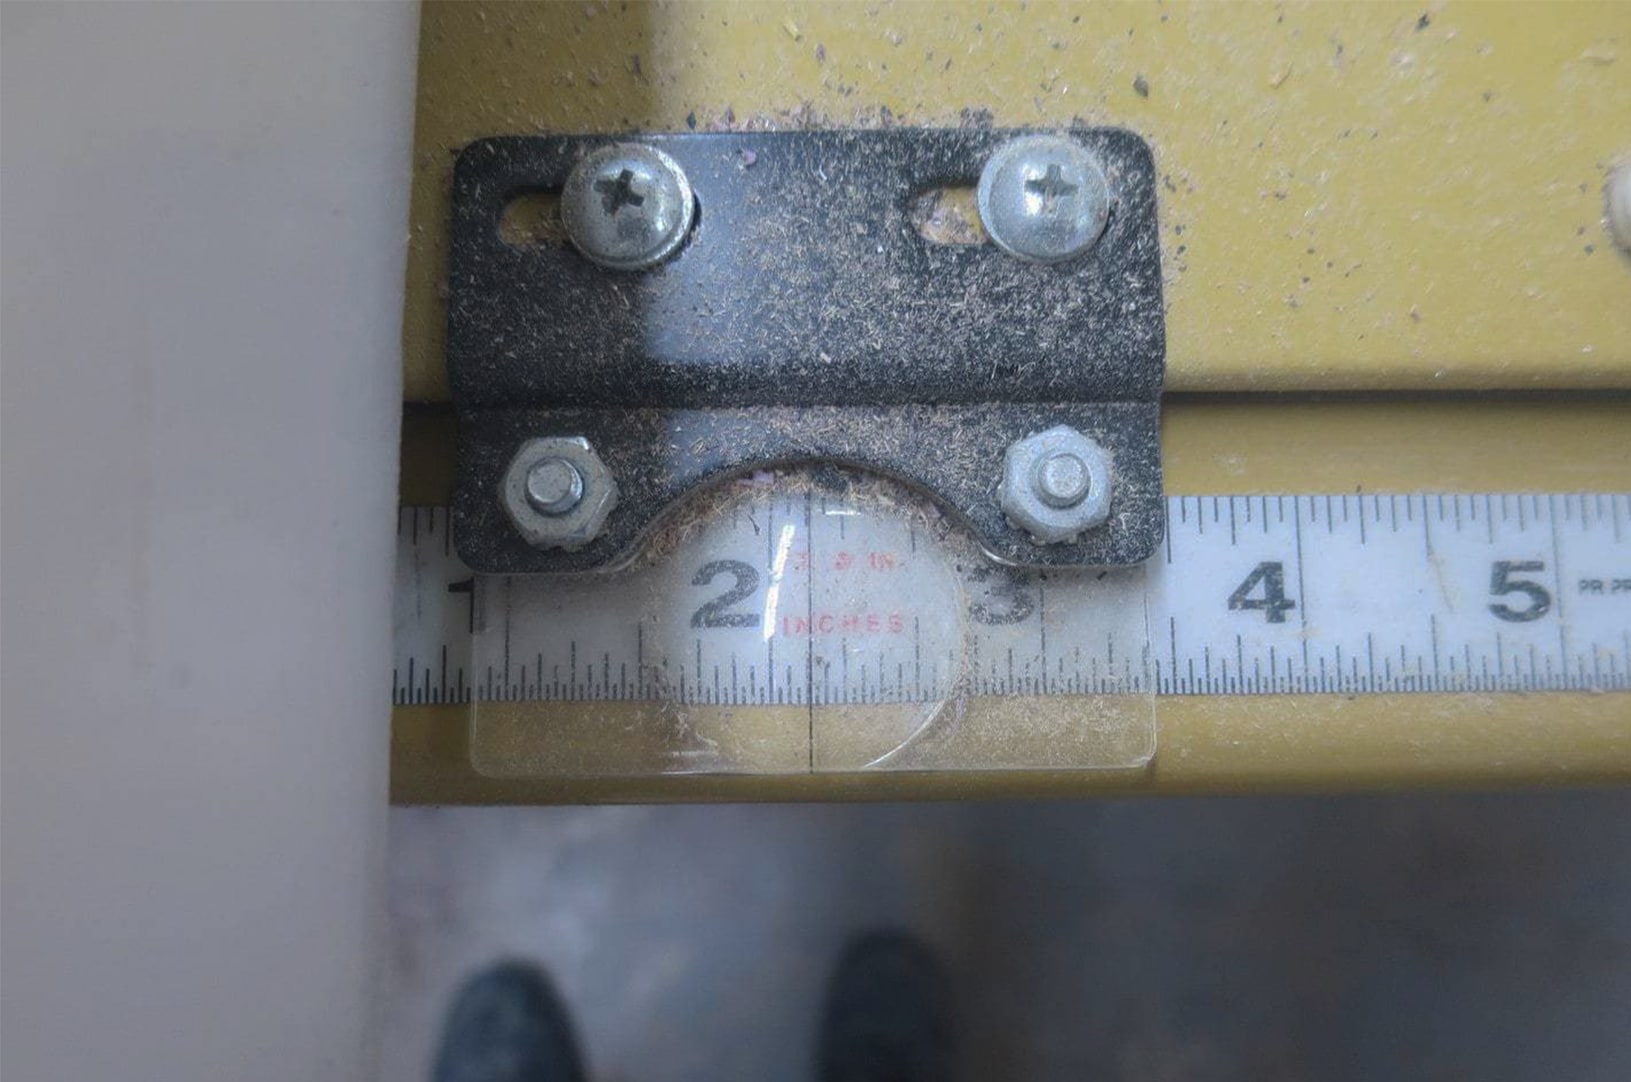
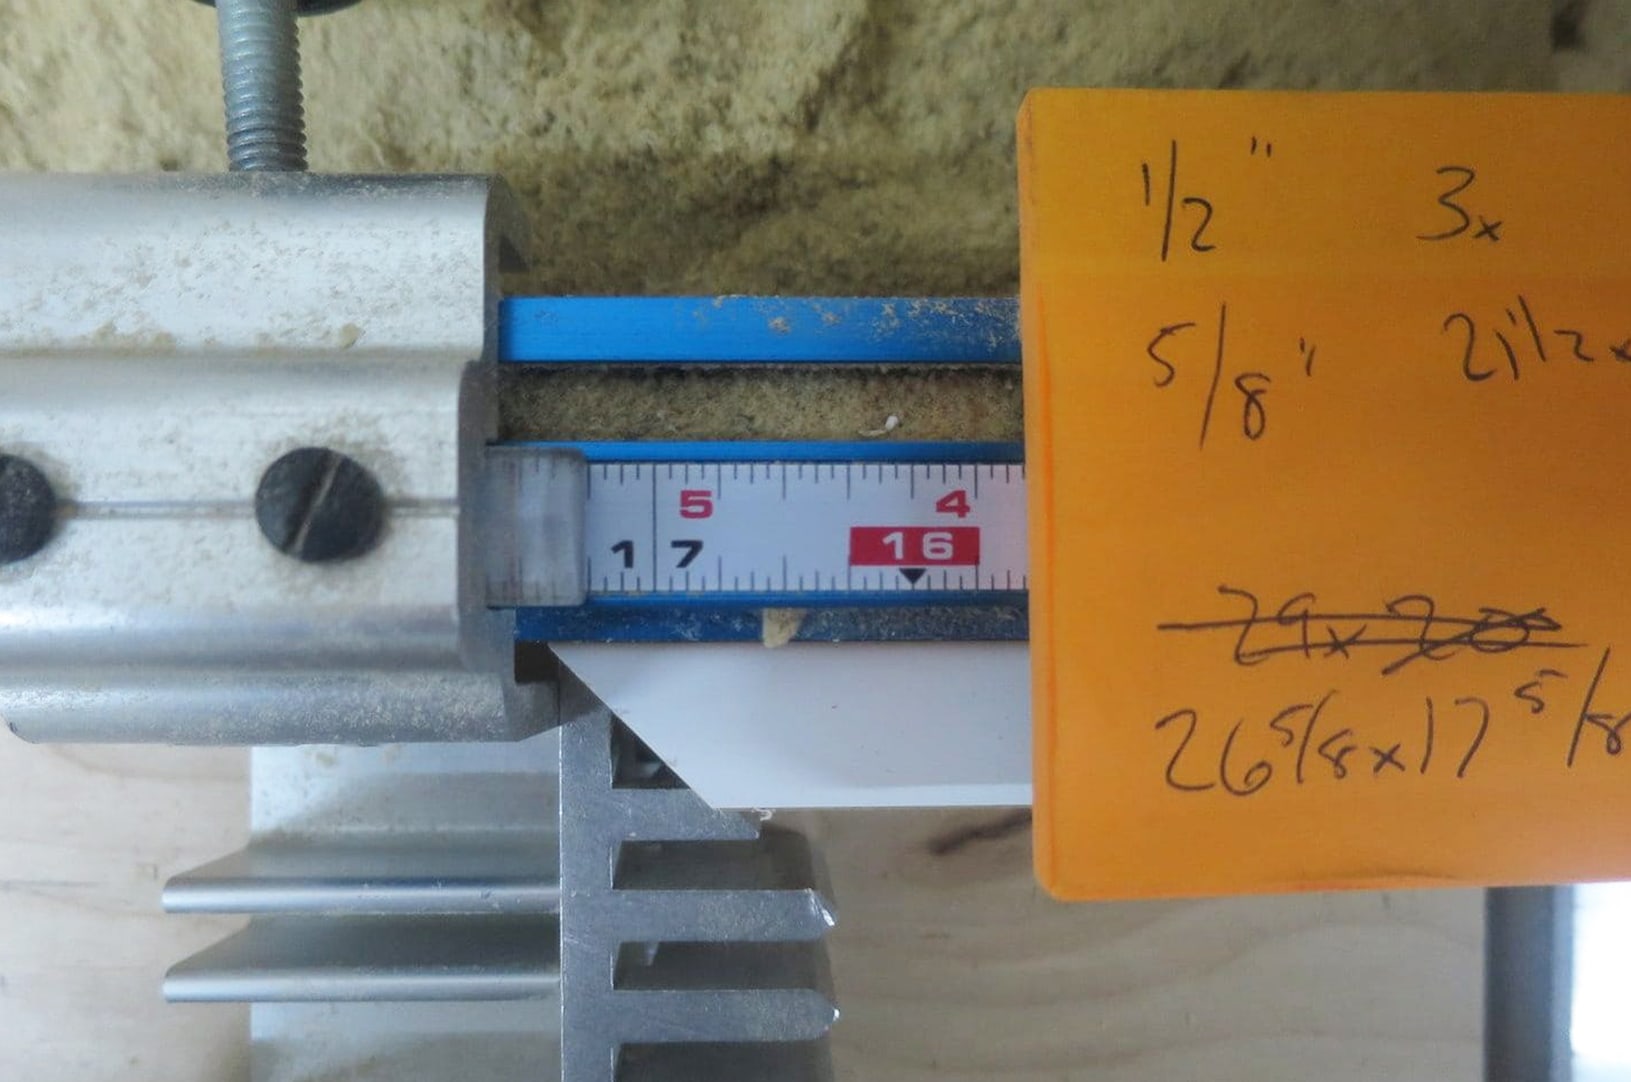
First begin by measuring the bezel of the screen in order to determine how much of the frame you must remove. In my project I routed 3 sides at 1/2″ and one at 5/8”.
Next you need to measure the length of each side on the screen, and add at least double the width of your frame stick. I cut mine to 29″ and 20″ to start off.
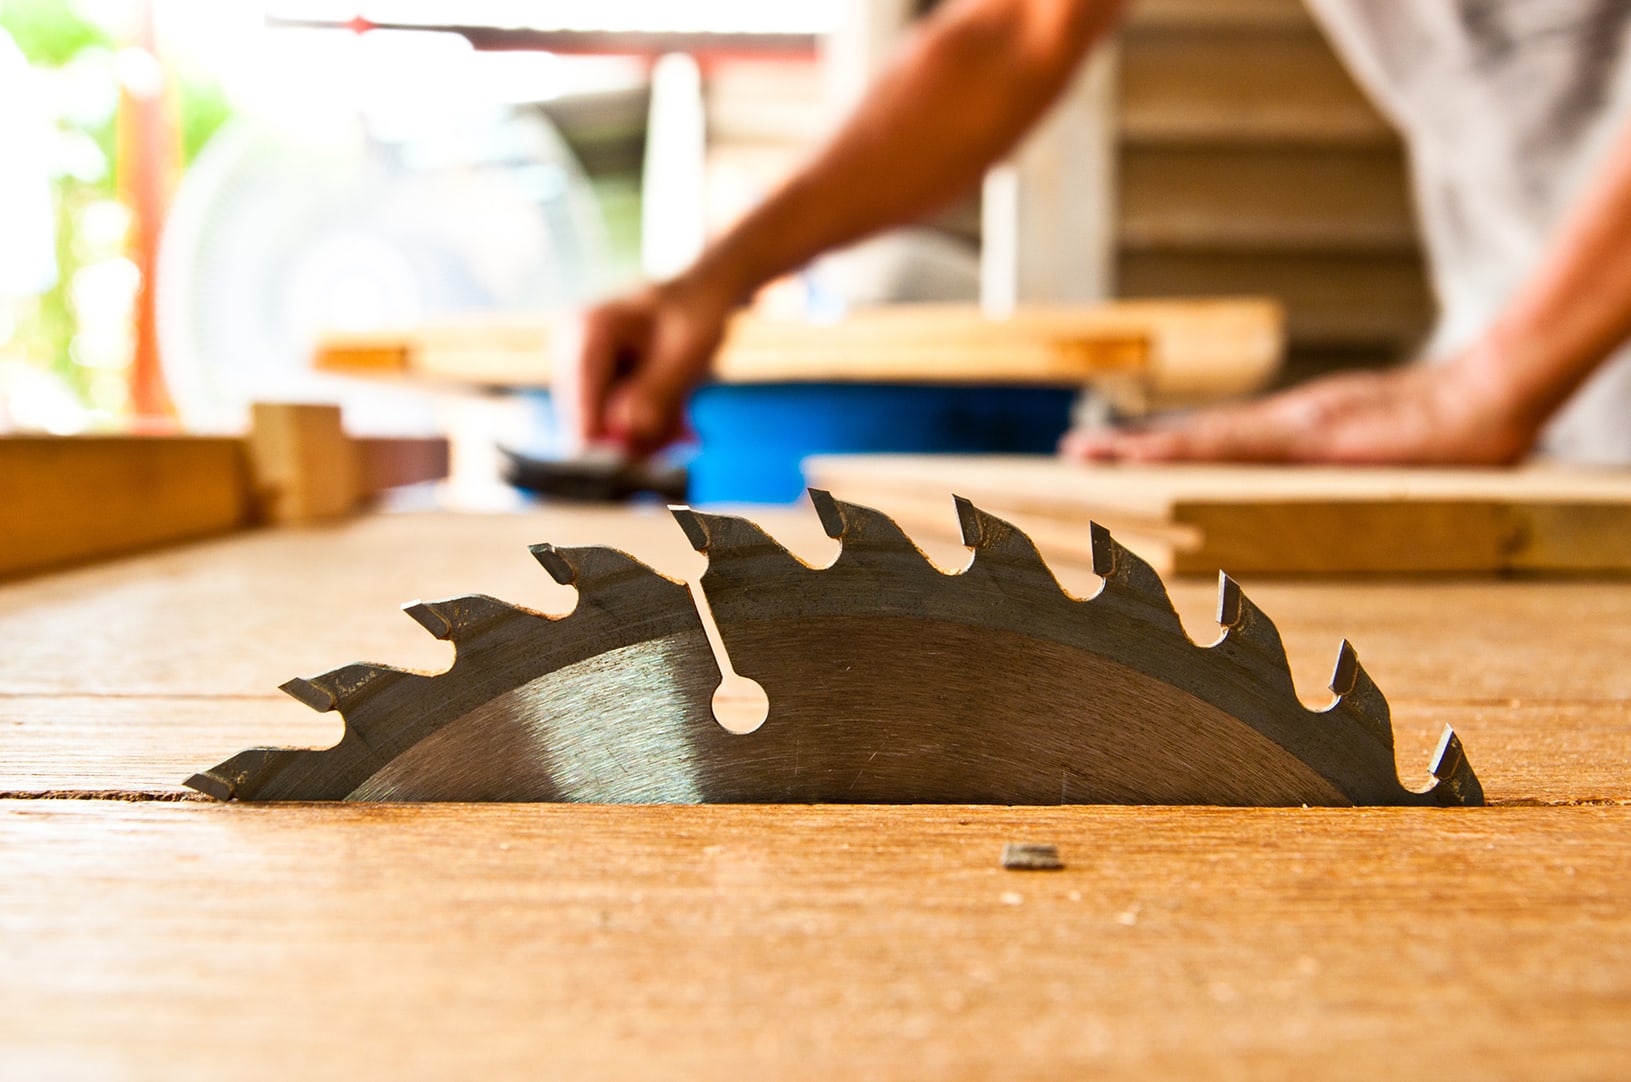
You are now ready to make your frame! For safety purposes, be sure to wear eye protection, a dust mask, and hearing protection.

At this time you may begin cutting your frame sticks to the rough size that you obtained in the previous step. Again, mine is 29″ and 20″.
It’s now time to route out the frame sticks for your bezel and set your bit depth, as well as measure how much material you need to remove from the frame. Again 3 sticks for my monitor need ½” routed out and one at 5/8”.


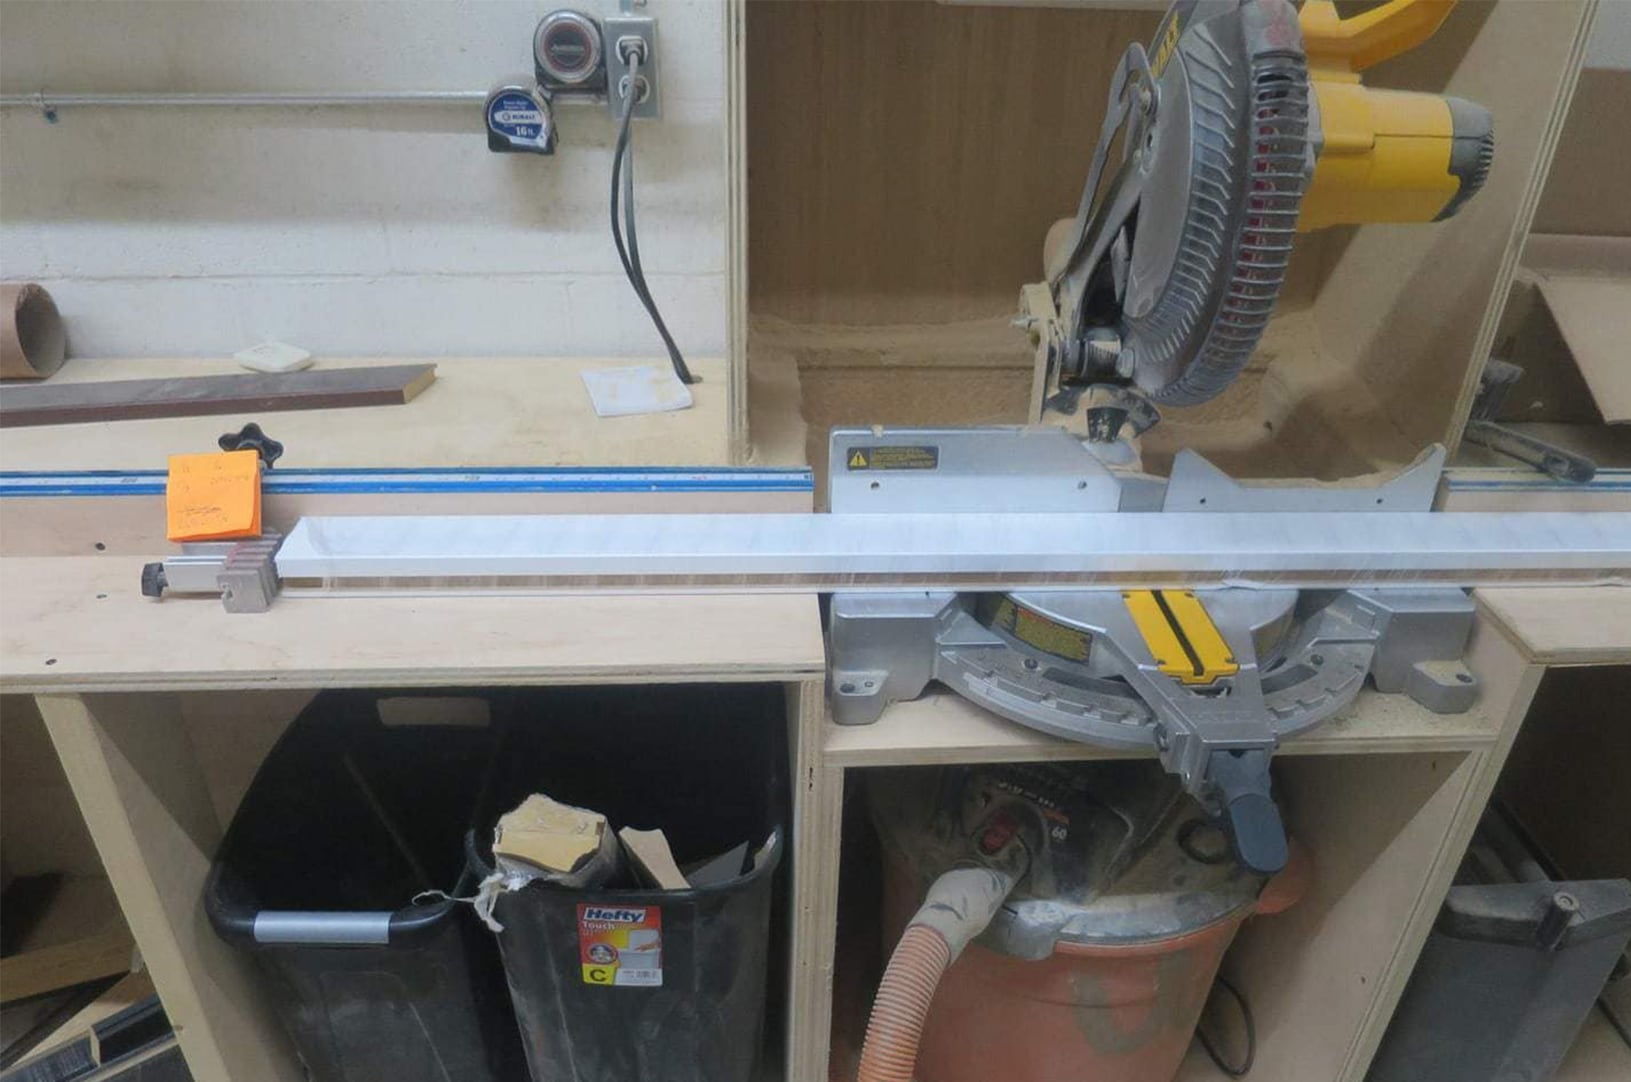
Now starting with the bezel facing the miter box, cut a 45° angle – close to the end on the right.
Afterwards take the stick you just cut along with your monitor and place the inside point of your 45° angle, to the inside corner of the screen.
Be sure to mark where the second 45° angle cut roughly needs to be, based on where the monitor lined up on the step above.
Now set your stop and being slowly cutting your frame stick until your newly added mark disappears.
Keep in mind that you want the frame to be snug around the monitor.

Be sure to record your finished measurements, as these will be important when constructing your back build.
Now it is time to glue the opposing frame sides together. I used Framerica Cornerweld along with 2 clamps to hold each corner.
Once finished gluing the frame sides together, simply wait just a few hours for everything to dry and after the few hours, you will then be able to safely move your project.
Ensure that you avoid placing any unnecessary pressure on the corners.
Part 3: Gluing and Backbuilding
Once all opposing sides have been glued, use clamps to hold the pieces together. Afterwards be sure to allow everything to sit overnight, in order to ensure the glue has ample time to acquire a nice sturdy, lasting bond.
Next clean the bottom of the framing with a razor blade in order to remove any excess glue on the surface.
Afterwards test how well your frame fits the monitor or display that you have chosen, keep in mind that the frame should have a snug fit.
Be sure to measure the inside of the frame so you are able to accurately cut, and place your Vanity Vision Magic Mirror inside.

Before handling the mirror you will want to be sure to cut and sand it, so you can feel confident that the glass is safe for handling.
After you’ve made sure to remove any sharp edges that may have been on your mirror, simply place your Vanity Vision Magic Mirror into the frame that you have just created to ensure that it fits correctly.
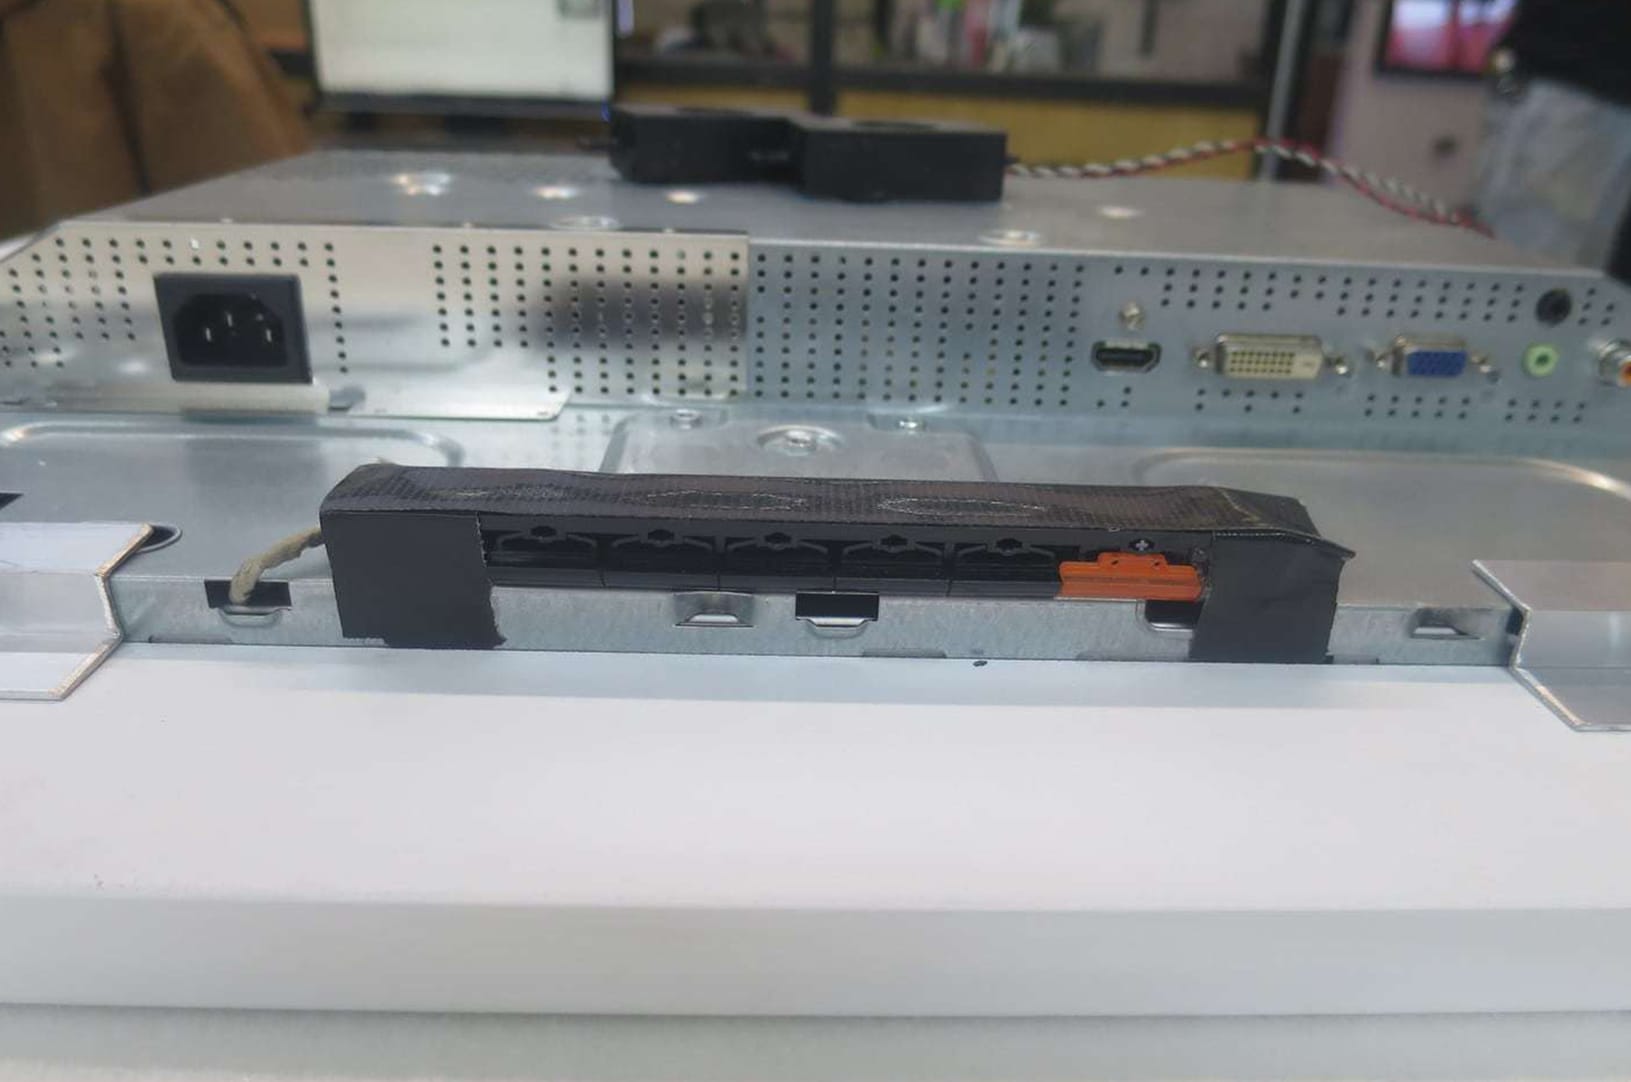
Once the mirror has been inserted, I placed my monitor inside of the frame. While placing my monitor inside, I noticed that I had to reposition the control panel in order to nicely mount it. In order to achieve this I carefully disconnected it, re-running the wire through a hole, and then re-connecting it.
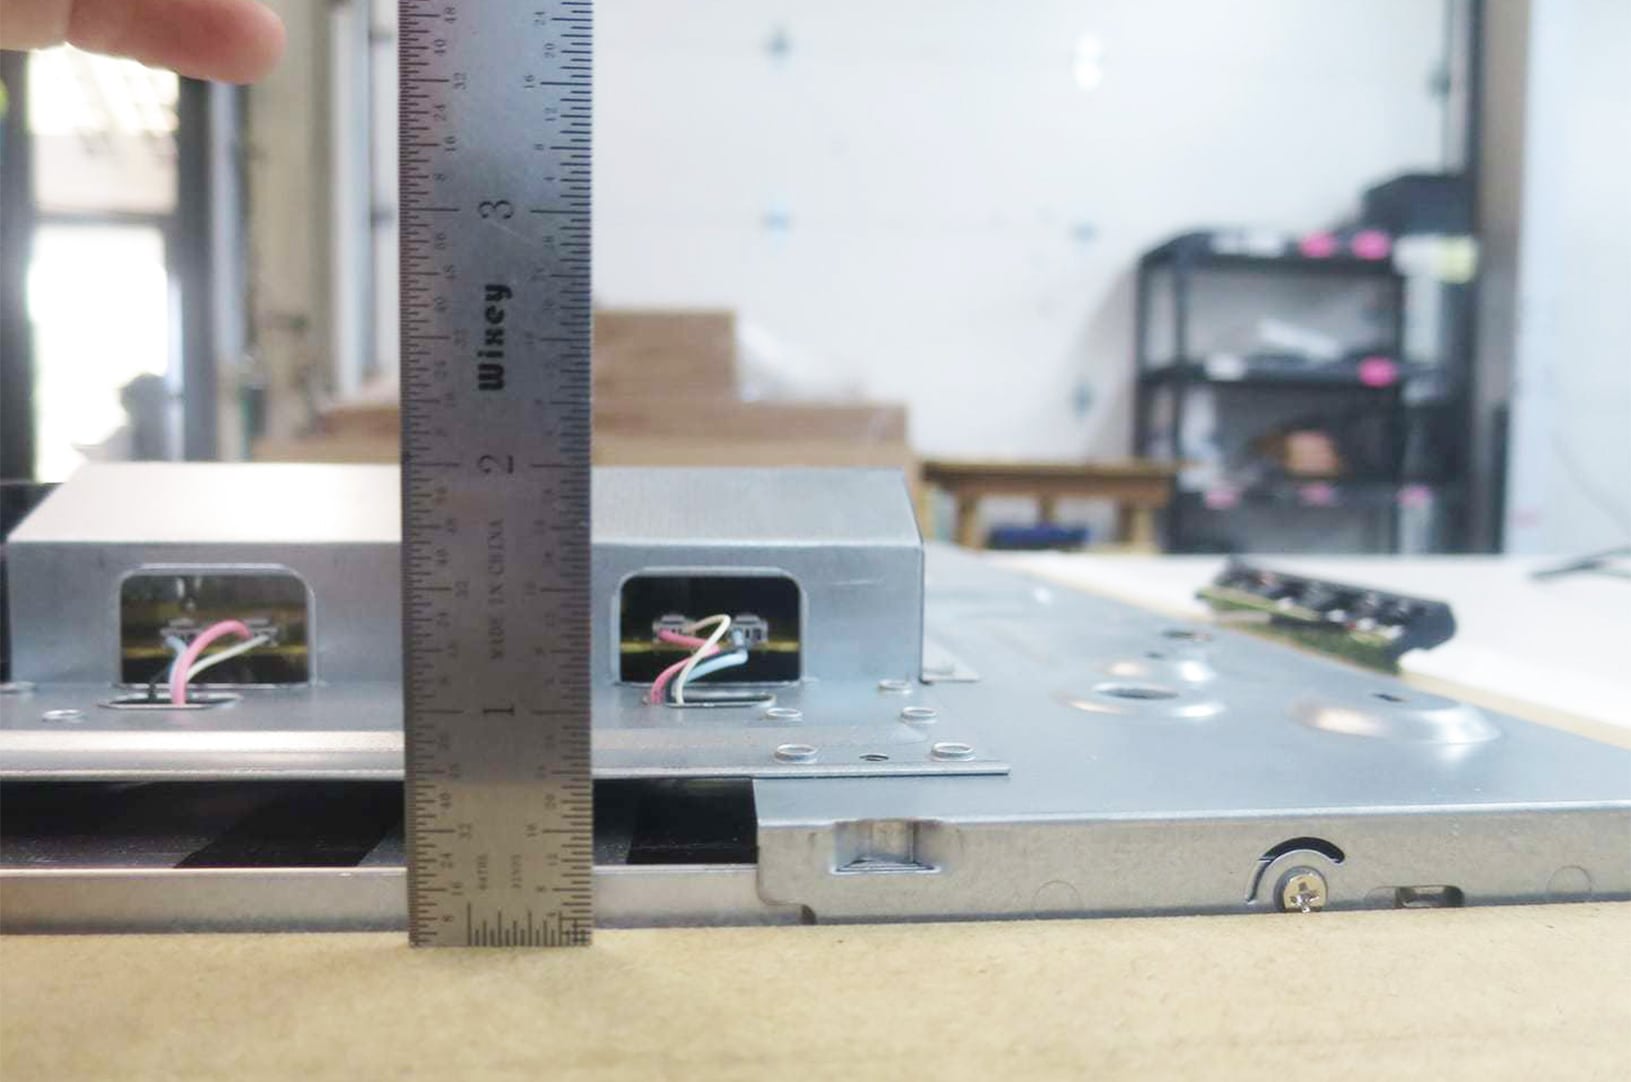
While you have the monitor inside of the frame, measure how high your back build needs to be. I cut mine to 2 1/8”. After you’ve found your needed measurements, cut the back build sticks to the needed sizes.
Using a table saw, cut the back build stick to your measurements. Additionally, be sure to make a 45 degree angle cut on one end, and cut the back build length to 3/16” under the finished length of your frame stick. IE: my frame stick was 26 5/8 and my back build was 26 17/32.
Before gluing my frame, I routed a channel for heat and sound to escape on one of the ends. On the bottom short side I also routed a small hole for any cords to go through and into an outlet.
Optionally, you can paint the back edge of the frame to ensure a clean appearance when the back build is place.
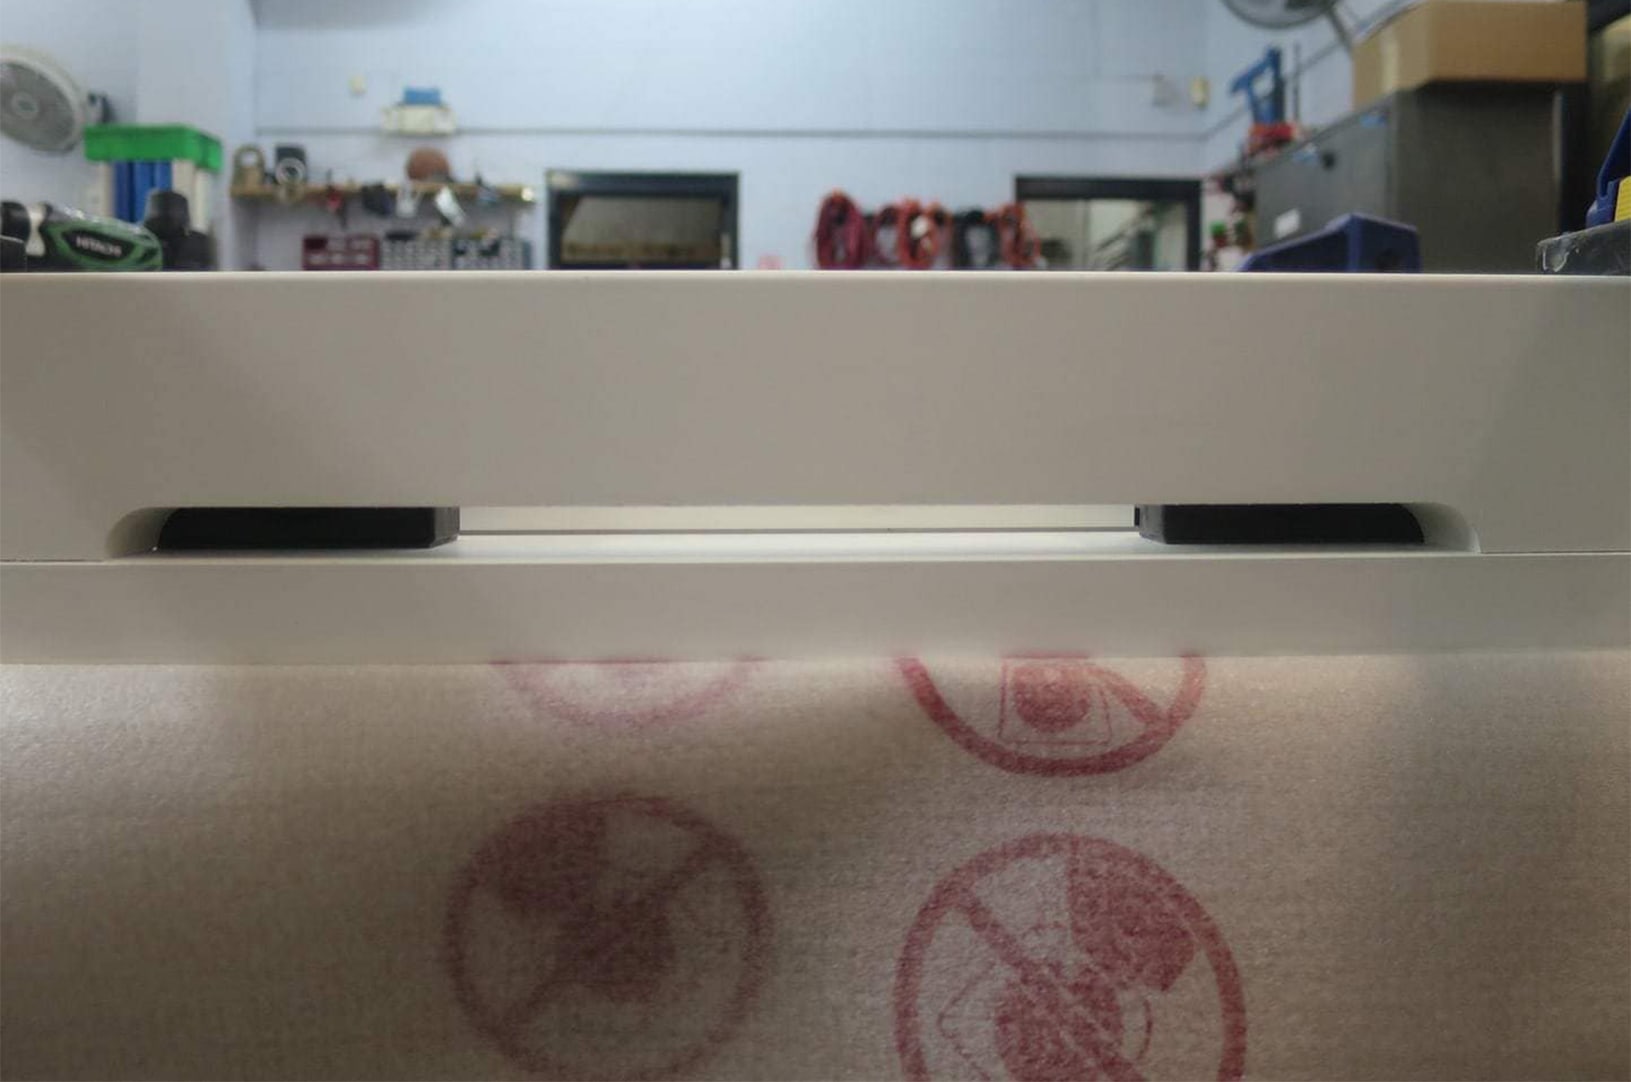
In my setup I placed a white plastic tube at the top of the frame where the channel is in order to block the view of any metal components when attempting to look through.
I chose to utilize Z-bars in order to safely secure my monitor and provide a clean, outstanding appearance.
I cut 5 pieces approximately 4” in length.
Additionally, you should file each end of the Z-bar to ensure that it is safe to handle.
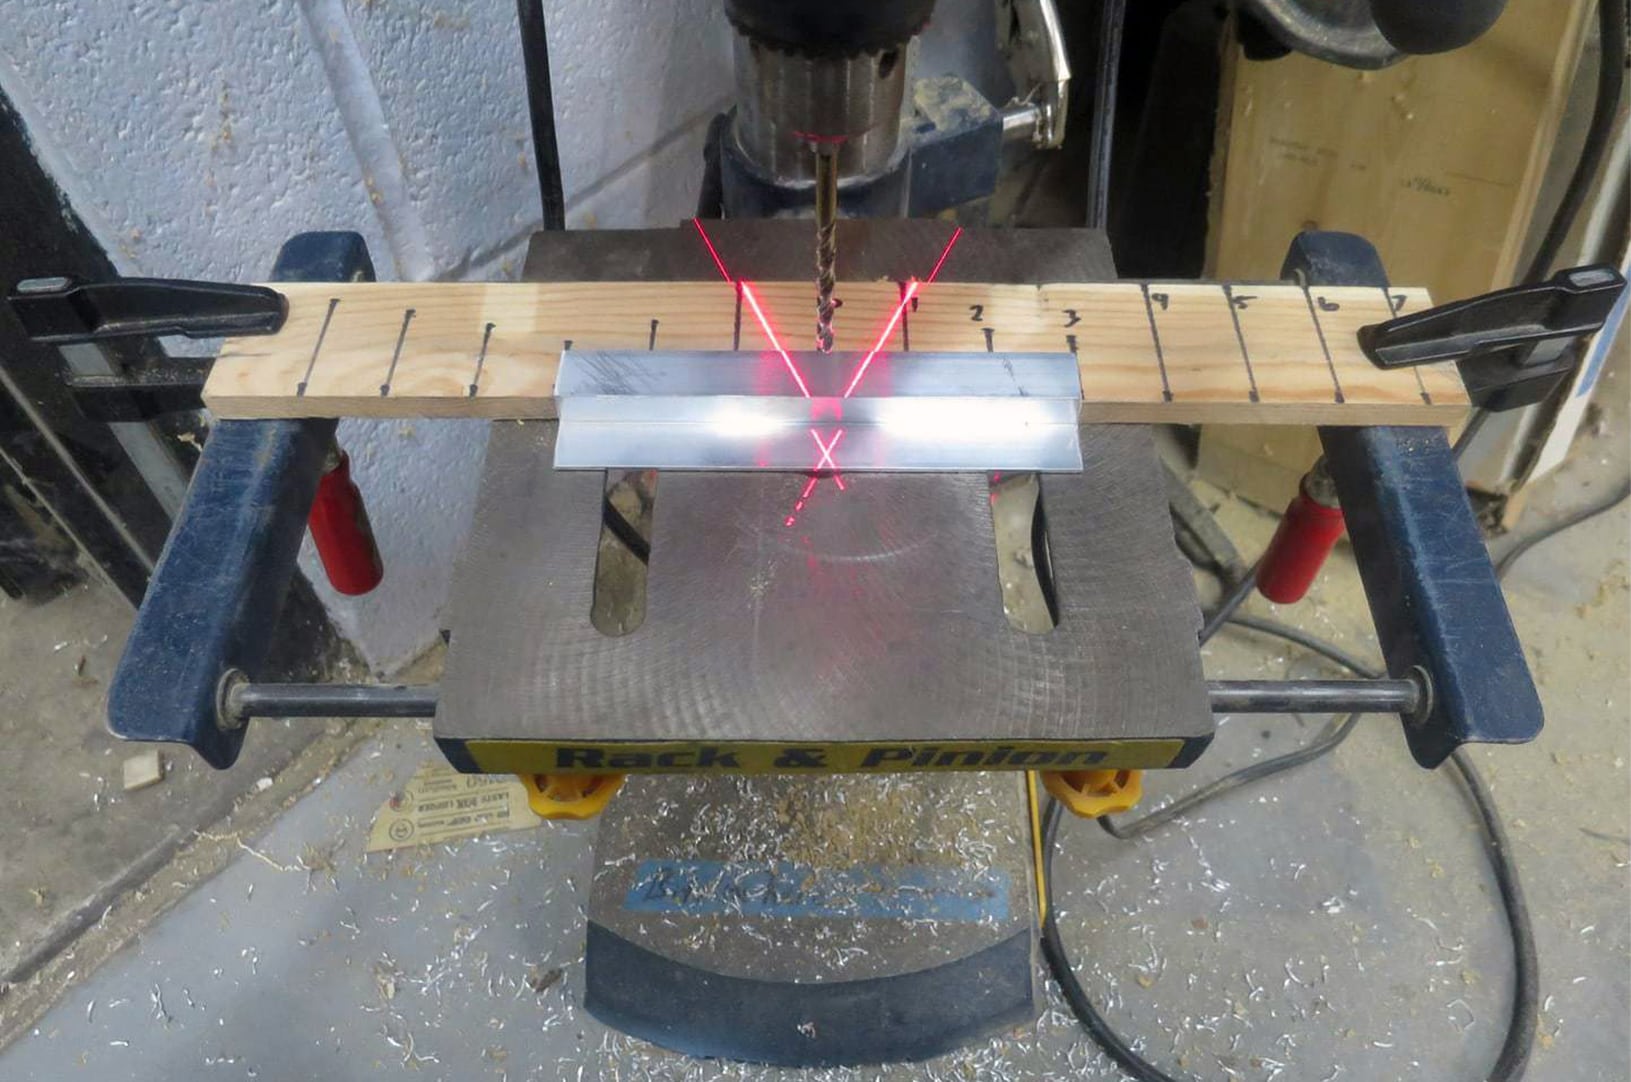
Z-bars or French Cleats typically will come with holes that have already been drilled, but the ones I purchased did not. In order to solve this issue, I simply drilled holes about an inch apart and used small screws that I had placed strategically to secure the bar down.
Using Gorilla Tape I securely fastened the control strip down and placed it away from my project, just in case I needed it in the future.

Time to glue the back build on!
Installing corner brackets onto the frame will help immensely when securing each corner together.
Now that you have successfully secured the back build and the cable, you can now secure the speakers using VHB double-sided tape.
After about one hour your smart mirror will be safe to transfer and will be ready for you to safely glue the remaining half of the back build.
Once you have glued the other half, allow your project to cure overnight and this will ensure your DIY Smart Mirror project has ample time to dry completely.
It is now time to organize your cords using cable clamps and tape. Once finished organizing, plug your cords in!
At this time take your USB power adapter and remove the duck connection, then plug the Samsung cord in where the duck connection was initially. This will provide you with a powered USB port direct.
Using electrical tape I successfully secured both the Samsung and monitor power cords together. Taping these two power cords together will inevitably allow me to splice the both power cords, causing finished Smart Mirror to only utilize one power cord for the entire system.
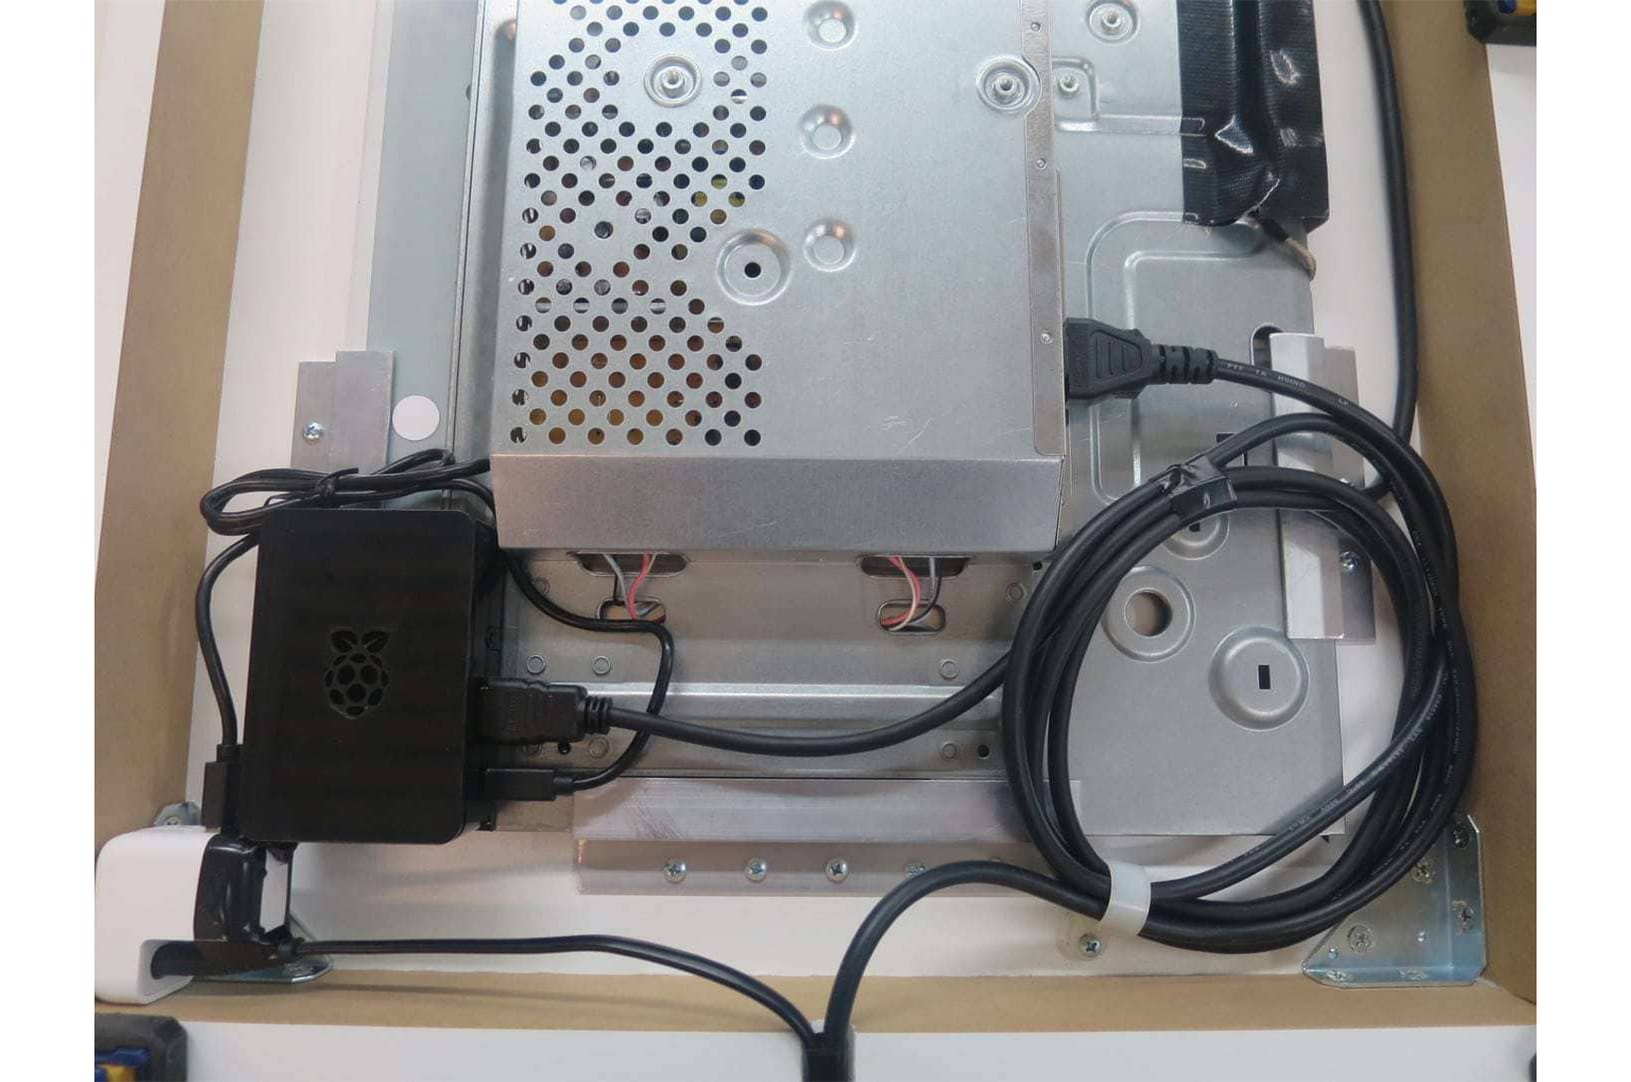
Now is the time to strategically place the remaining cords along with the Raspberry Pi computer inside of the frame allowing all parts to be accessible with a clean appearance.
At this time you may plug supplied flash drive in that comes conveniently prepared with built in Wi-Fi, and the OS to power.
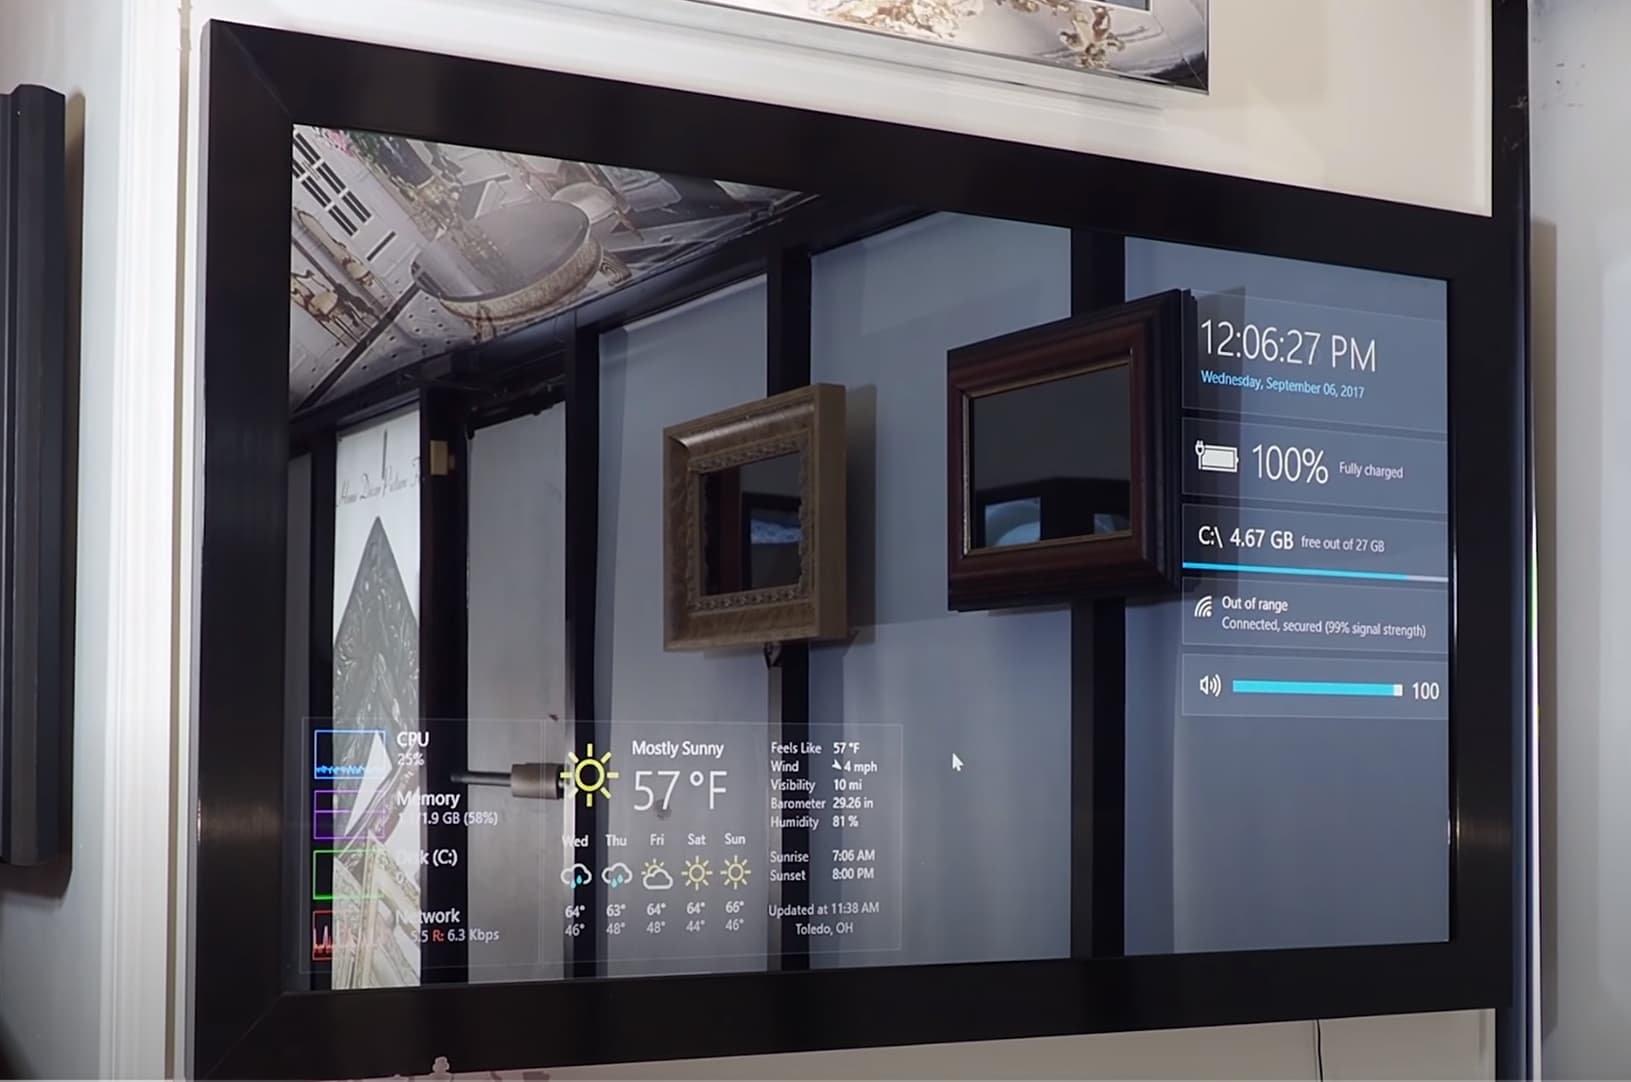
There you have it, your very own DIY Smart Mirror. The only step left at this point is mounting your mirror and I will go into more details on that soon.